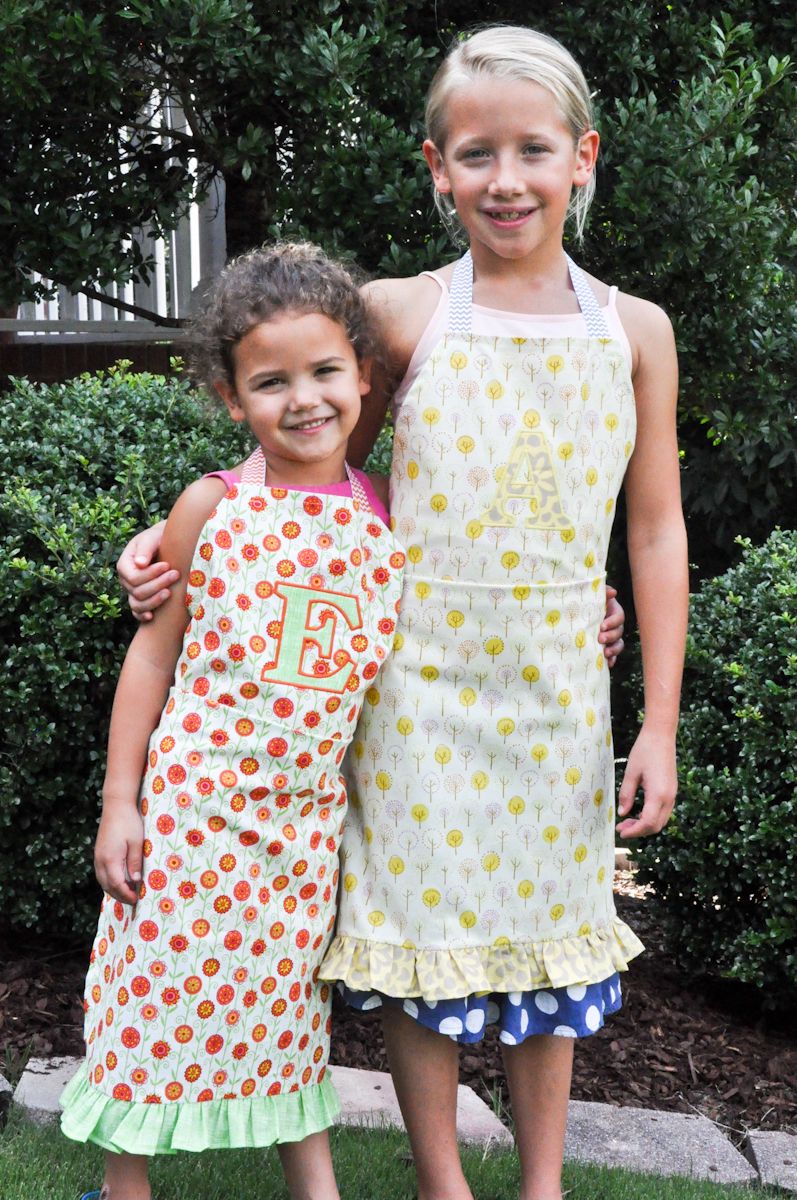
Sewing for the sweet little cuties I know is one of my favorite things to do. It’s always fun to think of little gifts to sew up for them when their birthdays come around each year. Usually, their siblings get a handmade gift too, since I can’t just make pretties for one of them!
These monogrammed aprons were super quick and easy to make, so I thought I’d share the tutorial with you! You can customize them for any little cook you know! These aprons are a little big for the girls, but kids grow so fast, they’ll be able to wear them longer! You can always adjust the length of your aprons just by cutting off as many inches as necessary from the bottom edge of the apron.
Materials for the apron:
1 yard of main apron fabric
1 strip of contrasting fabric that measures 3 inches by 36 inches
1.5 yards of sturdy 1 inch wide ribbon
Materials for the applique monogrammed letter:
Alphablock Letter Designs from A Bit of Stitch
1 square of fabric that measures 5 inches by 5 inches for the applique
A piece of double sided fusible web that measures 5 inches by 5 inches
A piece of fusible mesh cut away stabilizer that is larger than your embroidery hoop. Make sure it sticks out past the hoop at least 1 inch on all sides.
A piece of regular tear away stabilizer that is the same size as your cut away stabilizer
coordinating thread
Instructions:
Download instructions for your apron pattern and create your pattern.
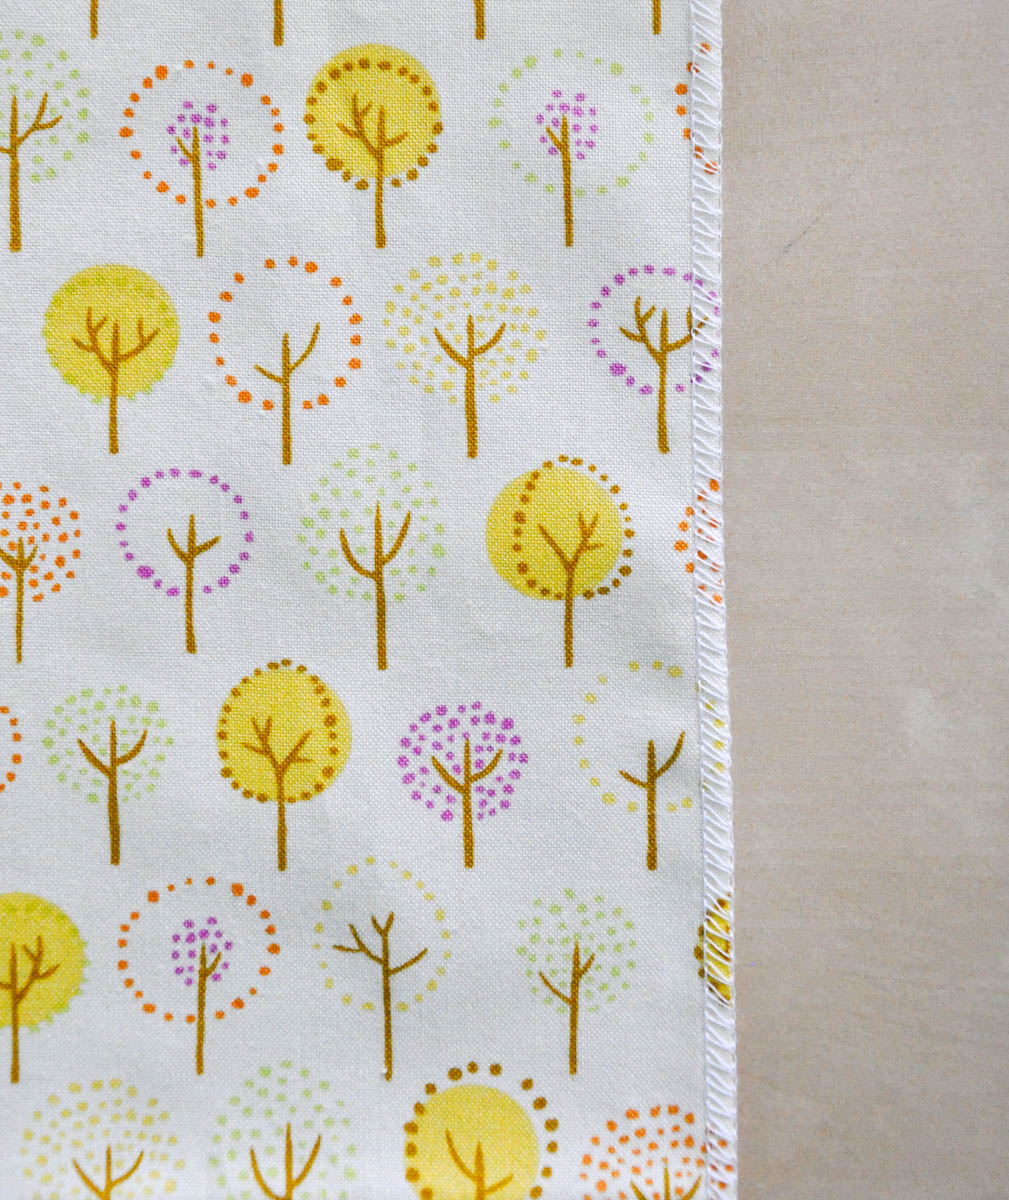
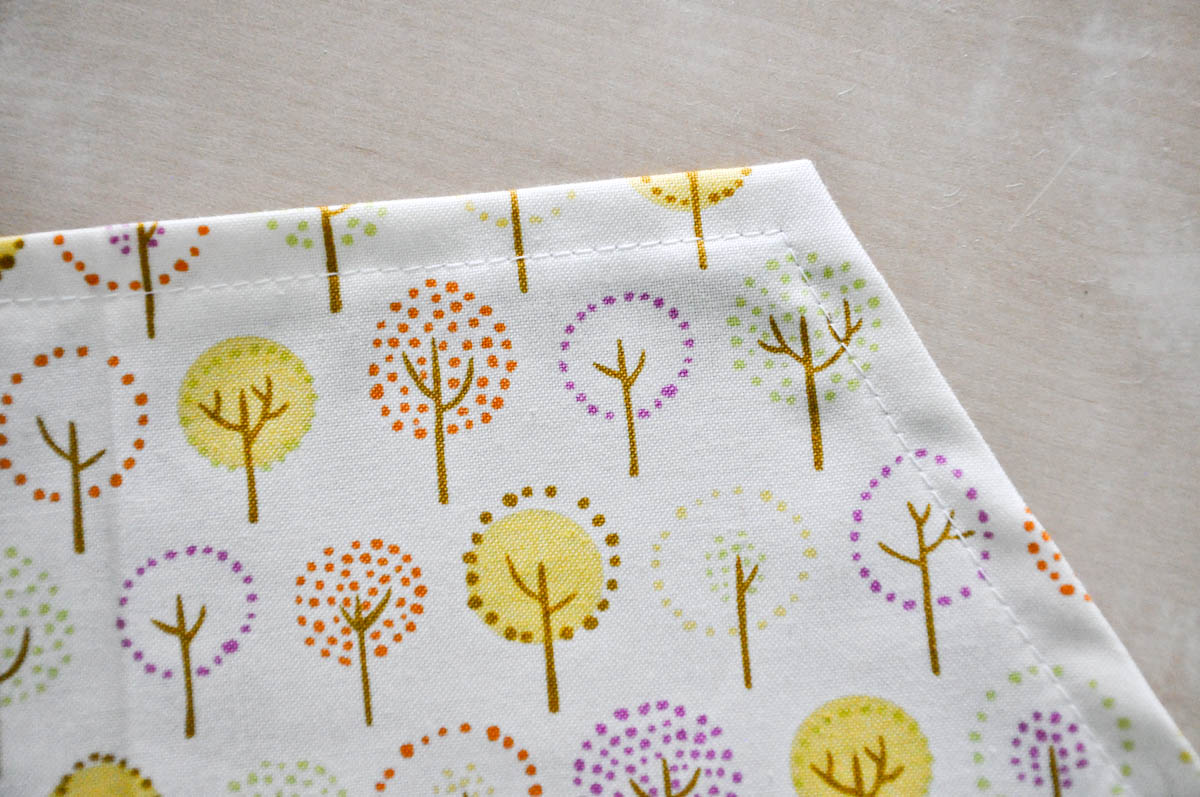
Step 1: Cut out your fabric and serge around all edges.
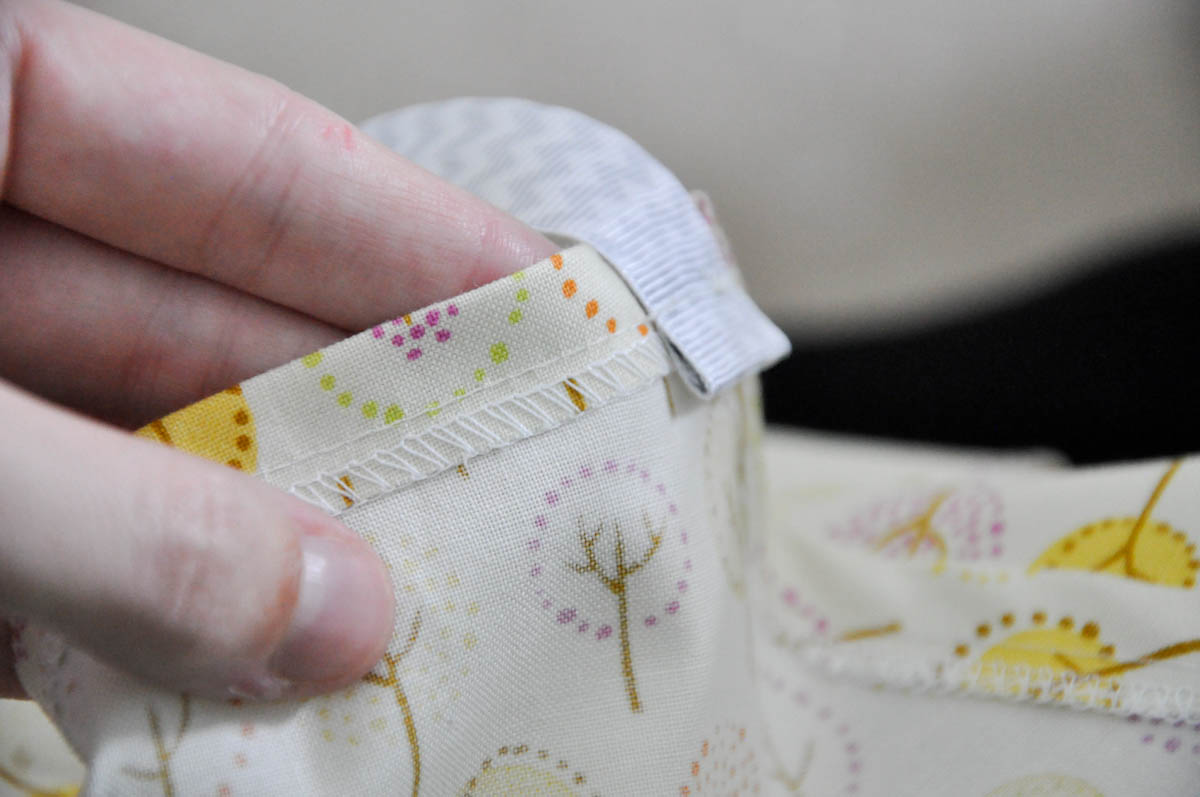
Step 2: Fold and press the edges of your apron over 1/2 inch. Don’t fold the bottom edge, since you’ll be adding your ruffle to it.
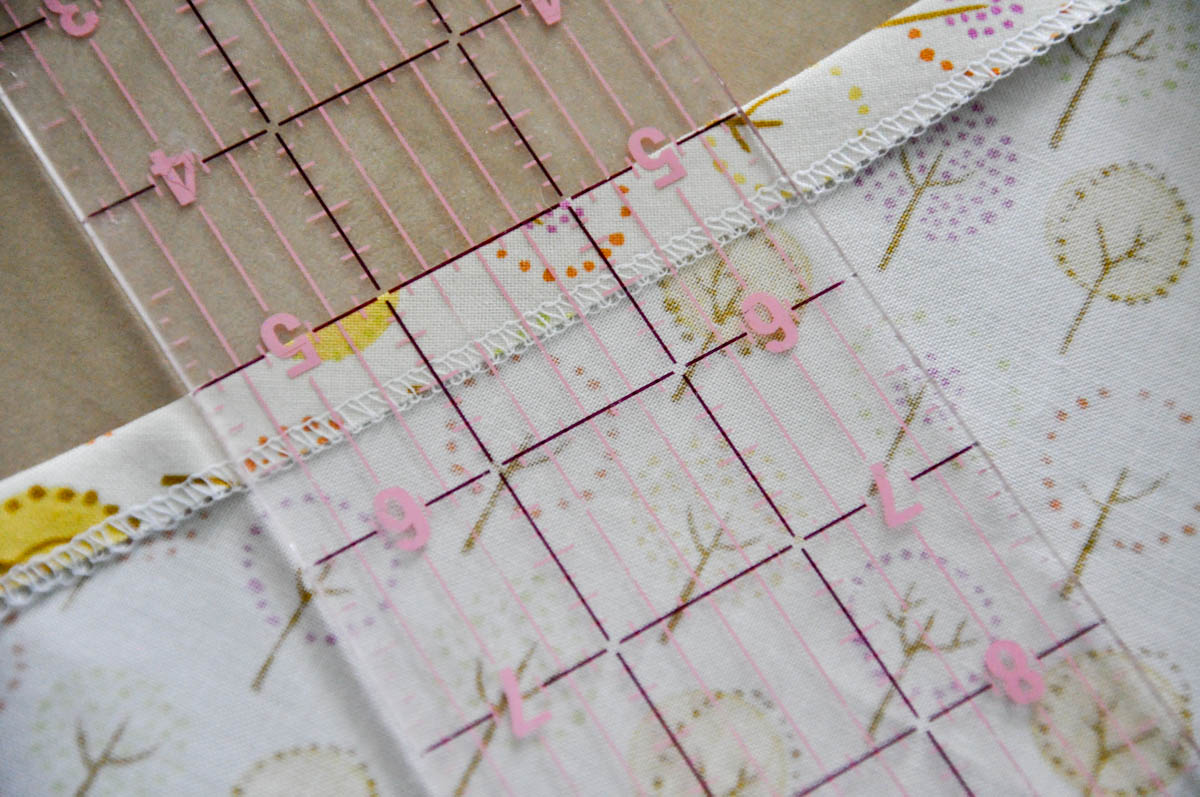
Step 3: On the right side of your apron, sew 3/8 inch around all the edges you just folded and pressed.
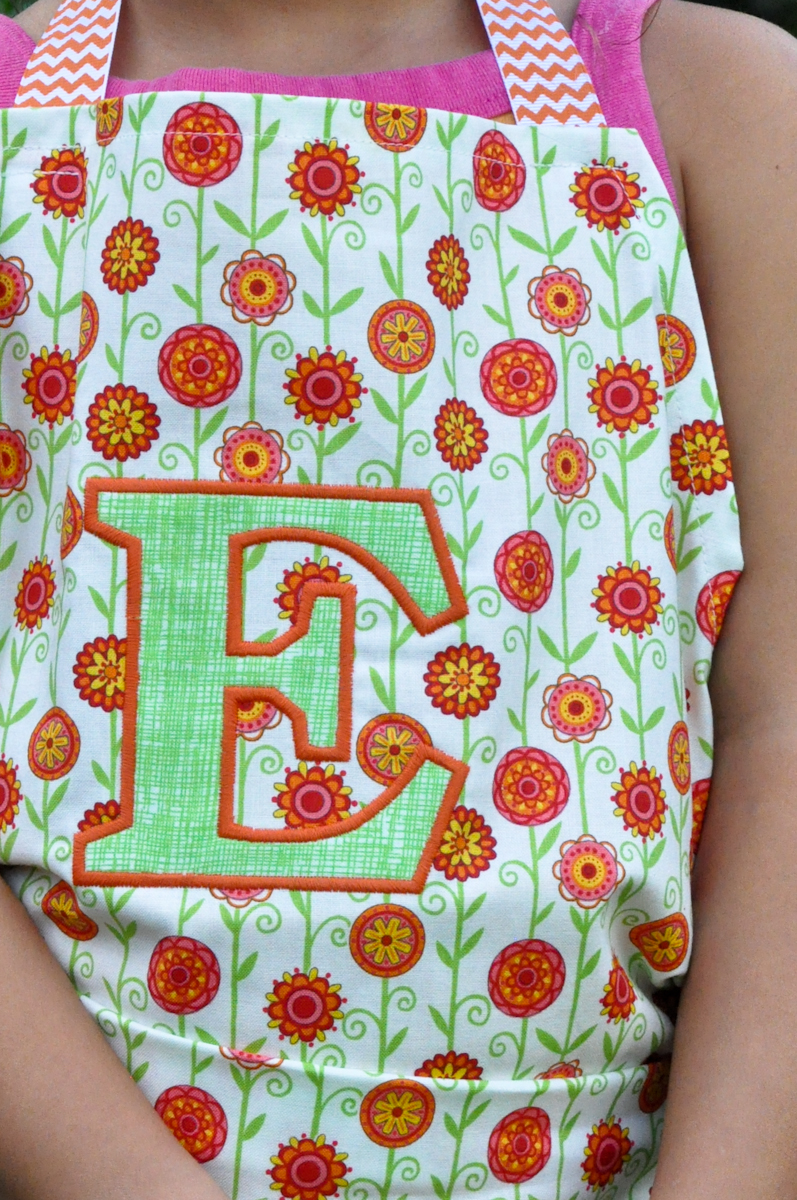
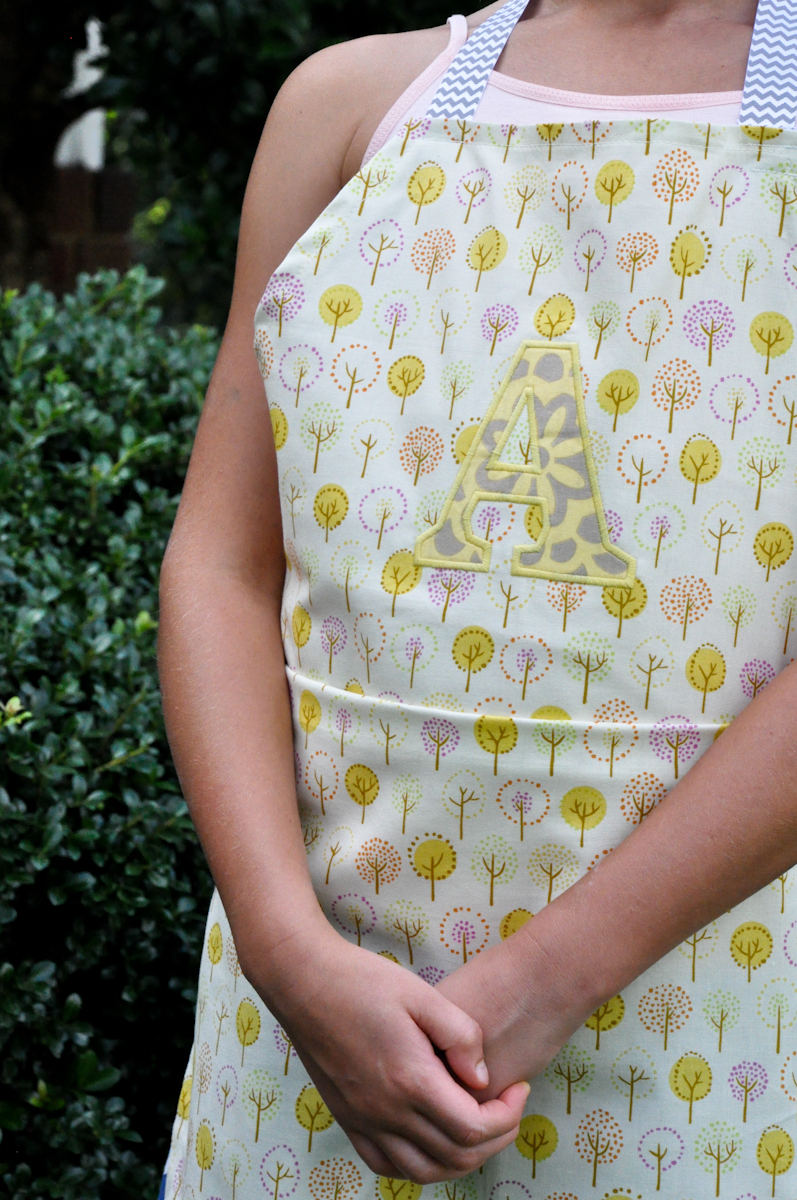
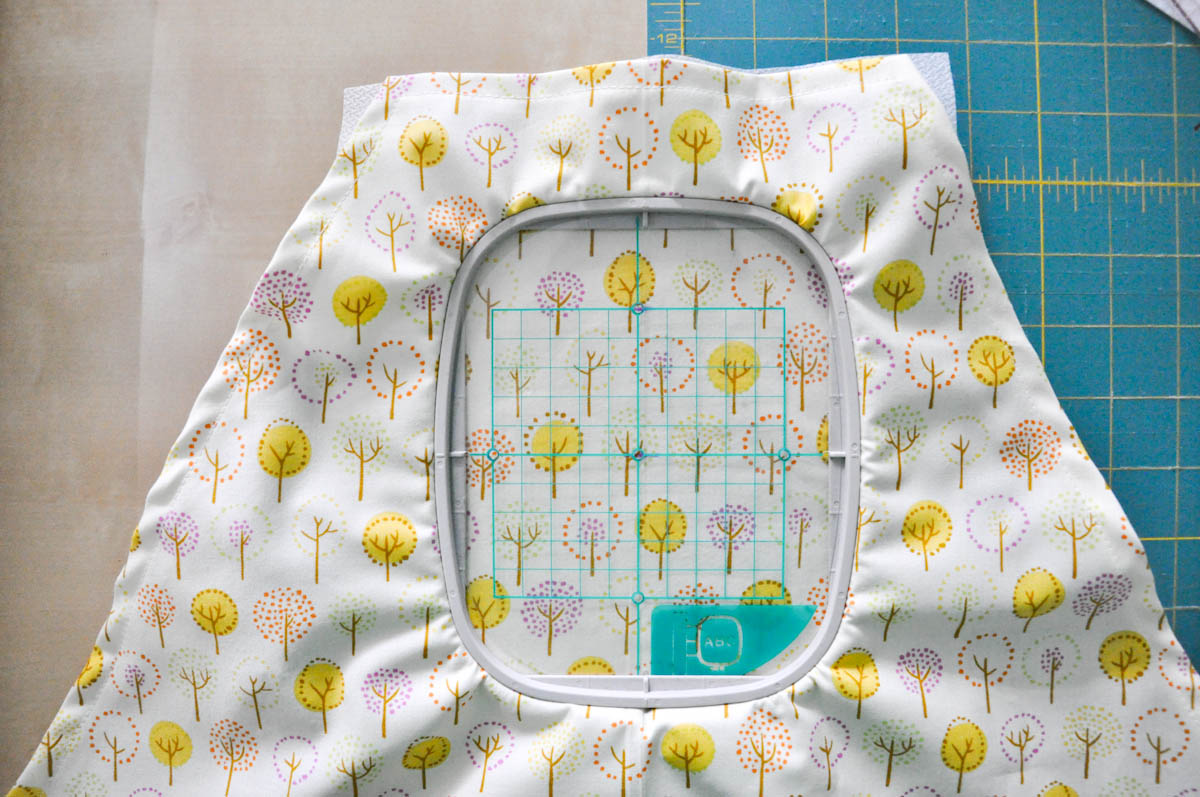
Step 4: Now it’s time to figure out the placement of your letter. Measure 3.5 inches from the top of the apron. That’s the top of your letter. Measure 5.5 inches from the top of the apron. That’s the center of your letter.
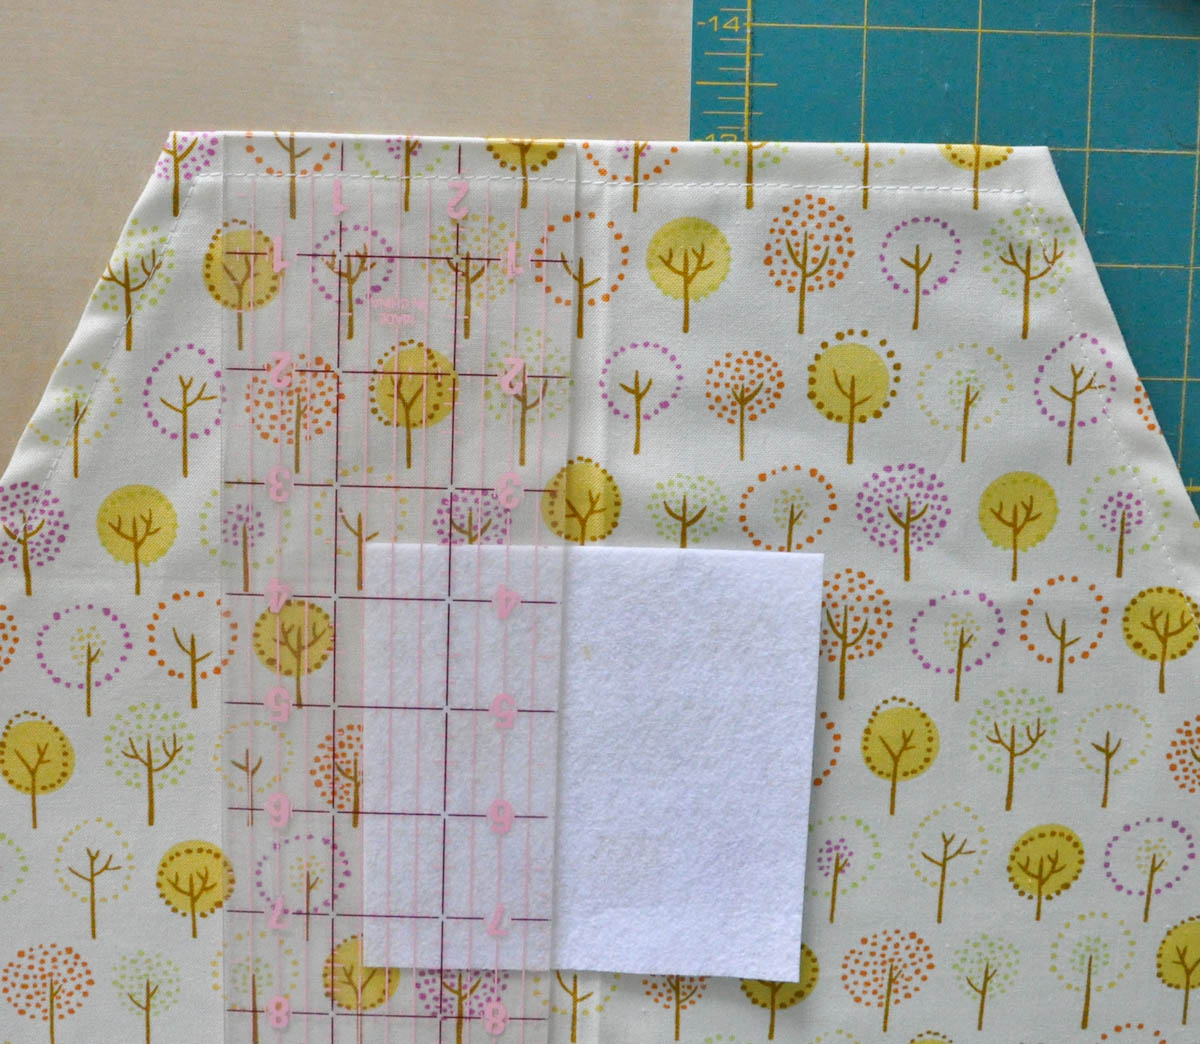

Step 5: Iron your piece of fusible mesh cut away stabilizer to the back of your apron. Make sure your center mark for the letter is in the center of your stabilizer as well.
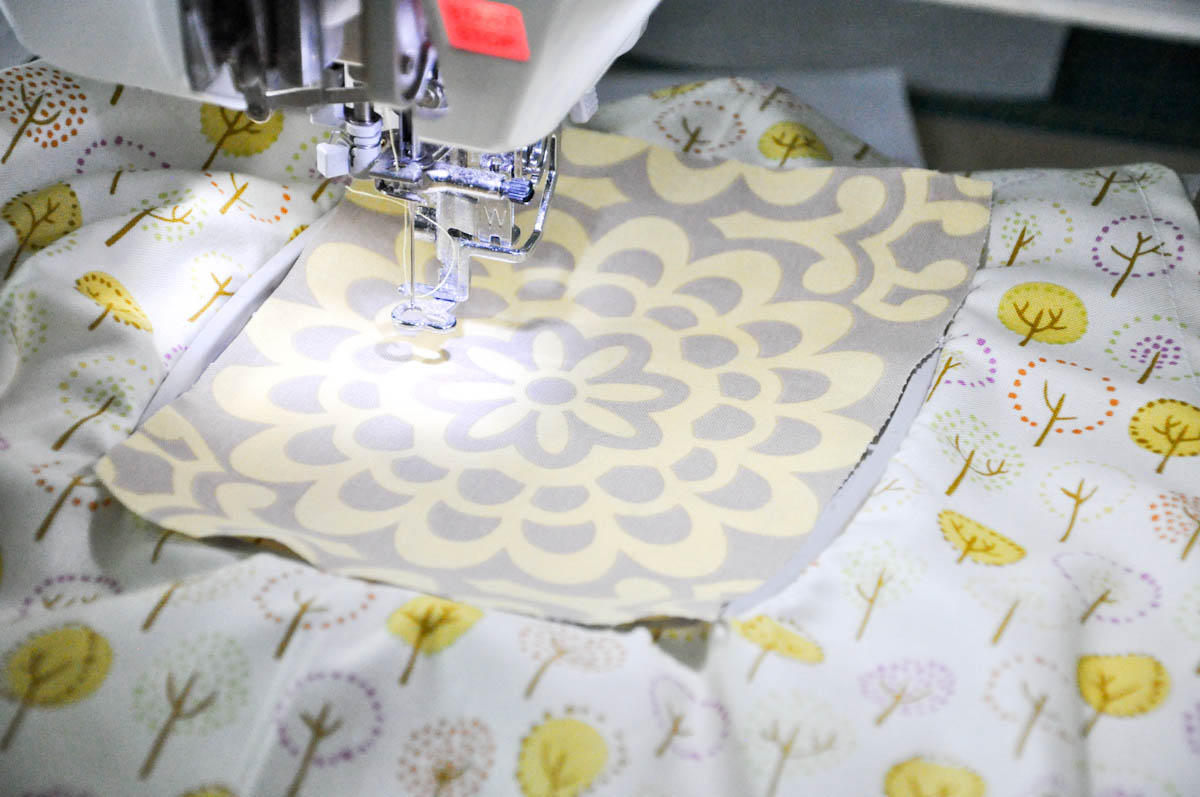
Step 6: Using your grid, line up the center mark you made on your fabric with the center of your grid. Holding your fabric and the top of your hoop firmly, place the fabric in the bottom part of the hoop and secure it in place. Remove your grid and place your hoop in the machine.
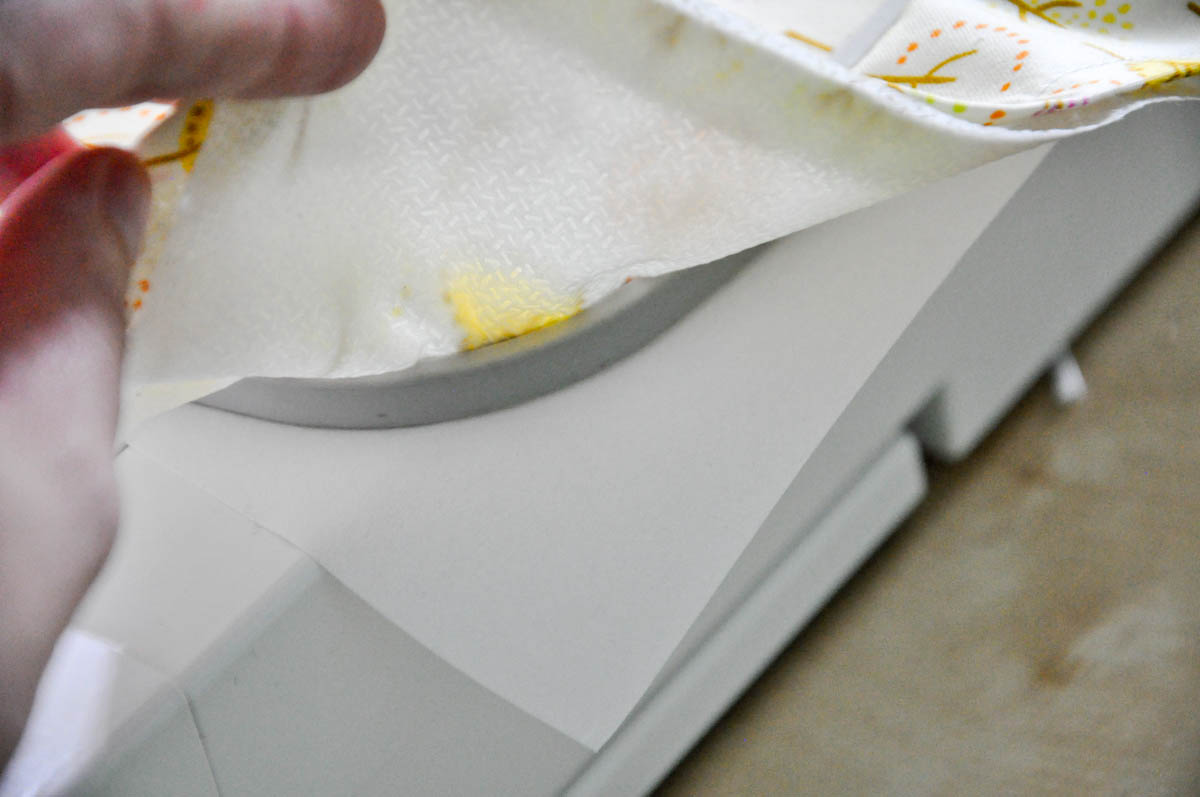
Step 7: Float your piece of tear away stabilizer under the hoop. That means just slide it under the hoop without securing it. This will provide more stability for your design while it stitches out and prevent any puckering around your stitches.

Step 8: If you’re using Evy’s Alphablock designs, the first stitch sequence is the applique outline. This will show you where to place your applique material.
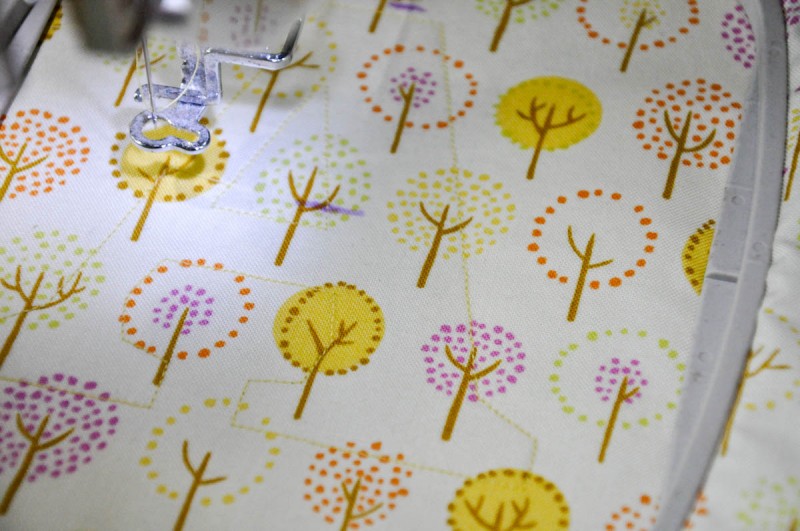
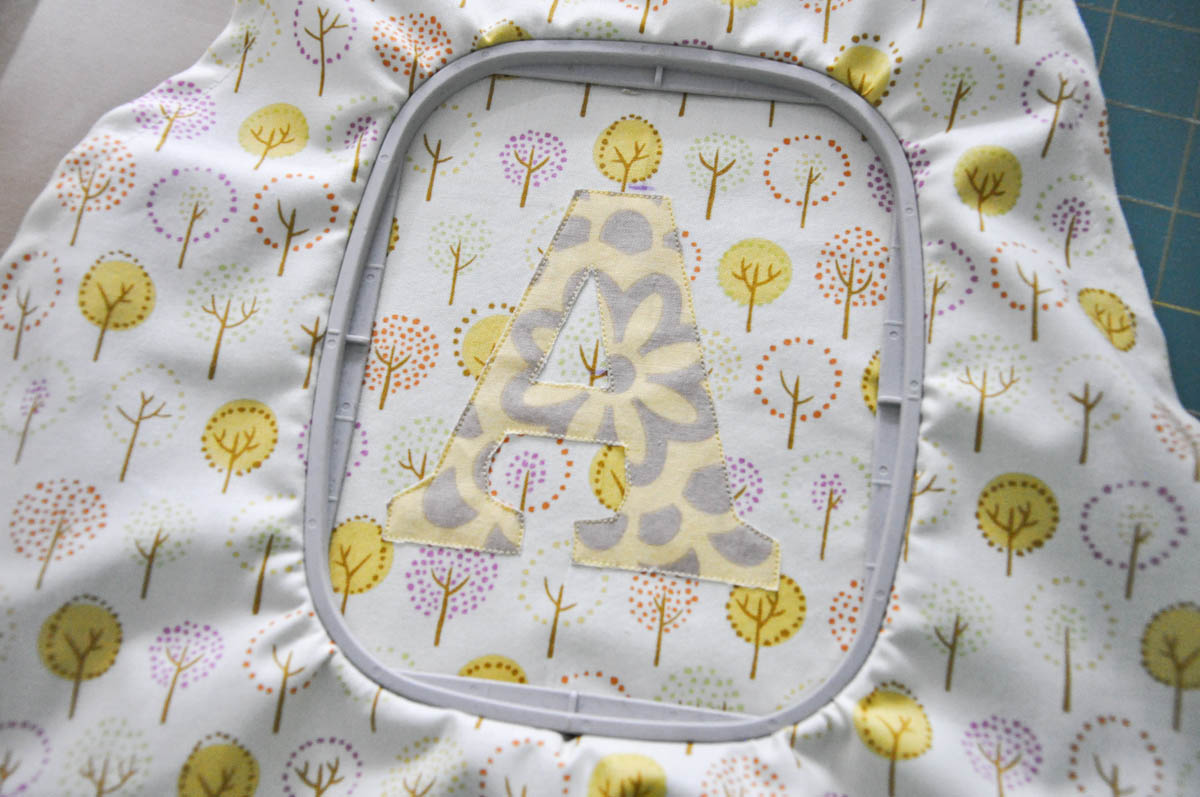
Step 9: Apply one side of your double sided fusible web to the back of your applique fabric. Remove the remaining paper from the fusible web and place your applique fabric right side up on top of the apron in your hoop. Do not remove your apron from the hoop! Simply lay the applique fabric on top.
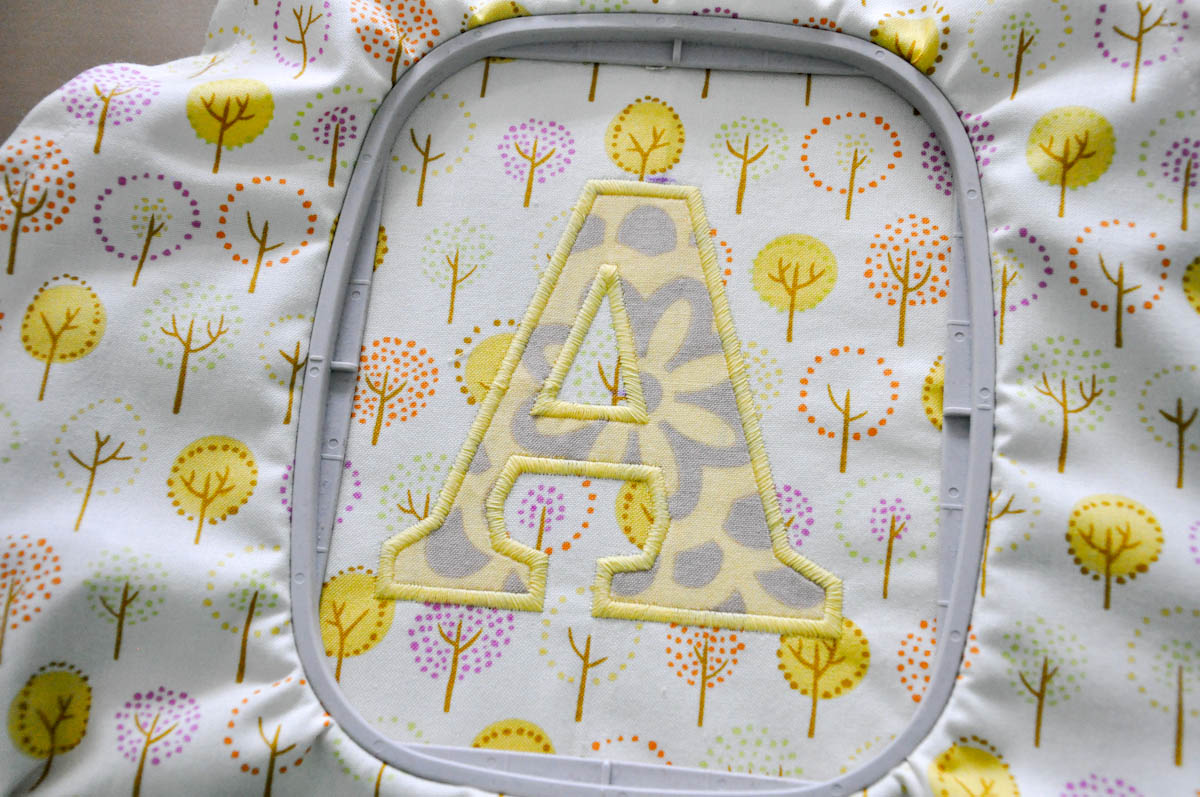
Step 10: Stitch your next sequence in the design. Remove your hoop from the machine, but do NOT remove your apron from the hoop. I repeat, do NOT remove your apron from the hoop! Place your hoop on a flat, hard surface. (As Evy always says, “Your lap is not a flat, hard surface!”) Cut away the excess fabric around your letter. Cut as close as you can to your stitches, so your applique fabric will not stick out past your final stitch sequence. Use a mini iron if you have one to fuse the back of your appliqued letter to your apron. (Note: A mini iron will melt your stitches, so make sure to iron it before moving on to your final stitches. As me how I know…)
Step 11: Place your hoop back in the machine and stitch your final stitch sequence.
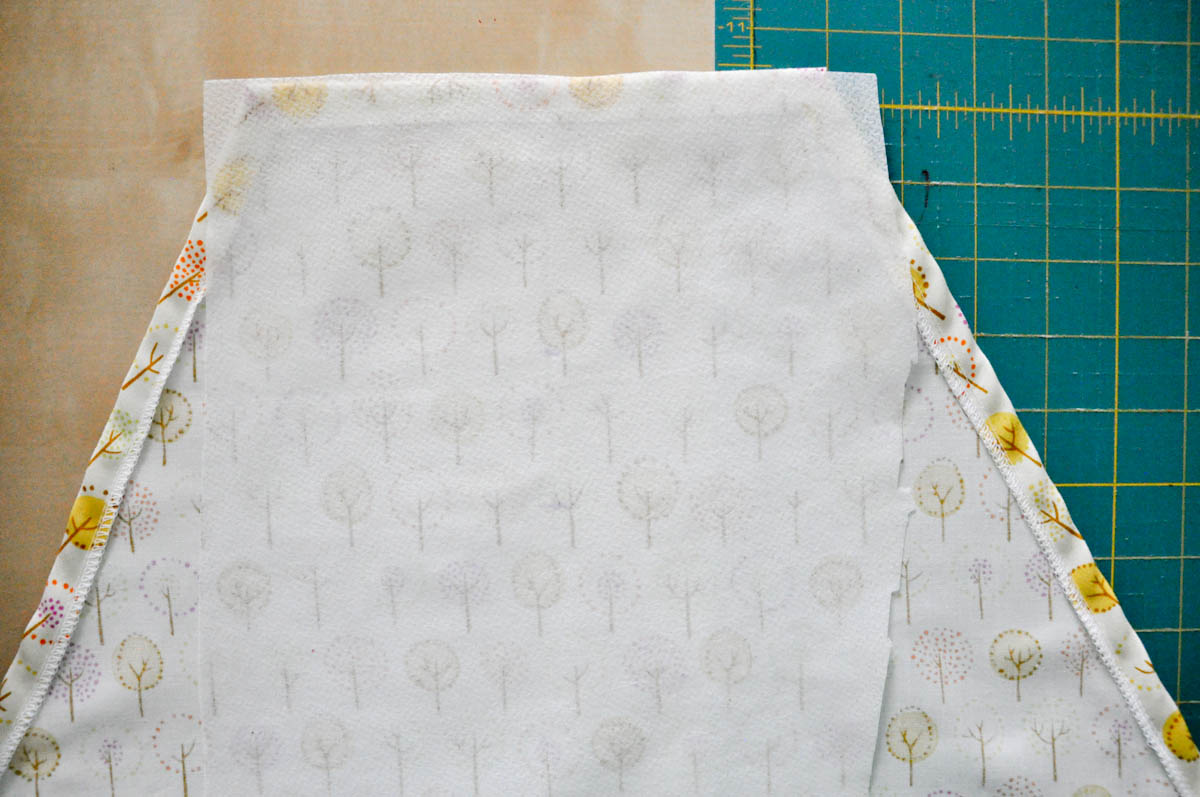
Step 12: Remove your apron from the hoop and tear/cut away the excess stabilizers on the back. Do not cut too close to your stitches, or they will come out!

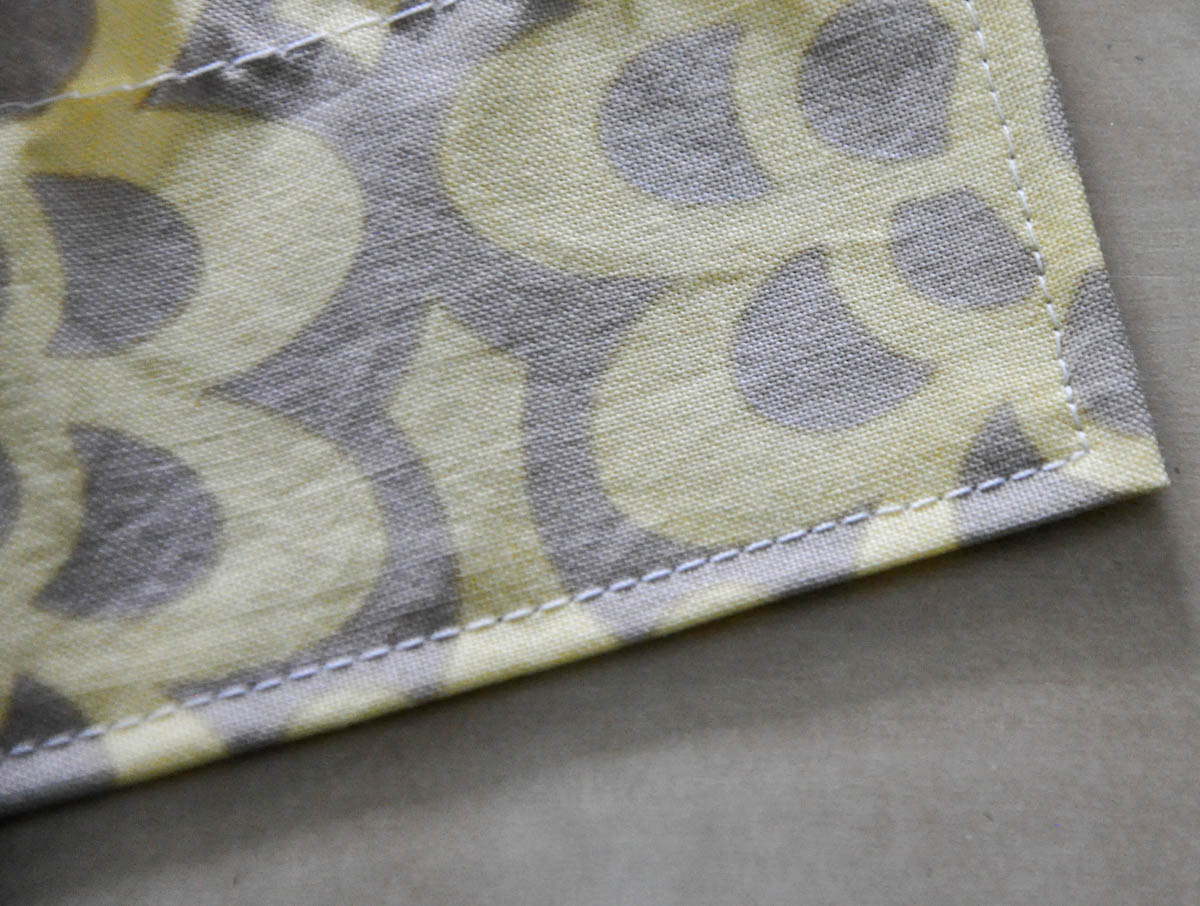
Step 13: To make your ruffle. Serge around all edges of your 3 inch by 36 inch piece of fabric. Fold the bottom edge and the two sides under 3/8 inch and press. On the right side of the ruffle, sew around the bottom edge and two sides 1/4 inch from the edge.
On the top edge of the ruffle, sew long running stitches 3/8 inch from the edge. Gather your ruffle until it measures the same as the bottom edge of your apron. Pin the ruffle to the bottom edge of your apron with right sides together. Sew the ruffle to your apron with a 1/2 inch seam allowance.
Step 14: Cut three pieces of sturdy ribbon with the following measurements: 18 inches for the neck strap, 15 inches for the right side tie and 15 inches for the left side tie.
Sew one side of your neck strap to wrong side of your apron. I tucked under the raw edge of the ribbon to make sure it didn’t fray when washed. On the other end of the neck strap, attach one side of hook and eye tape about 1 inch wide. On the wrong side of the apron, attach the other side of the hook and eye tape.
Attach your straps to the left and right side of the apron.
Now wasn’t that fun! Enjoy making your aprons!