Making straps for a tote bag can be so frustrating! Usually I’m all finished with my bag, and then I remember, I have to make my straps. After finishing the body of the bag, the last thing you want to do is take time to turn a skinny tube of fabric right side out. This easy tote bag strap tutorial makes strap making super quick and easy!
Materials:
- two rectangles that measure 27.5 inches by 3.5 inches
- two strips of Annie’s Soft and Stable that measures 1 inch by 28 inches (You can also use any other heavyweight interfacing, but make sure that it’s flexible enough for your strap to bend and curve easily over your shoulder.)
- coordinating thread
Instructions:

 Step 1: Place your Annie’s Soft and Stable strip in the center of your rectangle.
 Step 2: Fold the bottom, long edge of your fabric over your stabilizer until it lines up with the top edge of your stabilizer.
 Pin the fabric to your stabilizer to hold it in place while your fold over the top, long edge of your fabric.
 Step 3: Fold the top edge of your fabric in half to meet the top edge of your stabilizer.
 Then, fold it over again to overlap the fabric from the other side and pin it. The fold should rest in the center back of your strap.
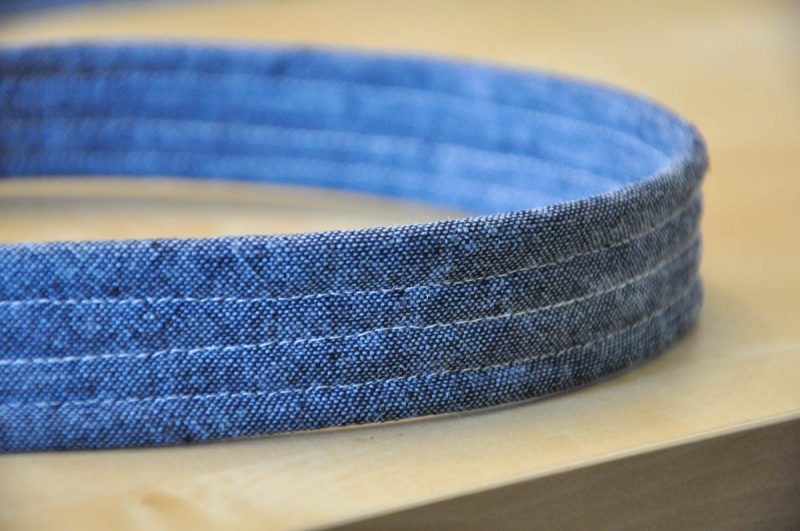
 Step 4: Sew at least three lines of stitching to hold all layers together. I usually sew with the back of my strap facing upwards and sew the center of my strap down first to make sure the layers don’t shift as I sew the remaining rows.
Repeat with your other strap and that’s it. You’re finished! Wasn’t that the easiest strap you’ve ever sewn? It’s so much better than having to sit there and turn a long skinny tube of fabric inside out. Now go make a super cute tote bag and enjoy making the straps too!


Nice tutorial. I teach children to sew and we make a lot of totebags. We are going to use this method.
Spot on!!!! Love it!