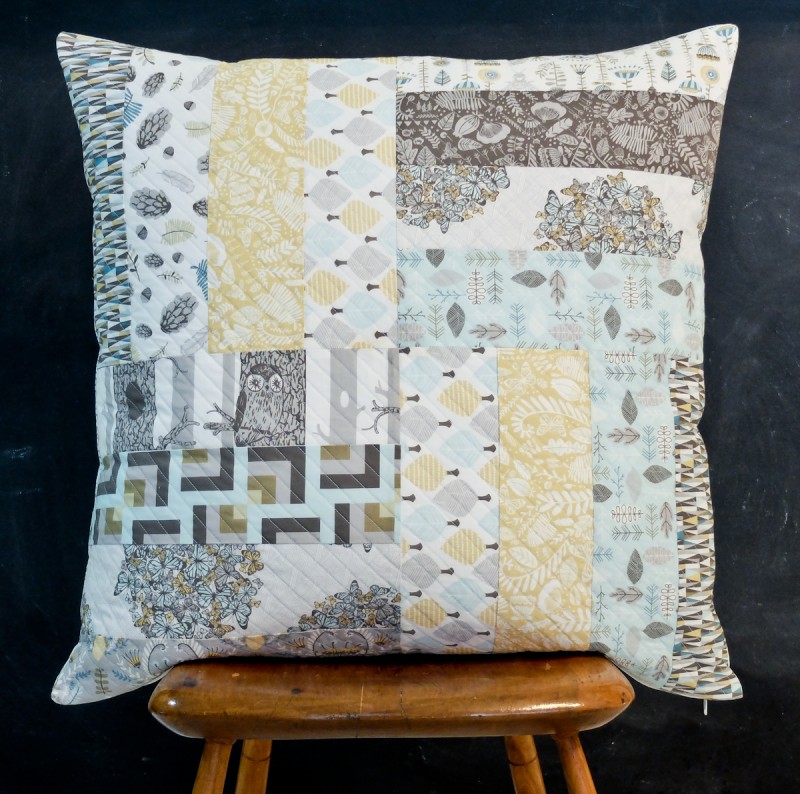
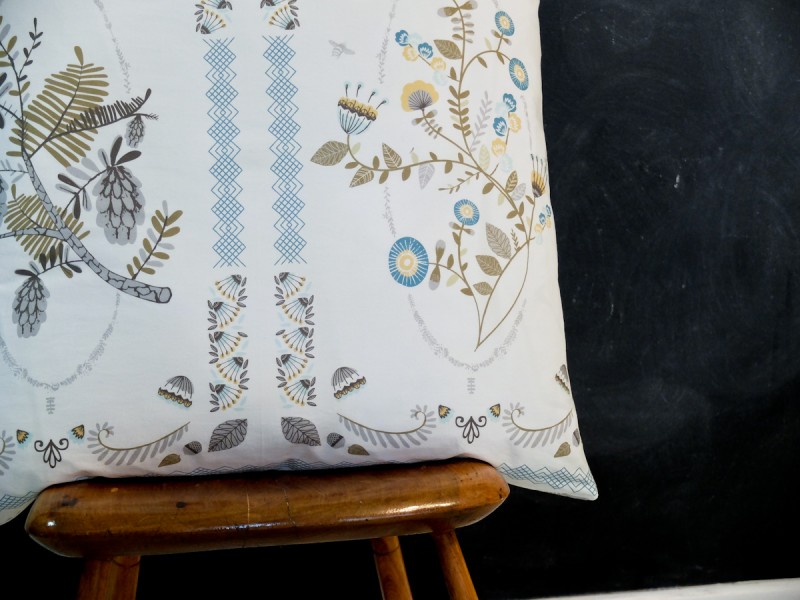
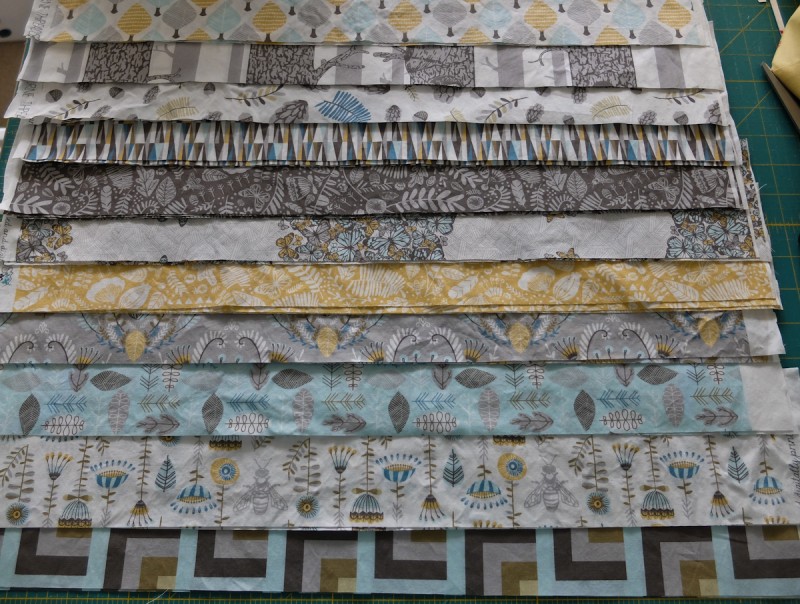
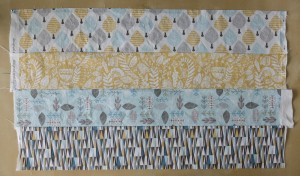
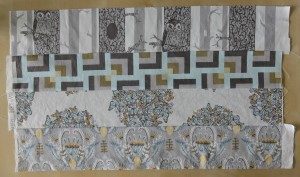
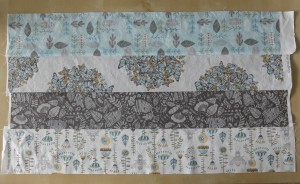
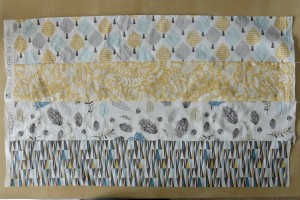
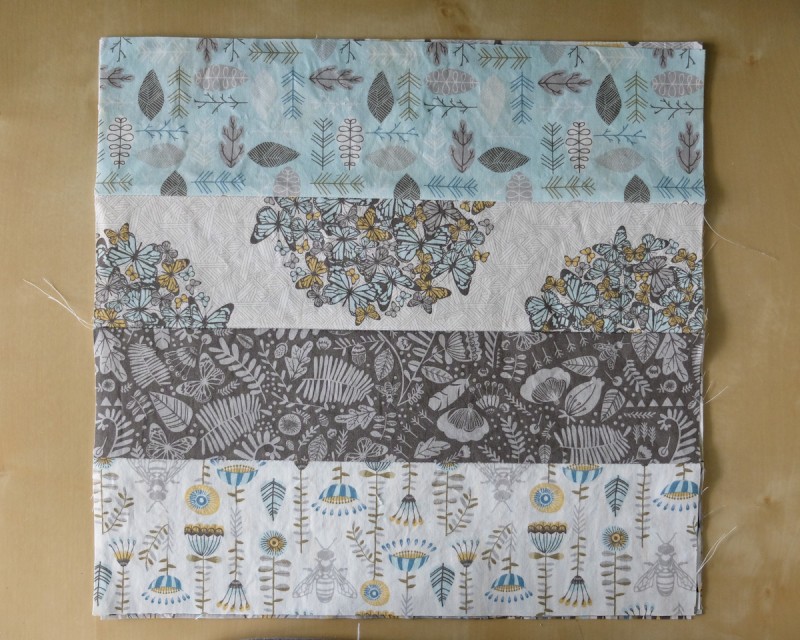
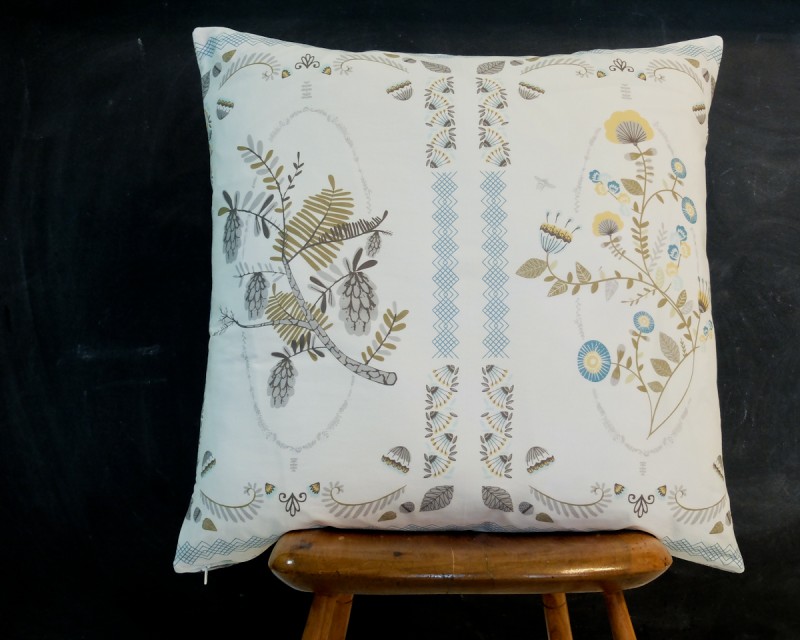
Did you wonder where I’ve been these last few weeks? I’ve been frantically trying to finish two quilts and deciding what to make out of this gorgeous Norwegian Wood Fabric. I’ll post about the quilts soon, but for now, check out this fancy new floor pillow! Hawthorne Threads has their own collections of digitally printed fabrics that they print in their shop in upstate New York. One of their newest collections is Norwegian Wood, and it’s beautiful! If you know me, you know I love owls. I mean what’s not to like about their big, round eyes? And what about the ones with fluffy eyebrows? Well, this collection has owls… and trees and pine cones and pretty little leaves all in the perfect shade of yellow and a light blue. I love how the collection incorporates a few modern pieces in with the flowery woodland pieces. You could use them separately or throw them all together like I did.
Desmond has this floor pillow that his grandma made for him, and he loves it. He reads his books on it and sometimes uses it as a tumbling mat. I decided I need one too! Not so much for tumbling, but one that I could use when I sit with him to read, or if by some crazy chance, I have a chance to read. Who doesn’t like a big floor cushion! Well, here’s a tutorial so you can make one too! I used this fat quarter bundle of Norwegian Wood fabric to make mine, and I even have some left over. (There will be another little tutorial coming soon with my scraps!) Check out the tutorial below to make your own floor pillow!
This tutorial is for a 24 inch by 24 inch floor pillow. You can pick up a pillow form at your local craft store or home furnishing store.
Materials:
– 24 inch square pillow insert
– 12-16 fat quarters for the front
– 24 inch square coordinating fabric for the back
– 22 inch zipper
– 26 inch square piece of batting
– coordinating thread
All seam allowances are 1/4 inch unless otherwise noted.
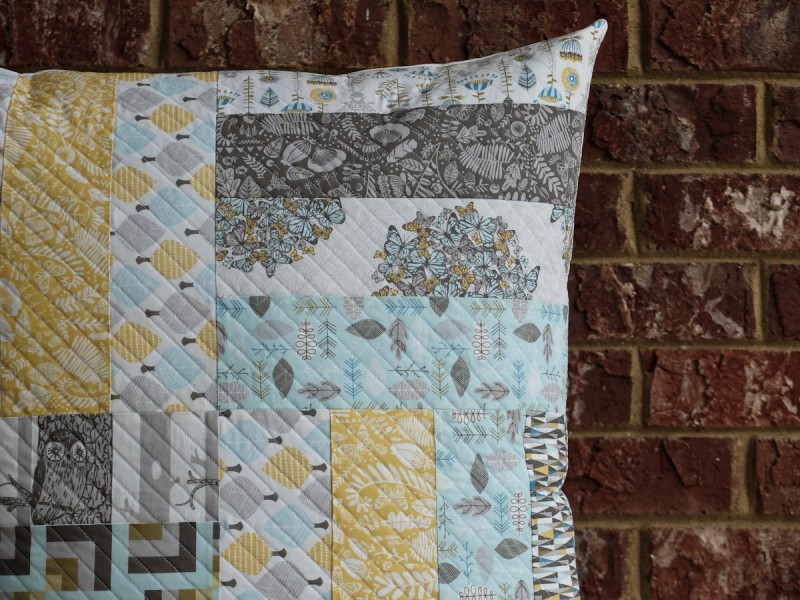
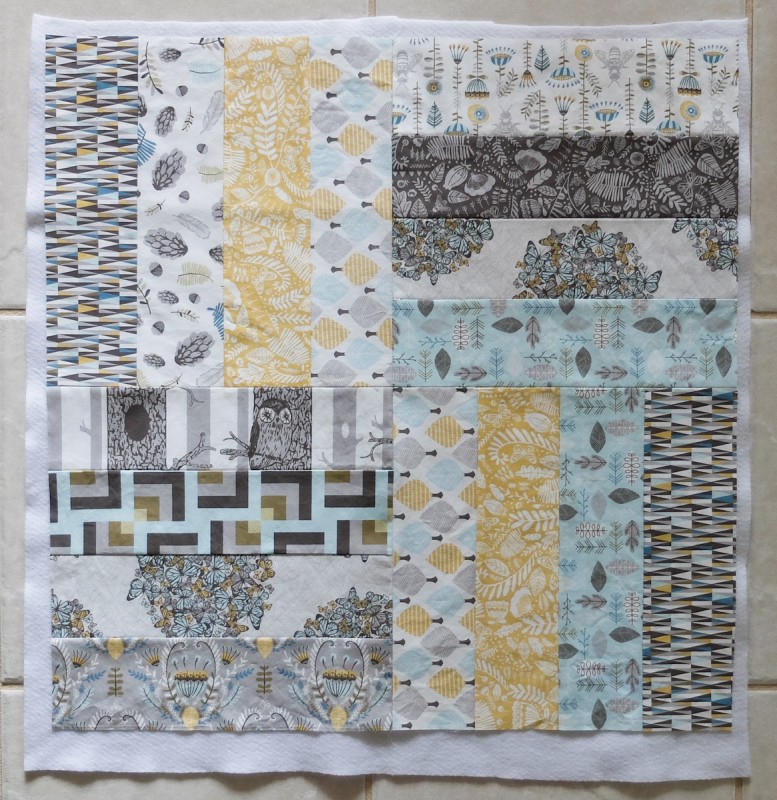
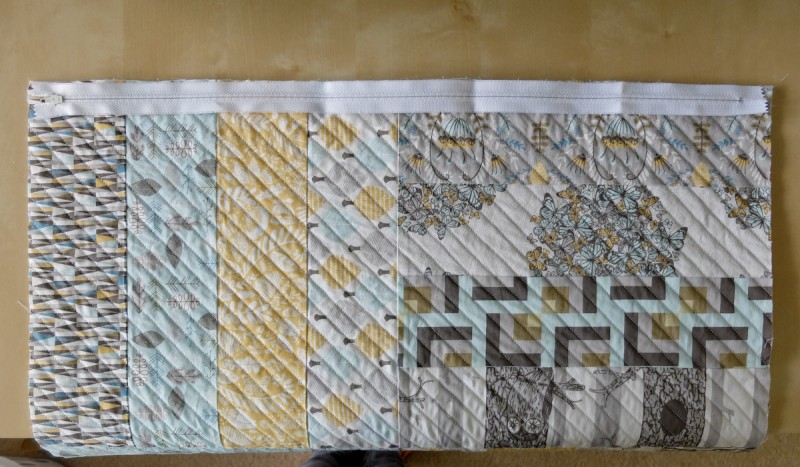
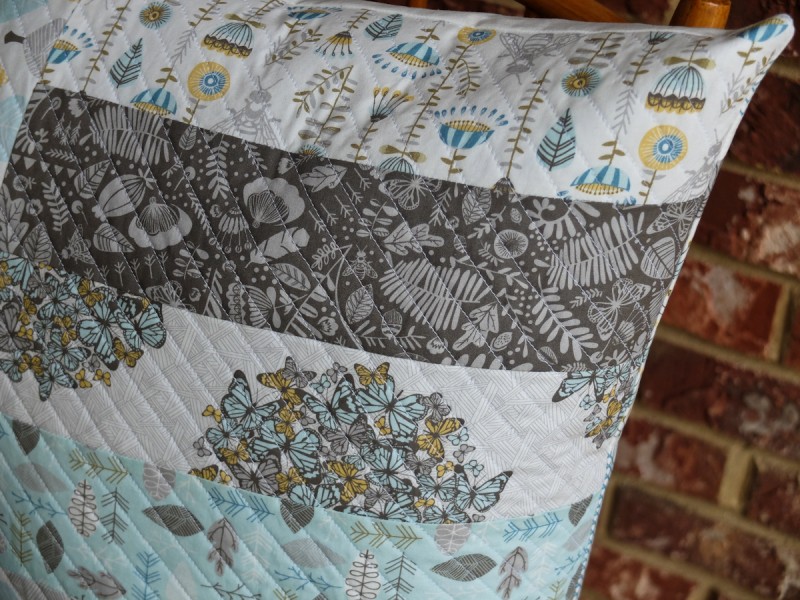
Step 1: Cut 16 strips that measure 3.5 inches wide for the front of your pillow. Don’t worry about cutting your strips to the correct length yet. You also need to cut a square that measures 24 inches by 24 inches for the back of your pillow. I used the Norwegian Wood Seasons Change Panel since two “seasons” fit perfectly.
Step 2: Sew your strips together along the long edge of each strip. Sew four strips together to form a block. You need four blocks all together.
Step 3: Make sure your blocks measure 12.5 inches by 12.5 inches. If not, trim them up where needed.
Step 4: Arrange your blocks where you want them to be on your finished pillow. I arranged mine so the strips in the left block are perpendicular to the strips in the right block. Works out well because you don’t have to match any seams that way! Sew the top two blocks together.

Step 5: Repeat with the bottom two blocks.

Step 6: Sew your top row to the bottom row. Make sure the center seam in the top row matches the center seam in the bottom row. This is the only seam you have to match! Cut a piece of batting that is slightly larger than your fabric and pin your pieced fabric to the batting.
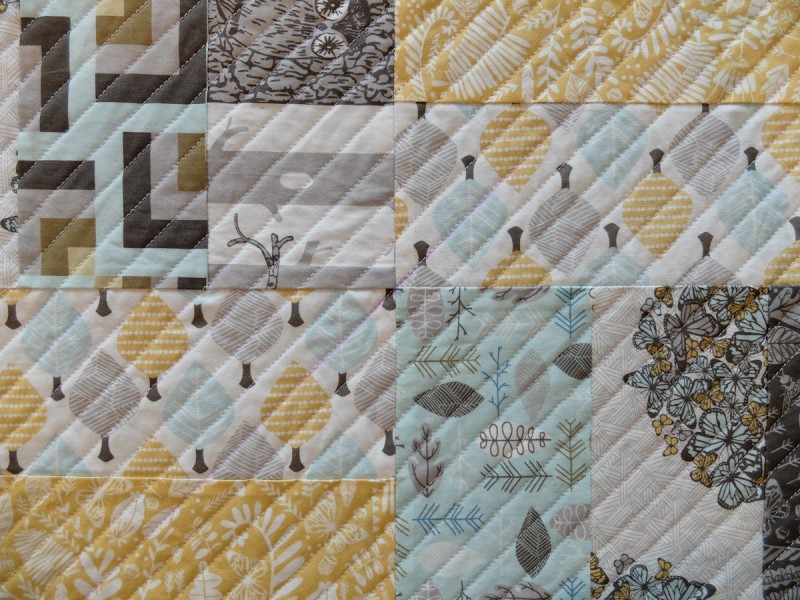
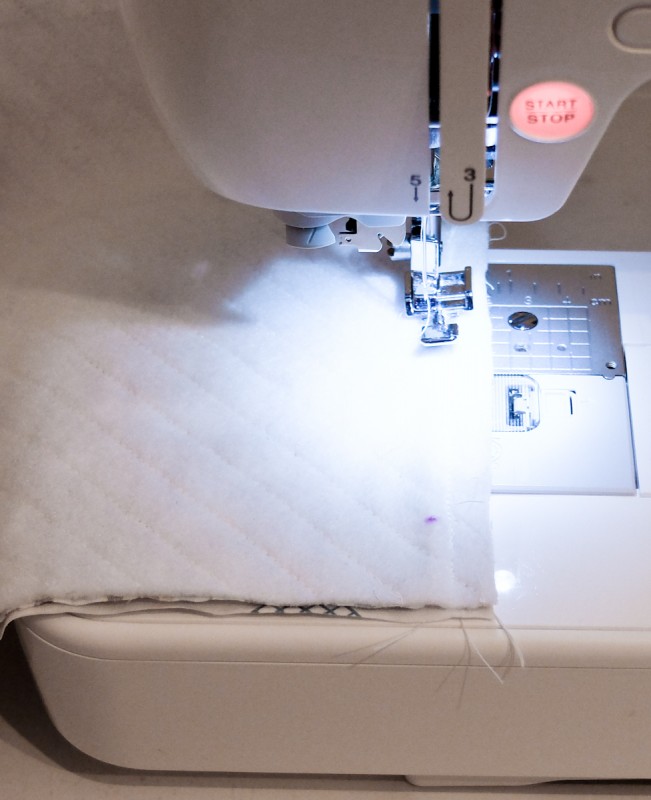
Step 7: Starting at one corner, use a ruler and a water soluble marker to draw a diagonal line to the opposite corner. Make sure your line goes right through the center of your fabric where the four squares meet.
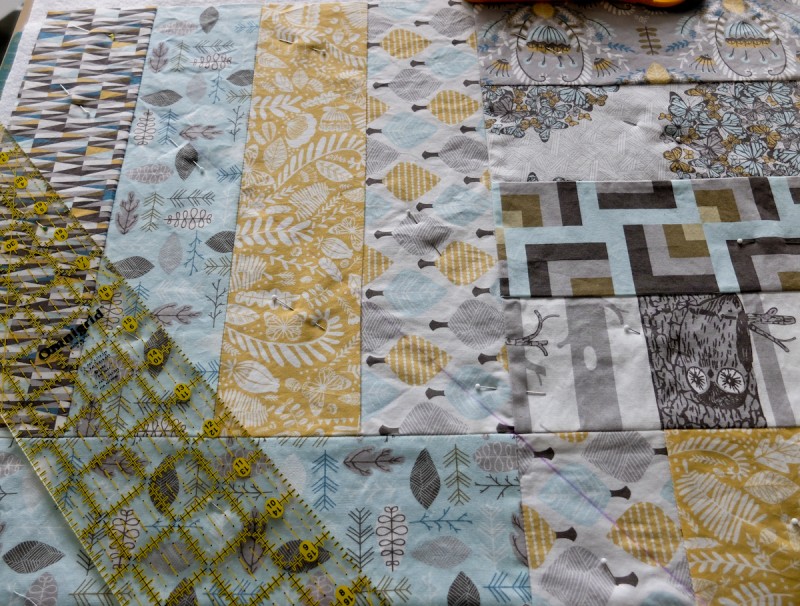
Step 8: At your sewing machine, use a 3.5 stitch length and stitch on top of the line you just finished drawing. Continue quilting your fabric with diagonal rows that are 5/8 inch apart until your entire pillow top is quilted.
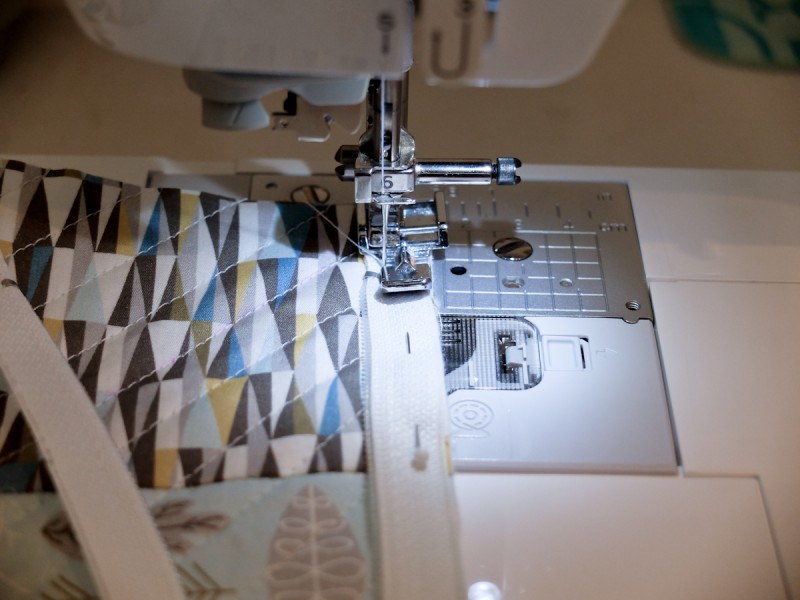
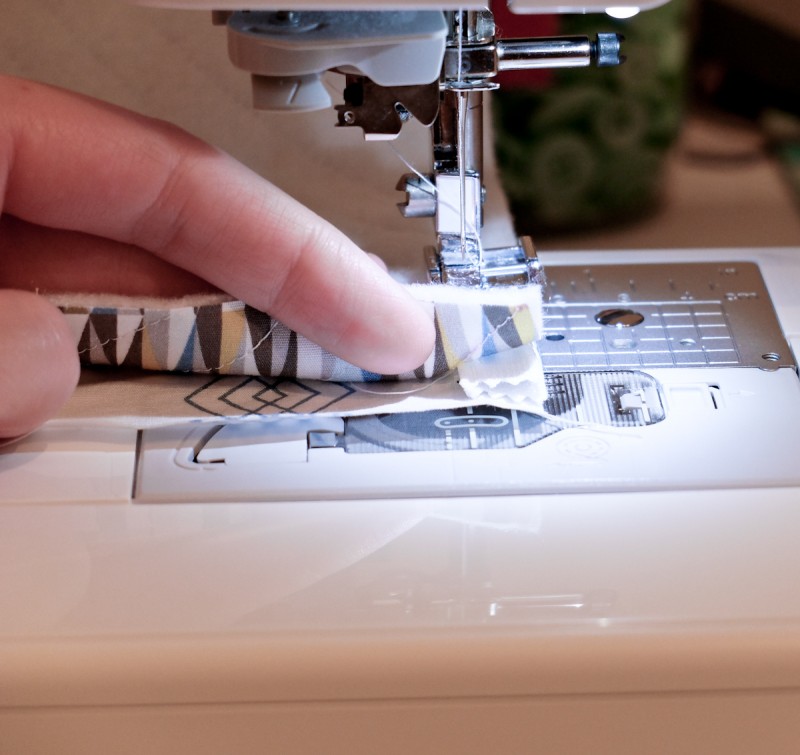
Step 9: To attach your zipper, place your zipper and quilted fabric right sides together. Make sure to position your zipper so that the beginning and end silver stops of the zipper are centered on your fabric. You will want to use the zipper foot that goes with your machine. It will make the process a million times easier!
Step 10: I usually center the zipper foot between the teeth of the zipper and the edge of my fabric. Place your needle close to the teeth of your zipper, but it doesn’t have to be right up against the side of the teeth. It’s okay for there to be a slight amount of space in between the foot and the teeth. If you sew too close to the teeth, it will make it difficult to open and close your zipper. As you sew, you will need to move the zipper out of the way of your machine zipper foot.
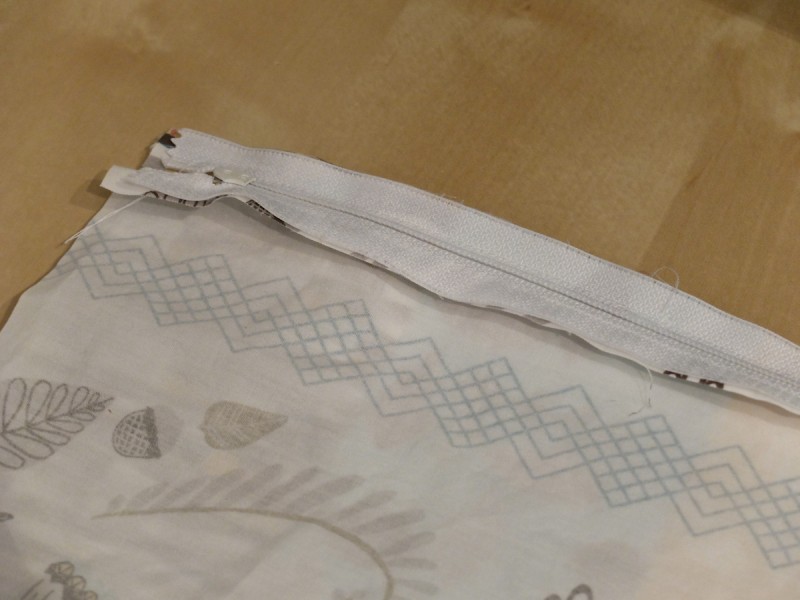
Step 11: Repeat with the back of your pillow and the other side of your zipper. When you finish sewing, it should look like the zipper pictured below.
Step 12: Lay your project out with the batting side facing up. Pinch the ends of one side of your zipper/fabric together. Make sure that your zipper ends match up exactly on top of each other. You don’t want your zipper teeth to shift, so line the top row of teeth directly on top of the bottom row of teeth and pin them with your pins on the batting side. (You want to be able to easily remove them when you start to sew.)
Step 13: Mark where your zipper metal ends are on your batting. I just marked it with a dot, but if you want to draw a line all the way across your zipper, it might be helpful. To the right side of your zipper, you should be able to see the line of stitching from where you attached the zipper. Line your needle up with those stitches and sew from your mark to the end of your fabric. Repeat with the other end. This sews the rest of your bottom edges together since your zipper doesn’t attach the front panel to the back panel all the way to ends of your fabric.
Step 14: Go back to the mark you made at your metal ends and using your zipper foot again, sew on the other side of your zipper teeth to the end of your fabric making sure to backstitch at the starting point and ending point. You should have stitching on both sides of zipper teeth along the last inch or so. Repeat with the other end.

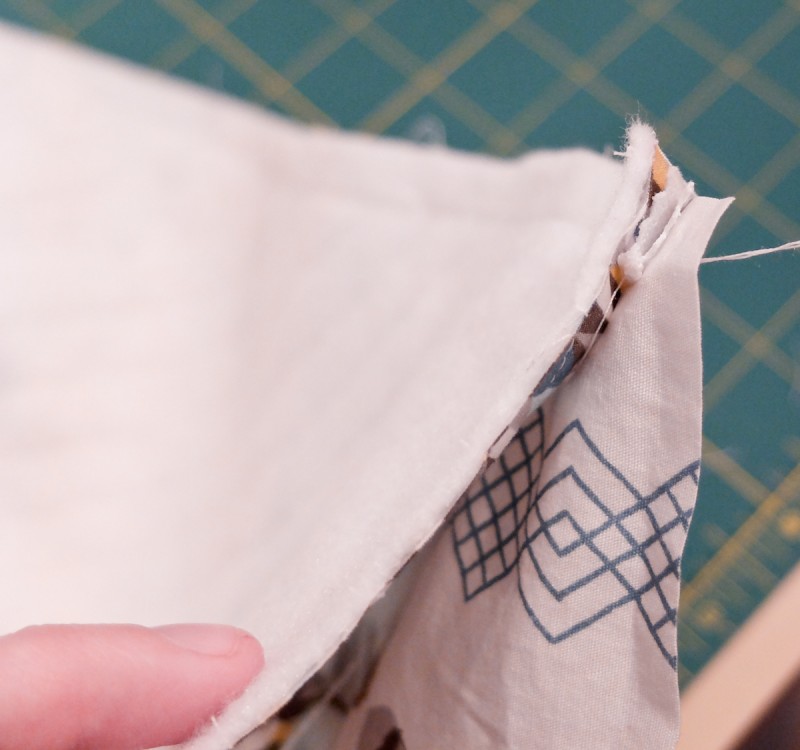
Step 15: Make sure your zipper is opened at least halfway, so you’ll be able to turn your project inside out. Pin your remaining three sides together and sew with a 1/4 inch seam allowance.
Step 16: Clip your corners and turn your pillow cover inside out. Put it on your pillow and enjoy!

One response