So, my aunt has had her eye on this tote she found on Pinterest forever and cannot stop talking about it! It really is cute and would be super easy to make! I love the chevron fabric she used, and the burlap rosette is adorable!
Well… I didn’t have a canvas tote lying around, but I did have some resemblance of canvas material in my scrap pile! All the fabrics I used in this project are scraps, so total cost = $0.00!
Here’s how I made it:
What you need
3/4 yard of medium to heavy weight fabric (canvas or canvas like material)
scraps of fabric for ruffles (see measurements below)
buttons (optional)
scraps for rolled flowers (optional)
coordinating thread
Preparation
Cut 2 rectangles 11 x 16 inches out of main fabric for body of bag
Cut 2 rectangles 6 inches wide x 6 inches long out of main fabric for handles
Cut 3 strips 4 inches wide x 40 inches long for ruffles
Prepare the handles
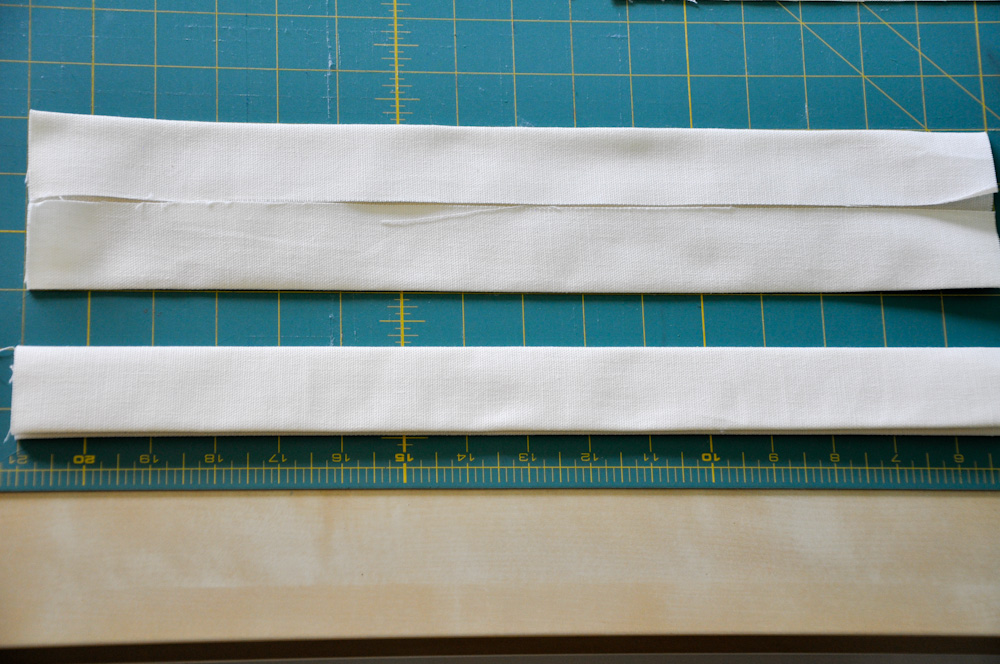
To make your handles, fold the handle fabric in half and iron the folded edge. Reopen and fold the two long edges in to meet at the creased edge in the middle. Fold again at the creased edge where the raw edges meet.
Edgestitch along both long edges of the handle.
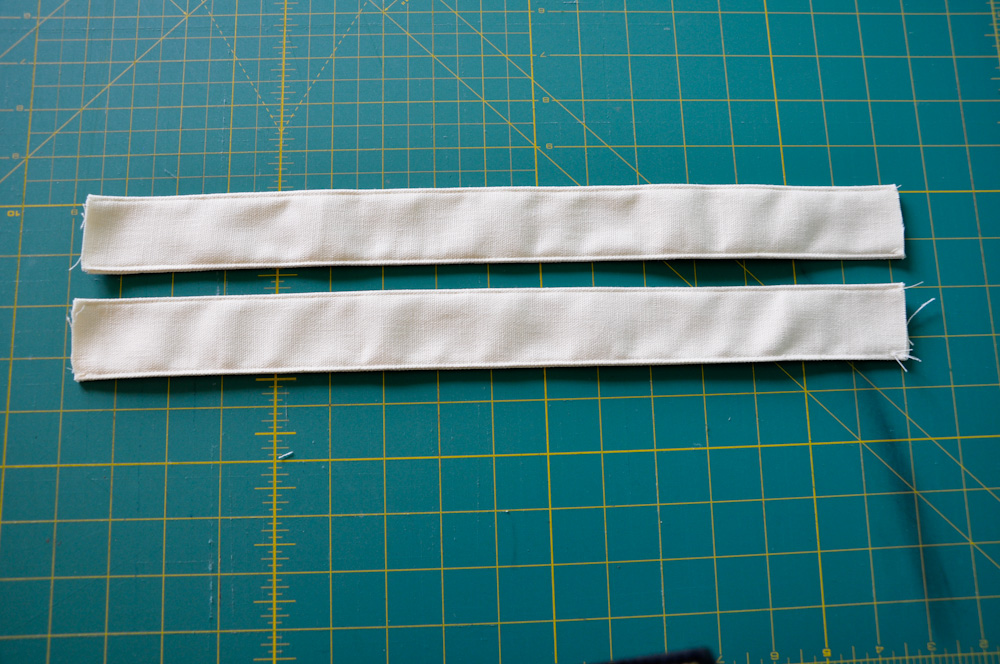
Surge the two short edges.
Repeat with the other handle.
Prepare the main panels
Surge the side and bottom edges of your front and back main panels.
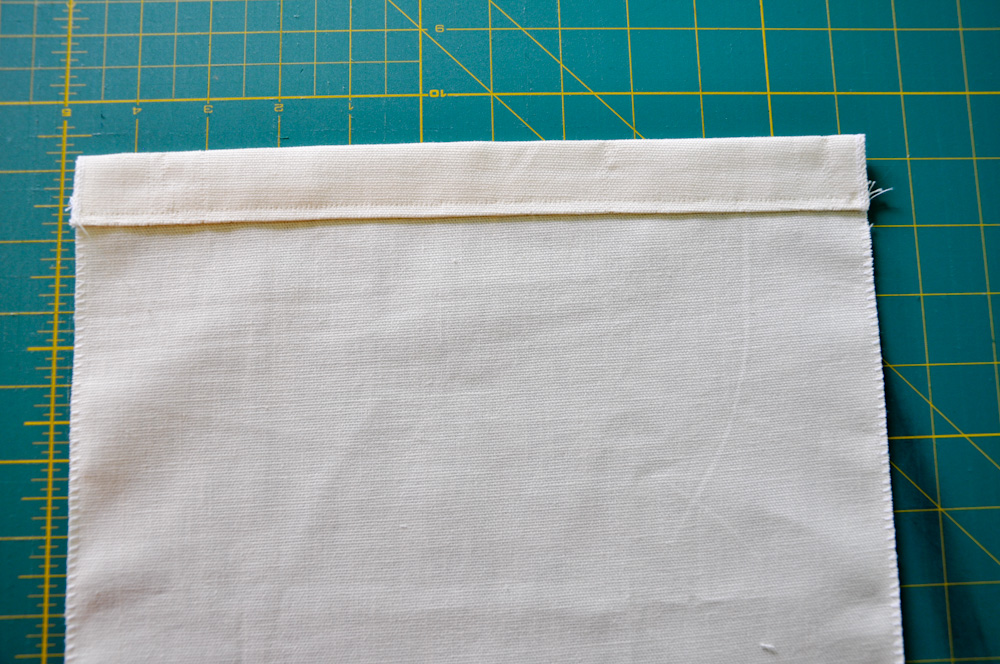
Fold the top edge of the front main panel towards the wrong side of the fabric ½ inch and then fold again 1 inch.
Edgestitch the folded edge down from the wrong side of the fabric.
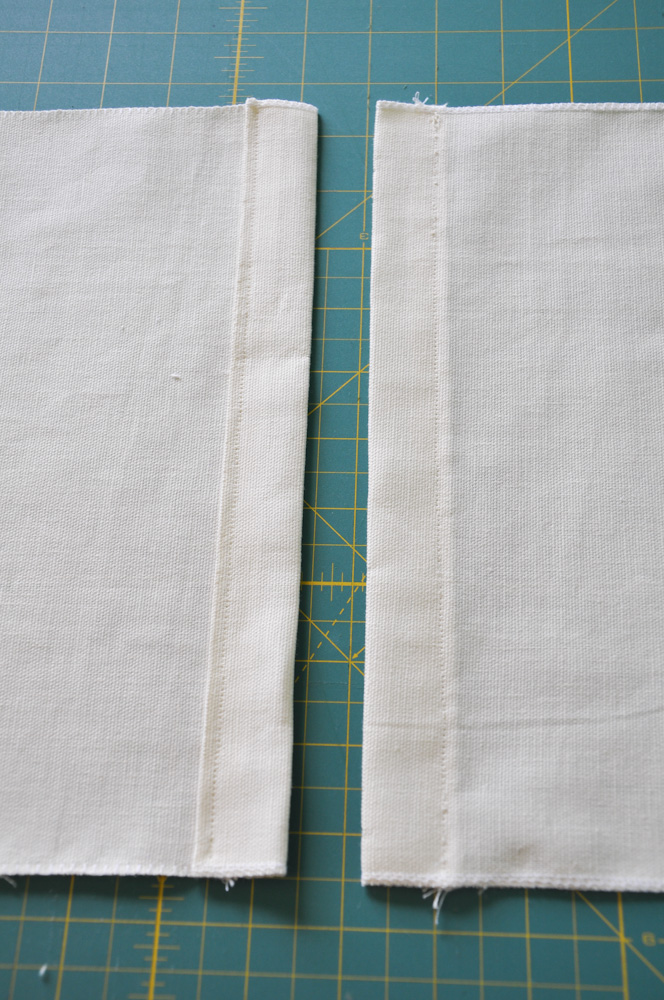
Pin one of your handles to the wrong side of the front main panel two inches from each side of the panel.
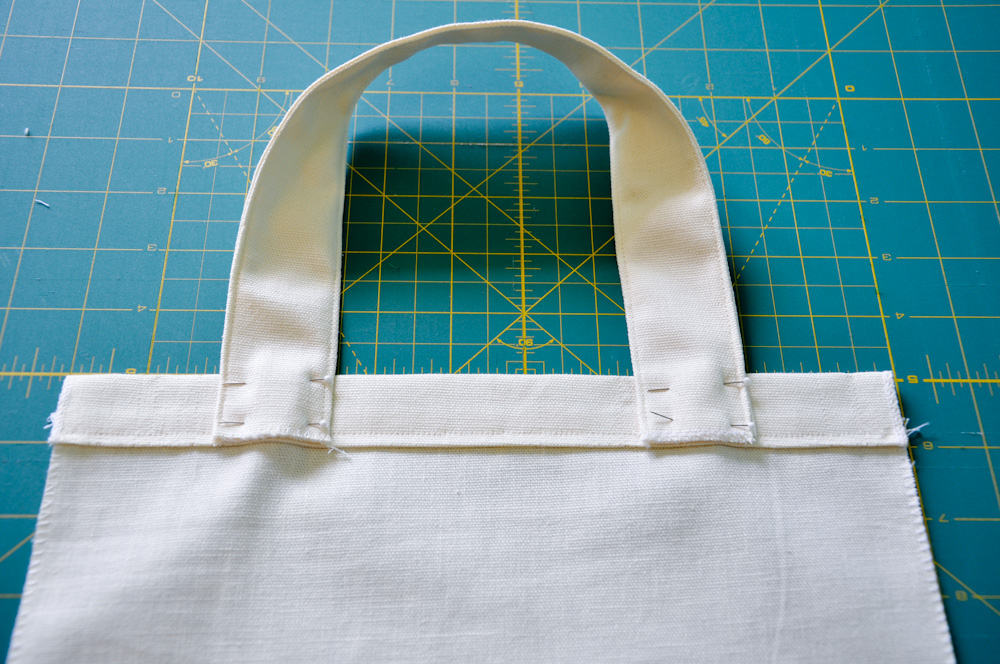
Stitch the handles in place as shown in the picture below.
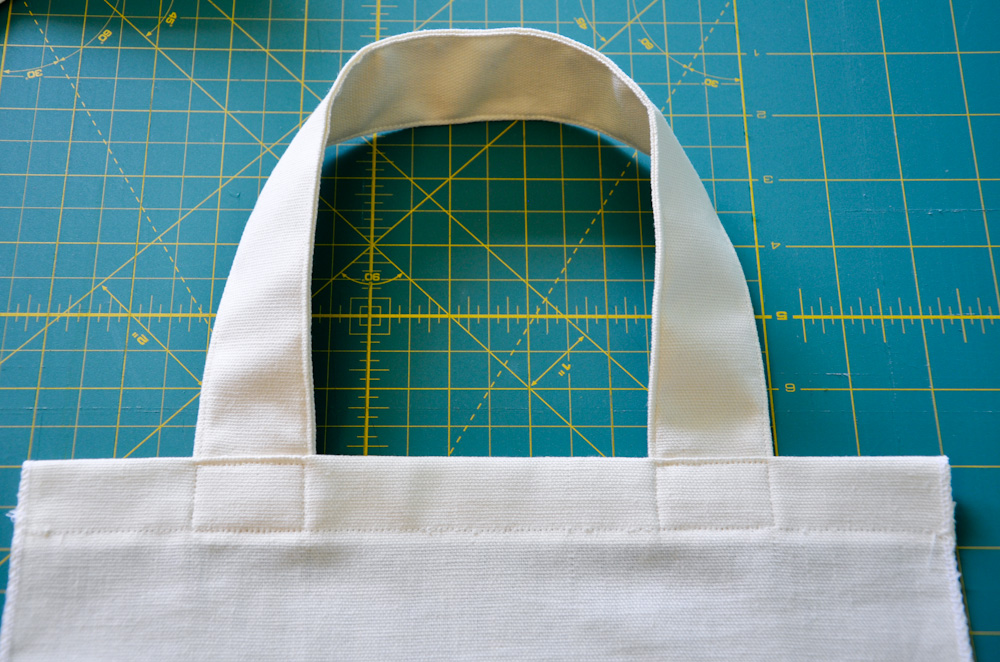
Repeat with other handle and the back main panel.
Prepare the ruffles
Surge the top and bottom edges of your ruffles
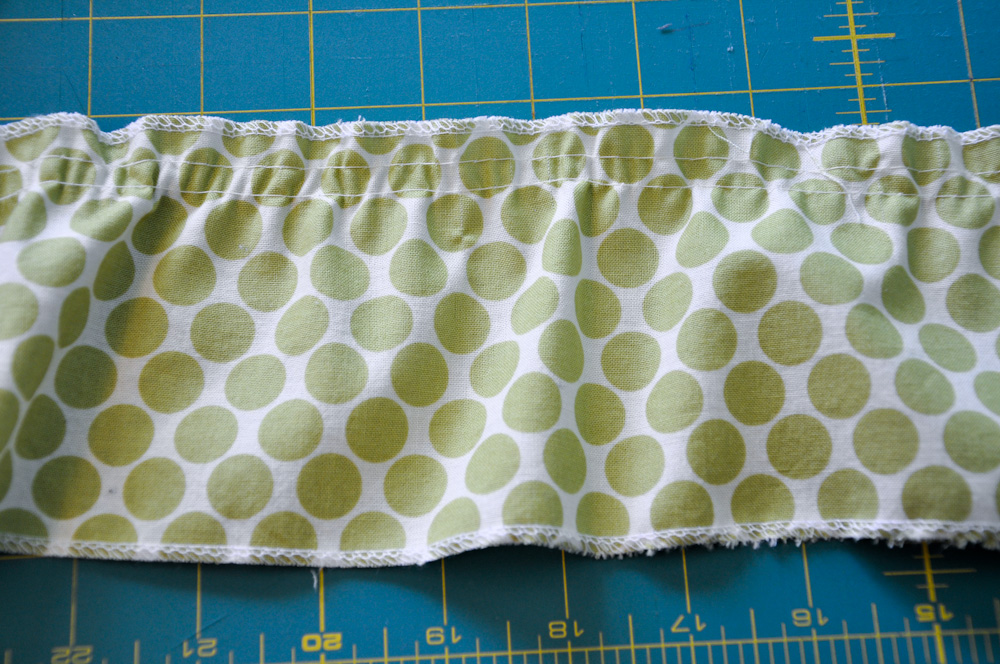
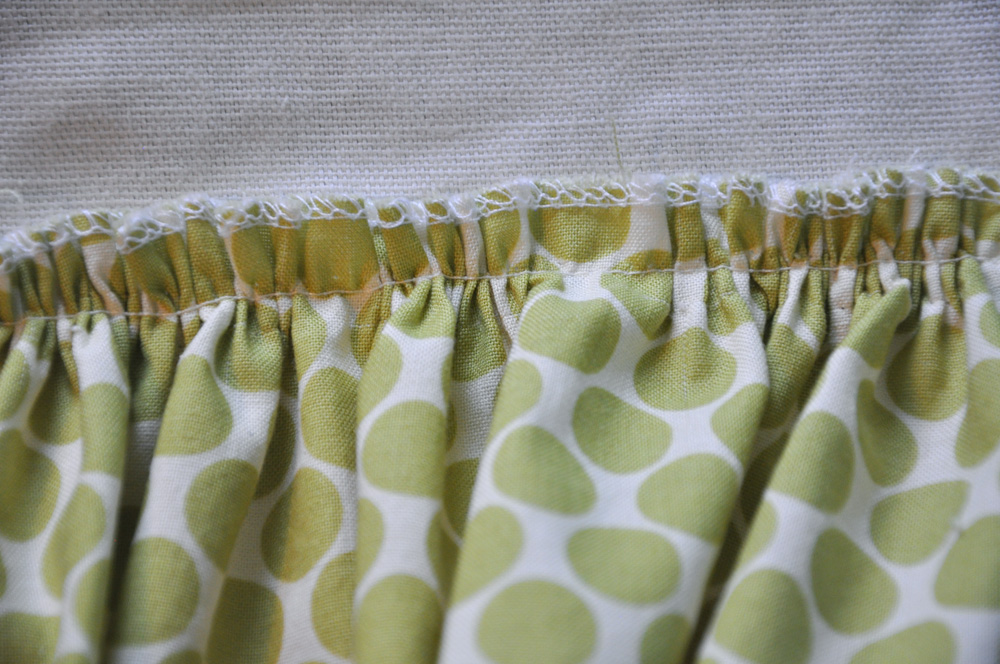
Using a long basting stitch, sew ¼ inch from the top of one ruffle strip. Then sew another row of basting stitches about 1/4 inch below the first row of stitching.
Pull the two bottom threads on the underside of the ruffle to gather your fabric. Keep gathering until your ruffle is about 6 inches wider than your main front panel.
Repeat with the remaining ruffle strips.
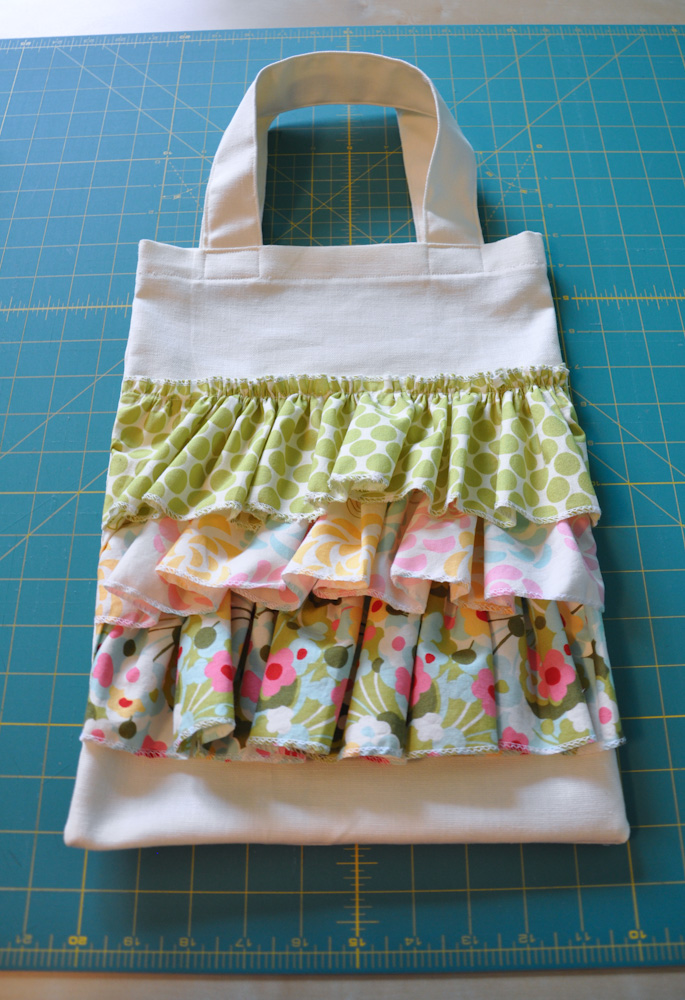
Pin the ruffles where you would like to place them on the bag starting with the bottom ruffle and working your way up. Leave about 1 ½ inches to 2 inches between each ruffle.
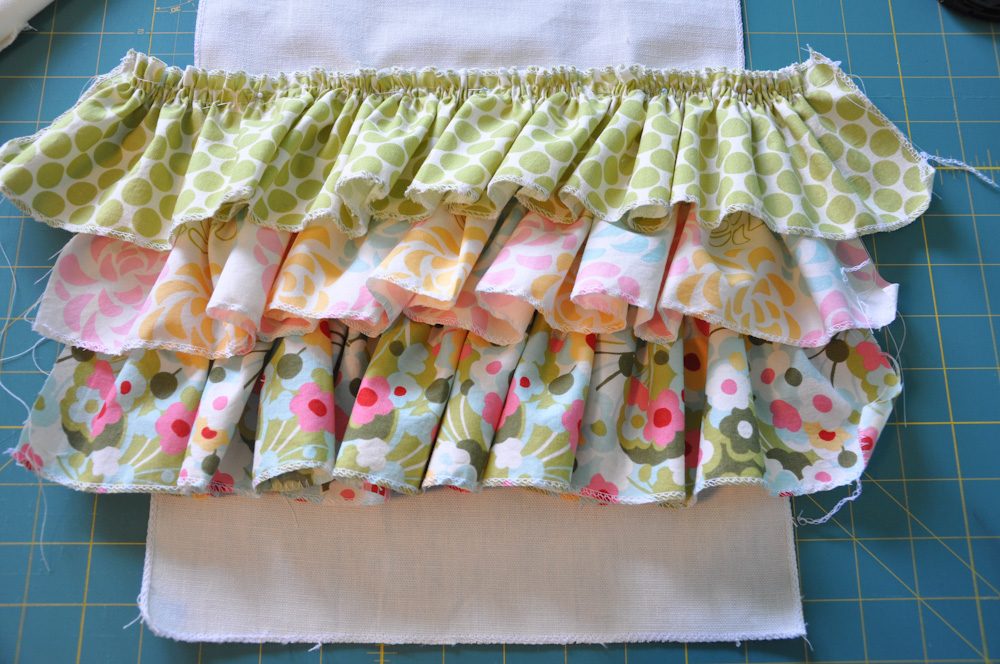
Once your ruffles are pinned to the front main panel, stitch the top ruffle to the bag just below your top basting stitch. (Don’t forget to change your stitch length back to the original length!)
Repeat with the other two ruffles.
After all your ruffles are sewn into place on the front main panel, remove the basting stitches from the top ruffle. You should only have one row of stitching showing on the top ruffle.
Putting the bag together
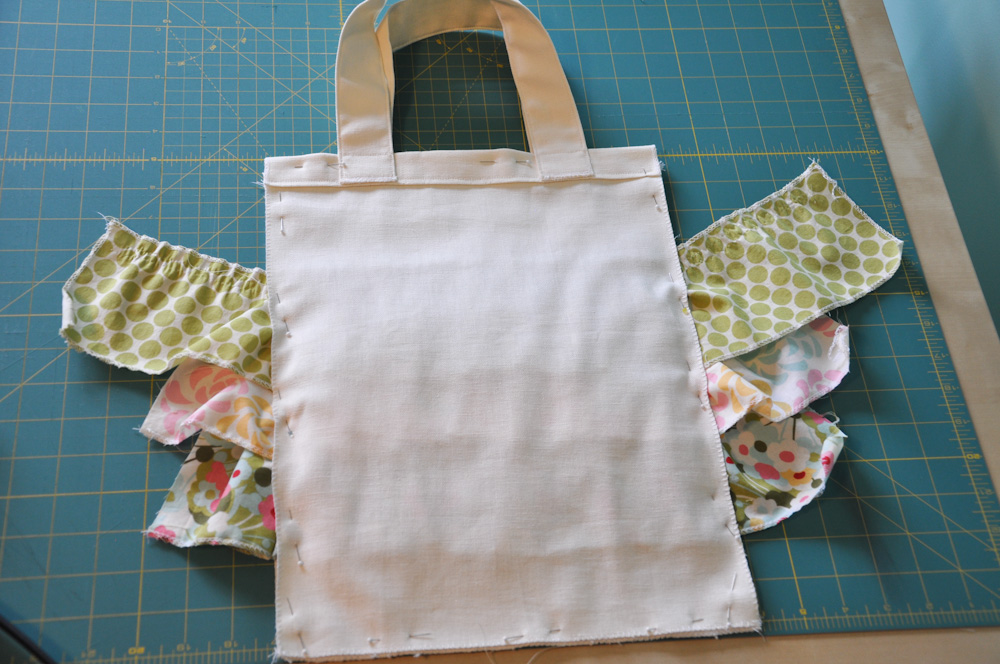
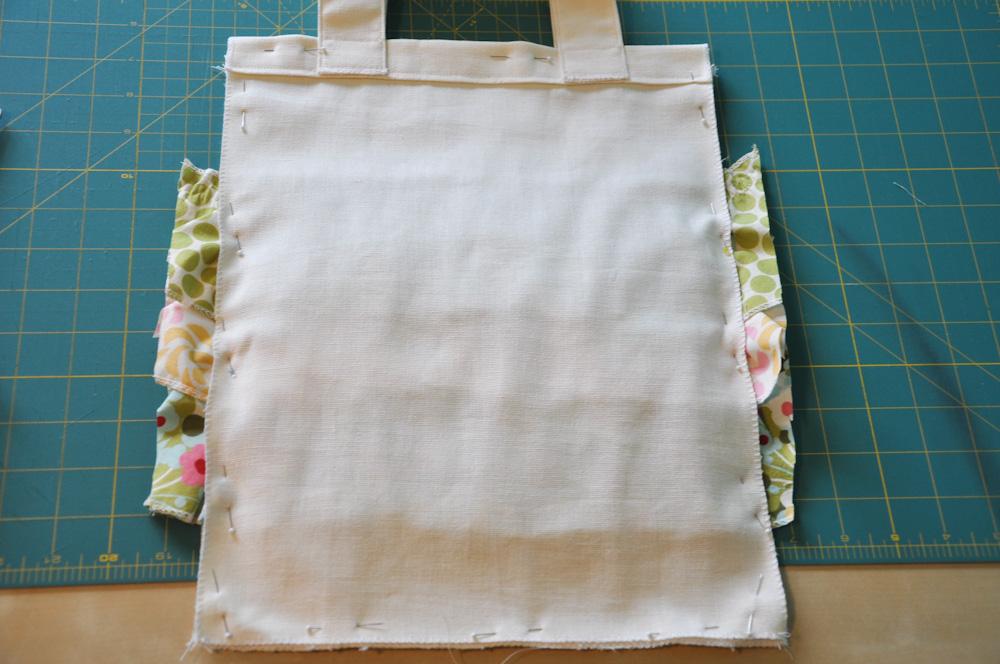
Pin the main panels right sides together. If your ruffles hang off the edges more than an inch or so, you can trim them. (Don’t trim them flush with the edges of the main panels until after you sew the seams of the bag.)
Stitch the bag along the sides and bottom with a ¼ inch seam allowance. Now you can trim the rest of the excess ruffles along the side edges.
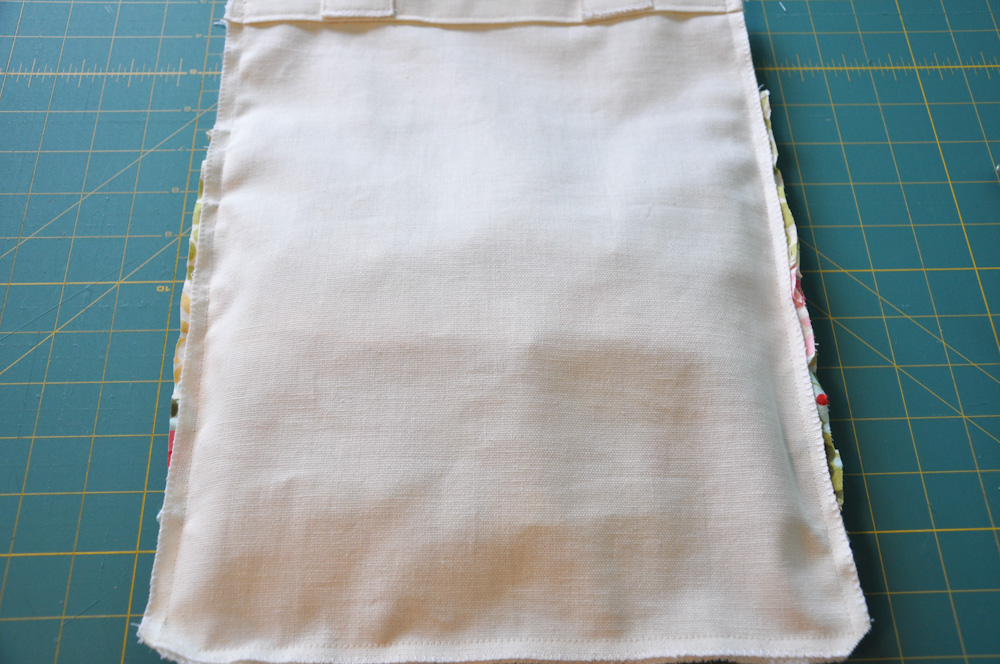
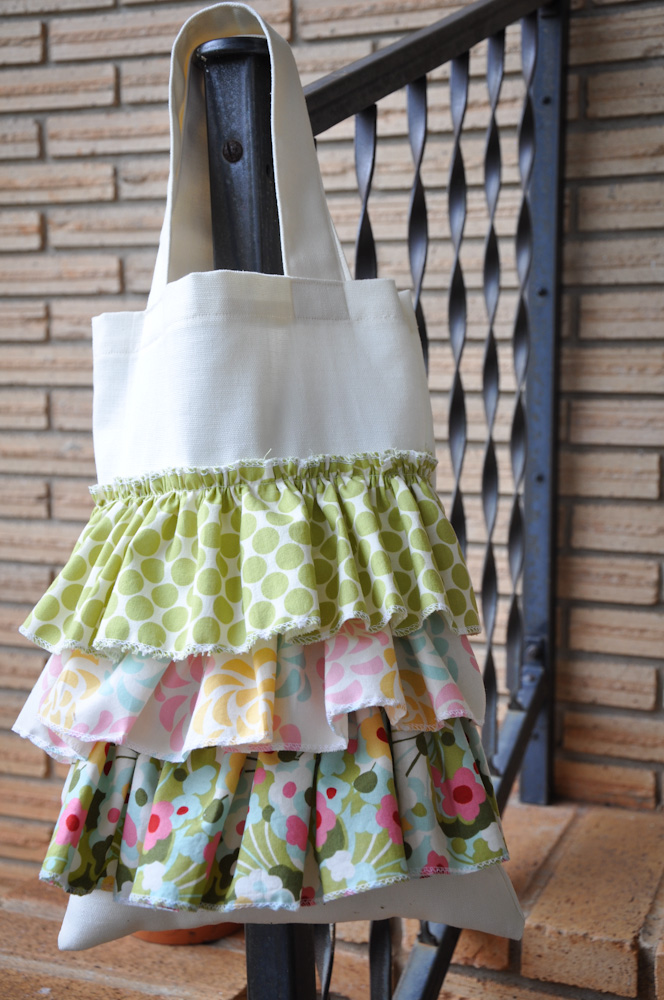
Clip your bottom corners and turn inside out.
You can always add more flare to the front of your bag by adding a cluster of rolled flowers like the ones in the very first picture! Here’s a great tutorial by Sandi Henderson on how to make those cute little flowers.

