So, here are the details about the changing pad cover. The changing pad I have measures 16 inches by 33 inches.
Materials:
1.5 yards of fabric (either cotton quilting weight or cotton knit)
35 – 40 inches of 1/4 inch elastic (depends on how snug you want it to wrap around)
freezer paper (to draw out your pattern)
coordinating thread
Drawing out your pattern:
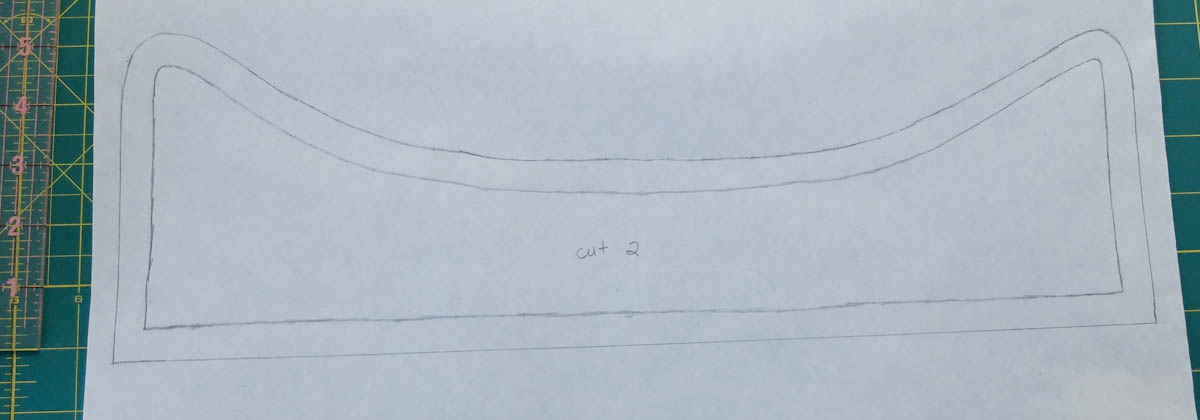
1. Stand the changing pad up on one end and trace around the end of it. After tracing it, draw another line around what you just traced for your 1/2 inch seam allowance.
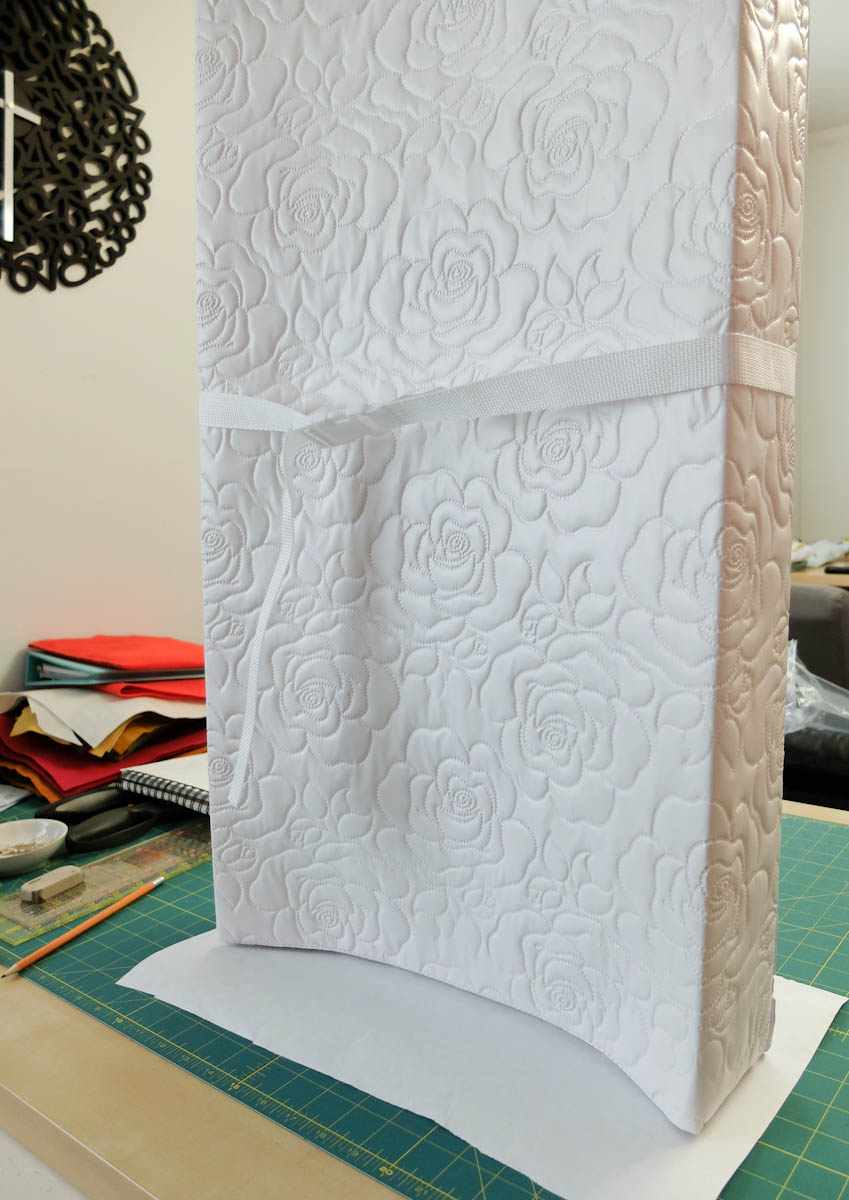
2. Measure across the middle of the pad and down over the two sides to get the measurement for the width of your fabric. Add 5 inches to your measurement to allow for seam allowance and for the fabric to wrap around the underside of the changing pad. My measurement was 25.25 plus 5 for a total of 30.25 inches.
3. Measure the length of the changing pad from curved seam to curved seam. Add 1 inch to your measurement for the seam allowance. My measurement was 32.75 plus 1 for a total of 33.75 inches.

Your pattern should consist of 2 pieces: 1 for the ends of the changing pad and 1 for a rectangle that measures 30.25 by 33.75 inches.
Cutting your fabric:
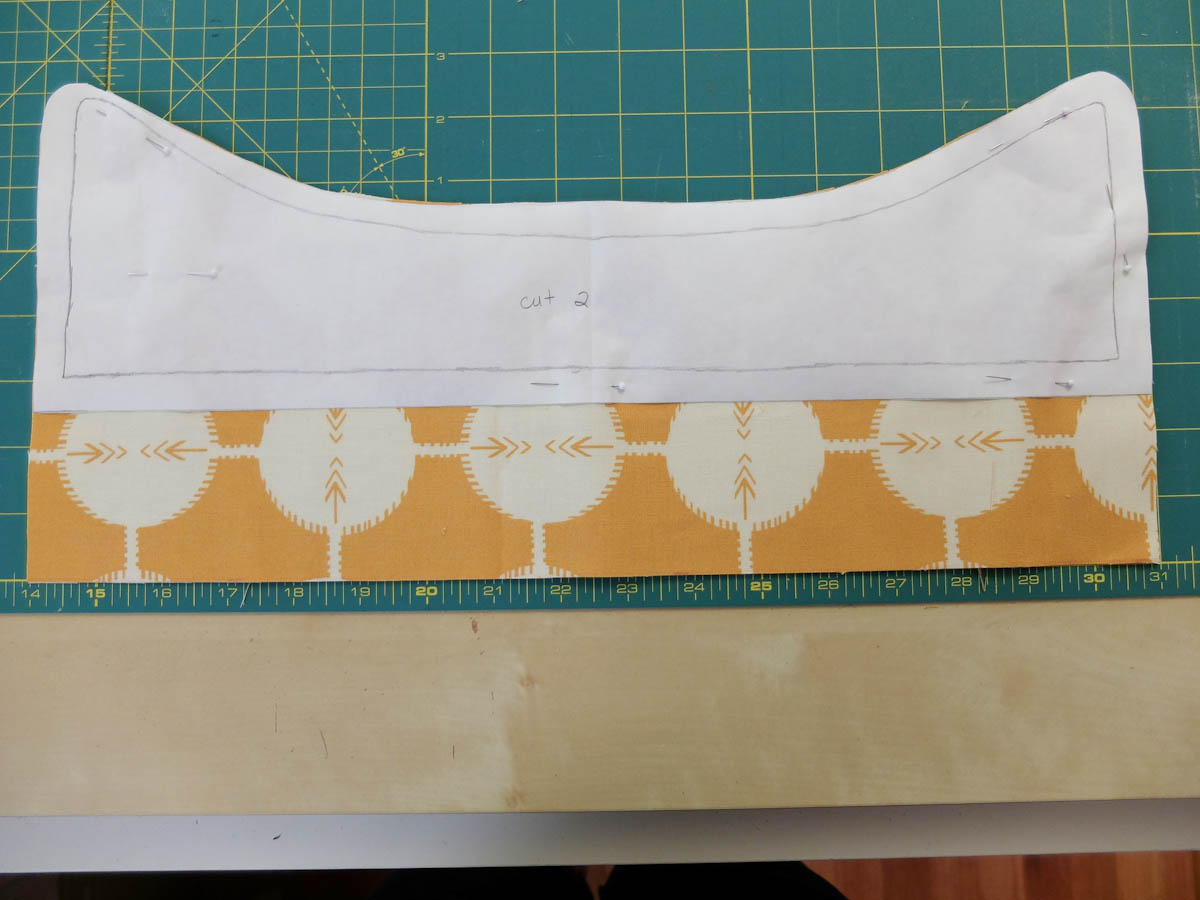
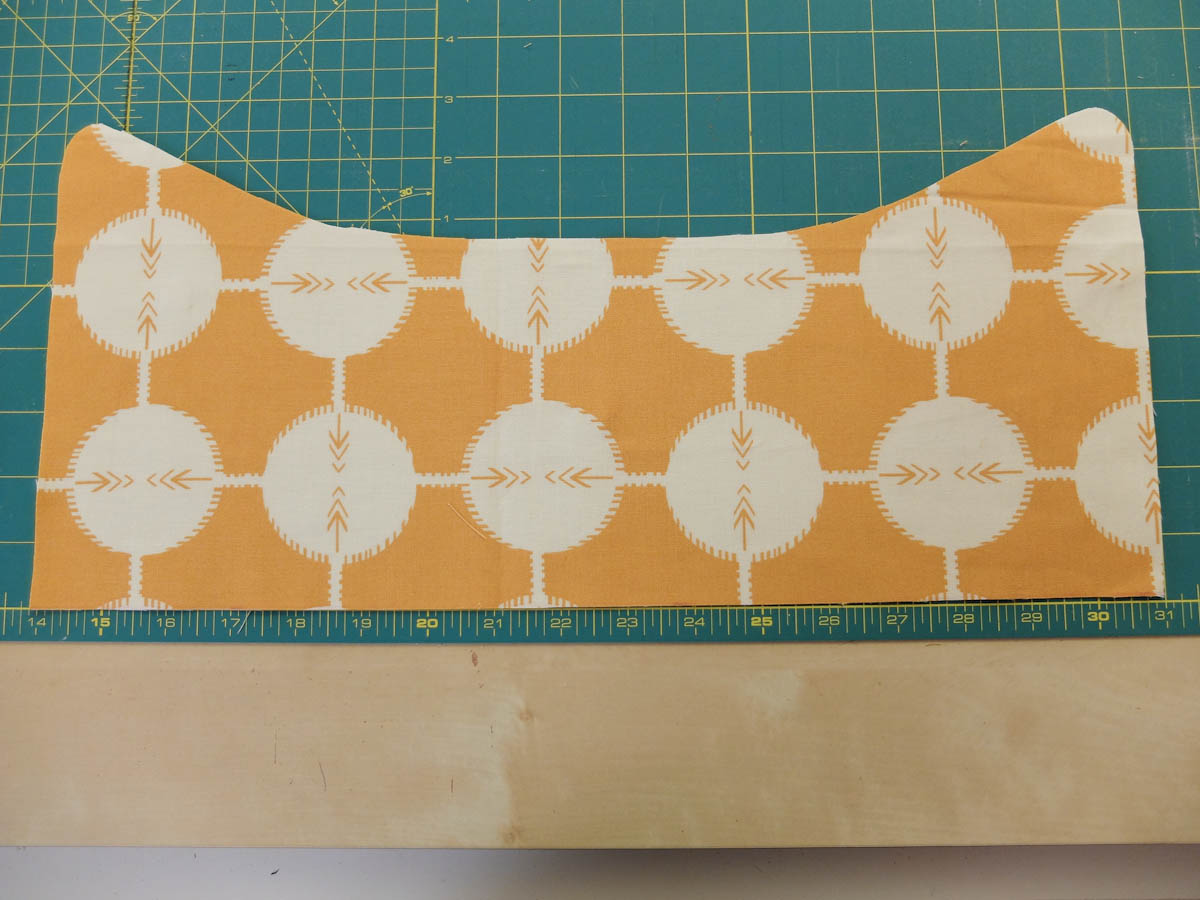
1. When you cut the pieces for the ends of the changing pad, make sure you cut on the outside line that accounts for your seam allowance. However, you will need to add 2.5 inches to the straight edge of your pattern before cutting to allow for room for your fabric to wrap on the underside of the changing pad. You will need to cut 2 pieces; one for each end of the changing pad.
2. Cut out the fabric for the top and sides of your changing pad using the measurements of your rectangle. You will only need to cut 1 of these.
You should now have 3 separate pieces: 2 end pieces and 1 top piece.
Sewing your pattern pieces together:
1.Mark the center of your rectangle and the center of one end piece.
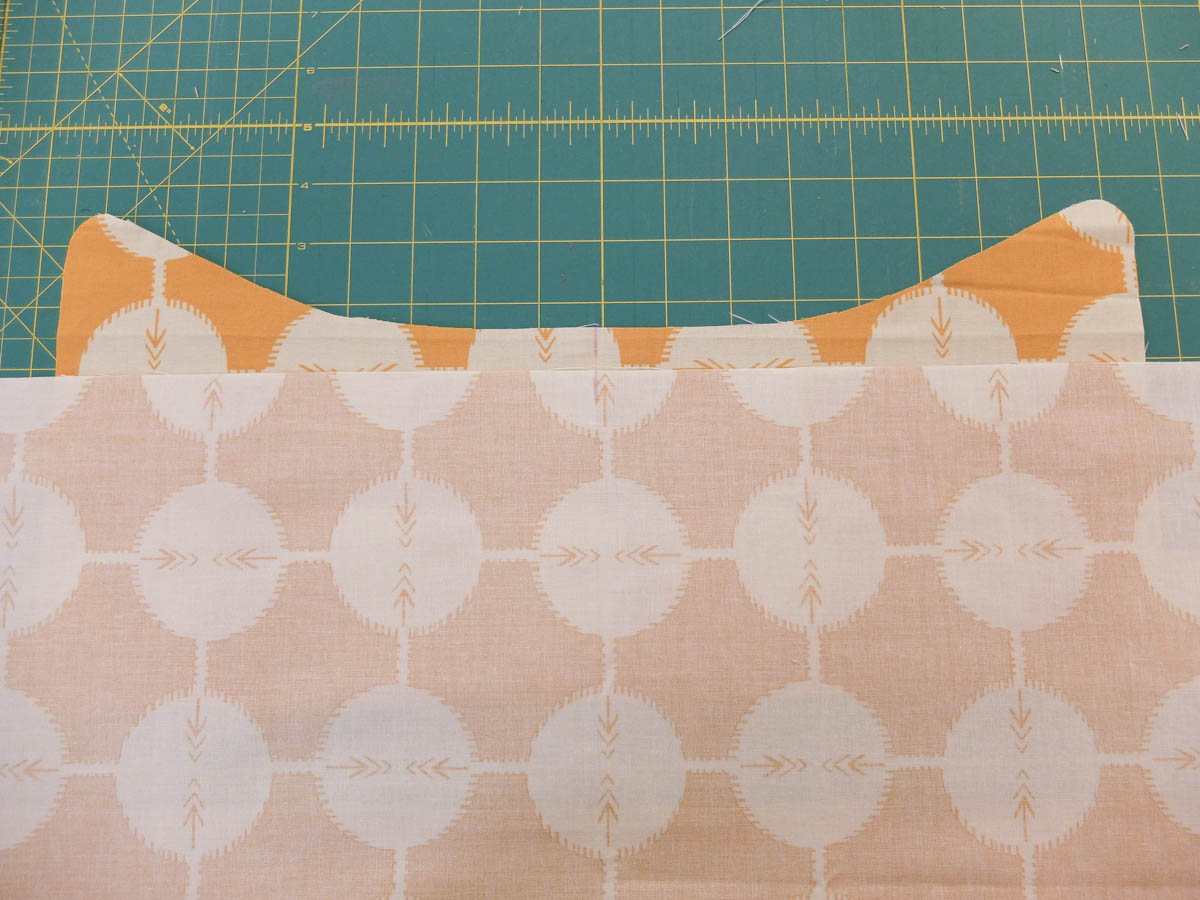
2. Match up the middle of each and pin them together. Don’t worry about pinning the fabric down the sides of the end piece; just pin the top curved edge to the rectangle.
3. Since sewing around the curves can be challenging, I started in the middle and sewed until I got to the curved edge. To make sewing around the curves easier, I clipped the edge of my rectangle fabric about 3/8″ where it would meet the curved edge of the end piece.
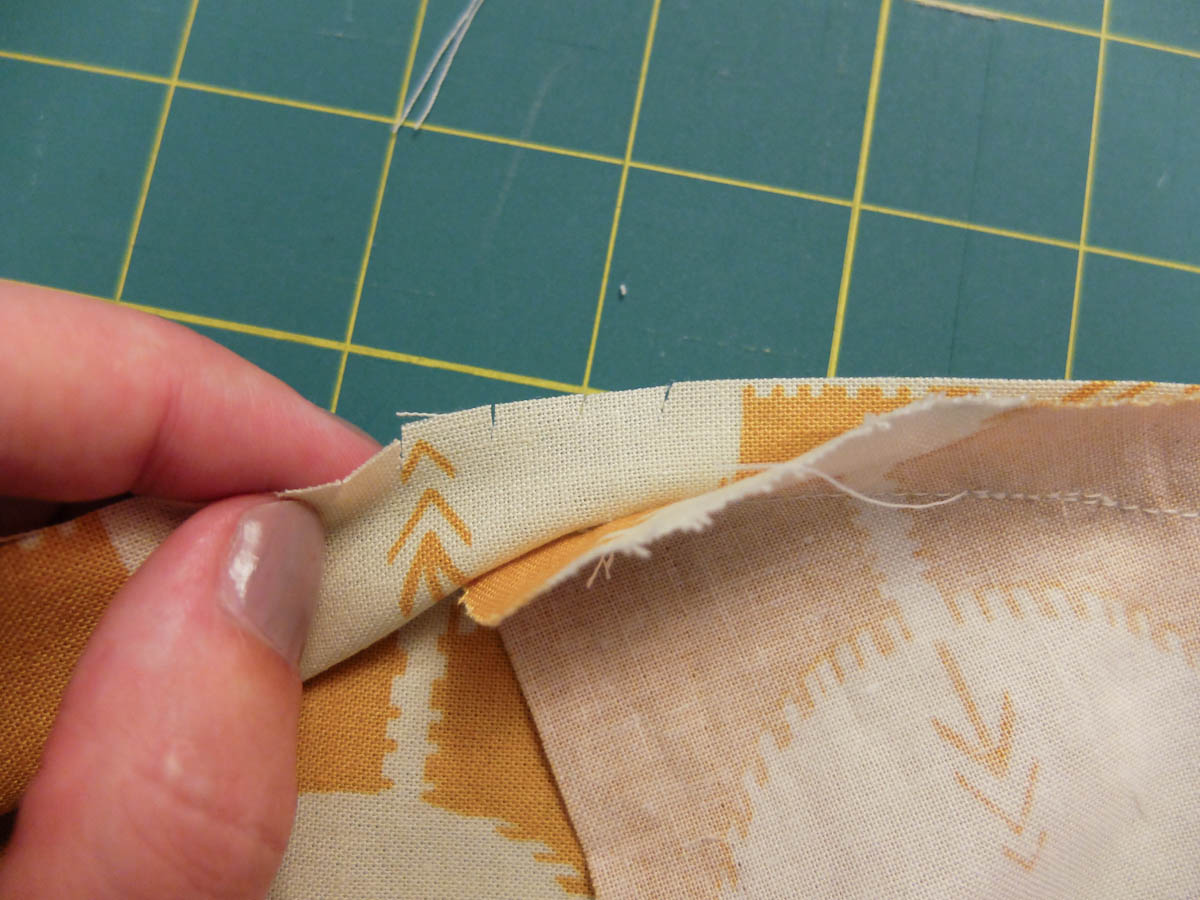
4. Now pin your fabric from the curve and the rest of the way down the side. Sew the rest of the side together. Start back at the middle and sew the other direction to the other curve. Clip, pin and sew down the side. Repeat with your second end piece and the other end of your rectangle.
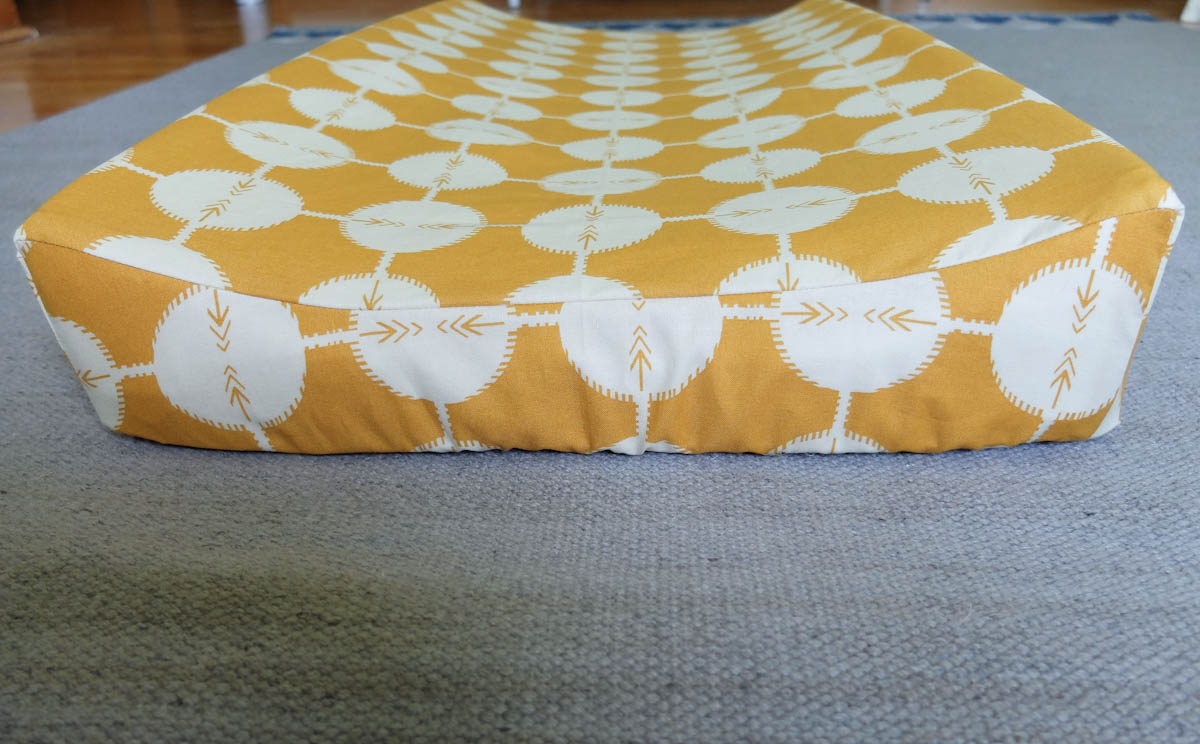
5. You should now be able to slip the cover over your changing pad to make sure that all the points line up and that it fits snugly over the top. (You should adjust any mistakes at this point before going on to add your elastic.)
6. Before making the casing for your elastic, serge around the raw edges of your cover. If you don’t have a serger, you can use a zigzag stitch instead. Fold the serged edge under 1/2 inch and iron. (You can choose to pin all the way around if you wish, but it isn’t necessary.)
7. Sew the folded edge down at 3/8 inch to make your elastic casing. Make sure to leave a 2-3 inch opening in your casing to pull the elastic through.
8. Use a safety pin to help you weave the elastic through. When you reach the point where you started, overlap your elastic about 1-2 inches and sew it securely down.
9. Sew the opening in your casing closed.
10. Stretch out your cover to distribute the elastic evenly in your casing and slide your cover onto your changing pad.
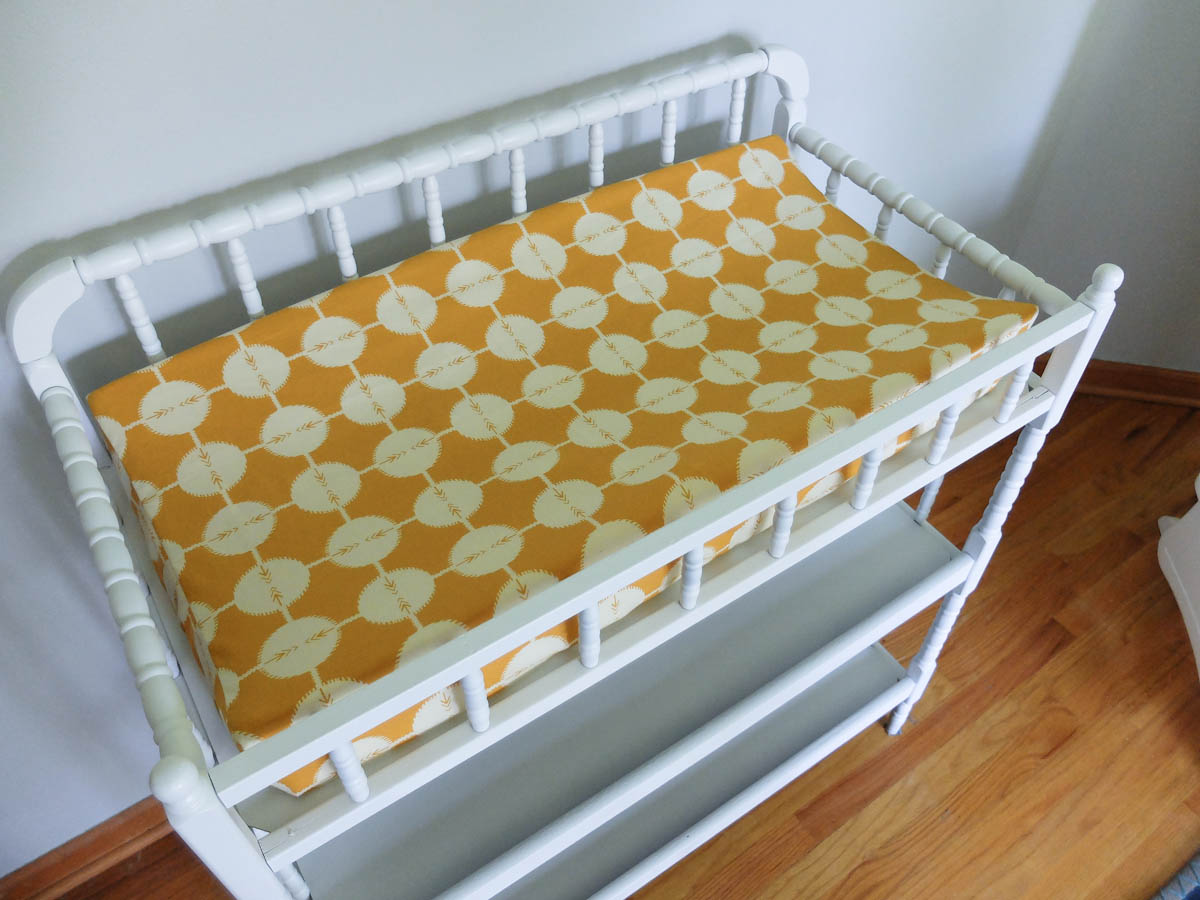

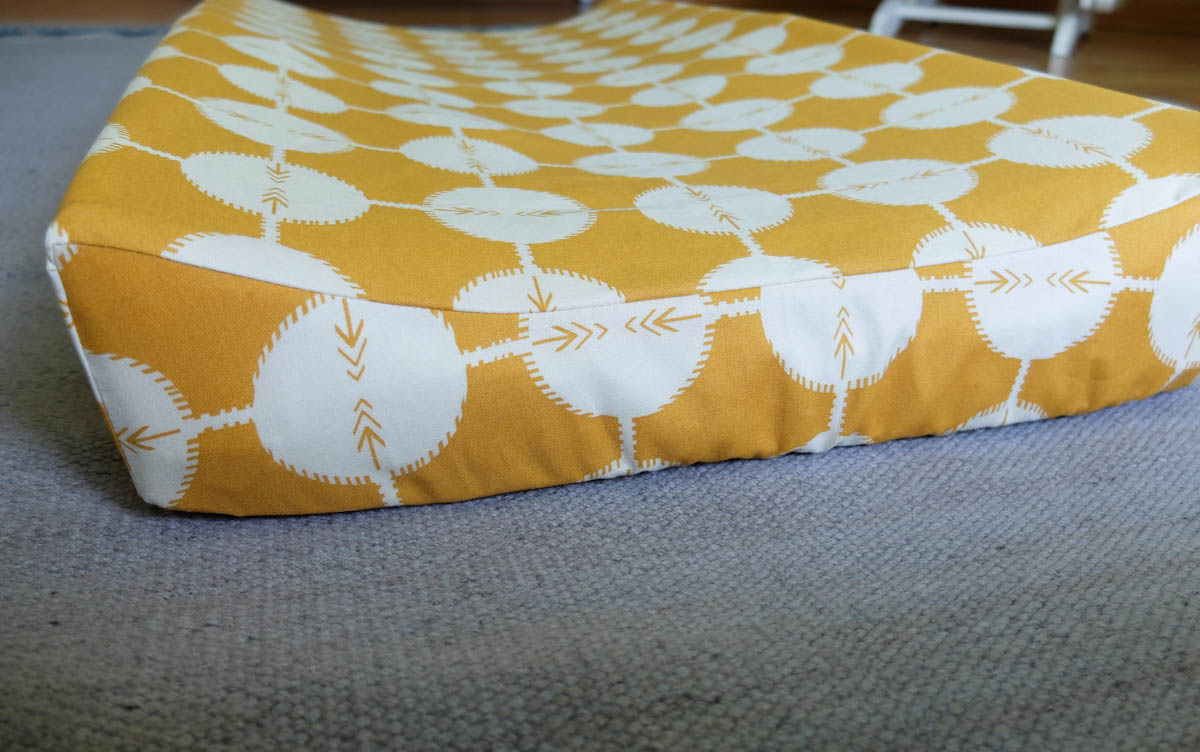

Easy, right? I used just regular cotton quilting fabric for this cover, but a cotton knit would probably work better. However, I have to admit I love this fabric and it goes well with what I’ve got going on in the nursery. I’m still waiting for my knits to get here and can’t wait to make a few more of these! They’re so much fun!
{Fabric pictured is from Anna Maria Horner’s Field Study collection.}
Woot! You are so talented and SMART! Great project instructions and great project! I can’t wait to see what you do next :-)))