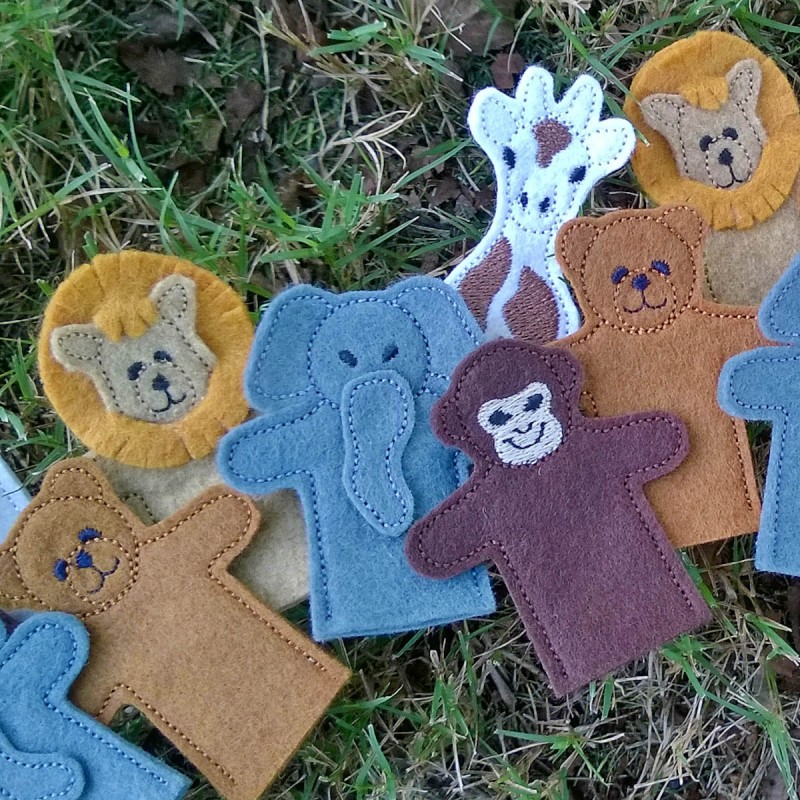
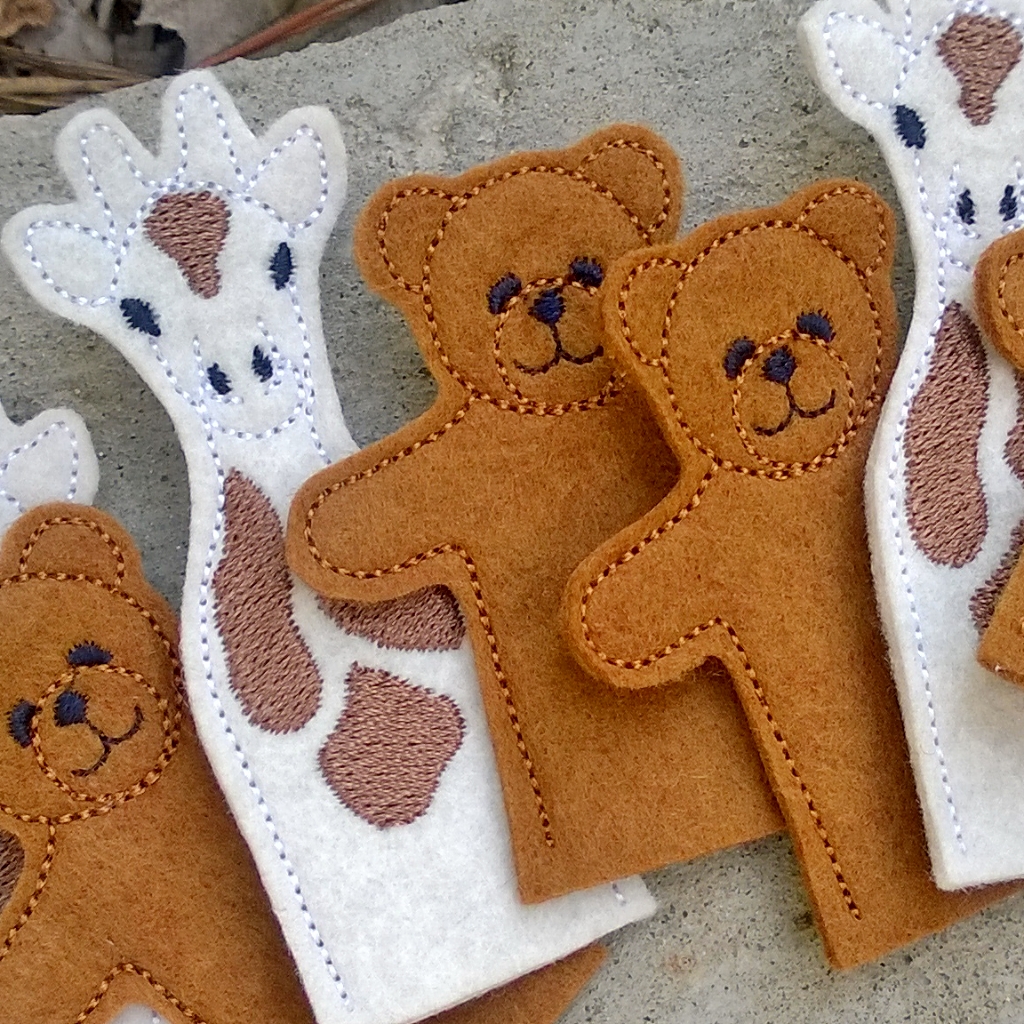
I had the most fun making these cute little felt finger puppets! They were super simple to stitch out and didn’t take a incredibly long time to cut out. The designs are from Evy over at A Bit of Stitch, and they go with her newest Busy Baby Book page designs. She made the page for Des and the little animals were a big hit. I decided to stitch out some for one of Des’ little cousins, but wanted to conserve as much felt as possible. So instead of just making one of each animal, I made four!
The finger puppet design instructions tell you to use a 4 x 4 hoop, which is great if you just want to make one of each design. However, I knew that I would more than likely end up making more of these little zoo friends, and I figured I could save time and felt by making multiple puppets in one sitting.
I’m still relatively new to the embroidery world, so I wasn’t entirely sure my plan would work. But it did! I thought I’d share my step by step process in case you would like to create your own little zoo too!
Just so you know, I’m using a Babylock Ellegante to stitch out these cuties, so if you’re using a different Babylock machine, these steps may vary.
How to Set Multiple Designs in your Embroidery Hoop
Materials:
5 x7 hoop
finger puppet designs from A Bit of Stitch
Note: For the visual sake of this tutorial, I used 4 different designs in the hoop. In reality, you would be using four of the same design. (So you would be stitching four bears at the same time instead of four different animals, since you can’t change felt colors in the middle of the stitch sequence.)
Instructions:
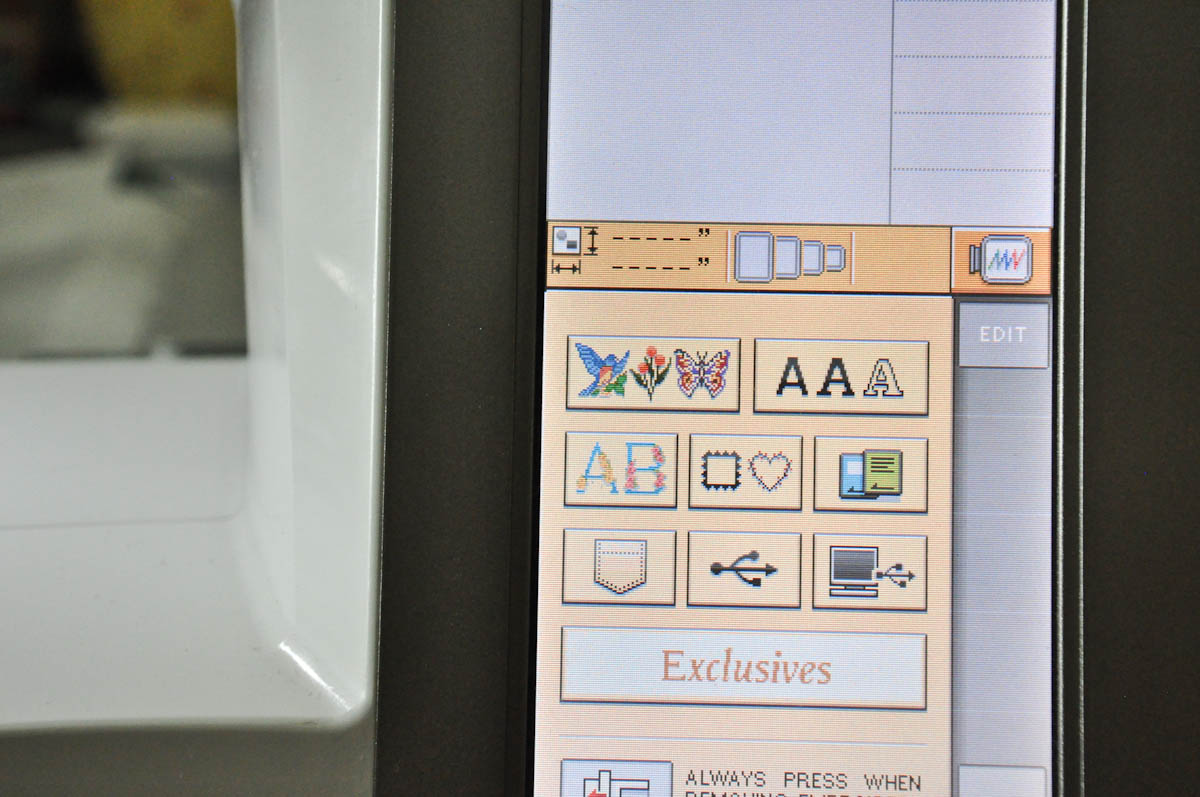
Navigate to the file location. I usually store my files on a USB, since it’s easier than having to connect directly to the computer.
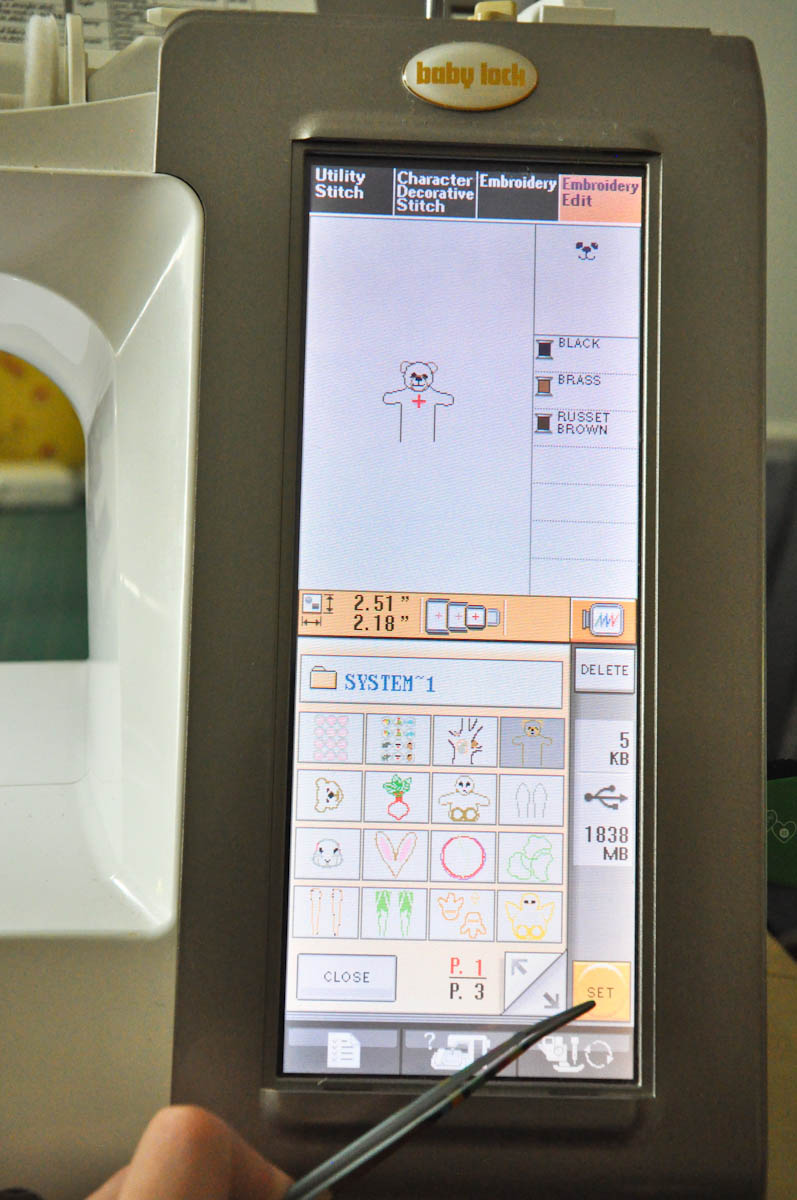
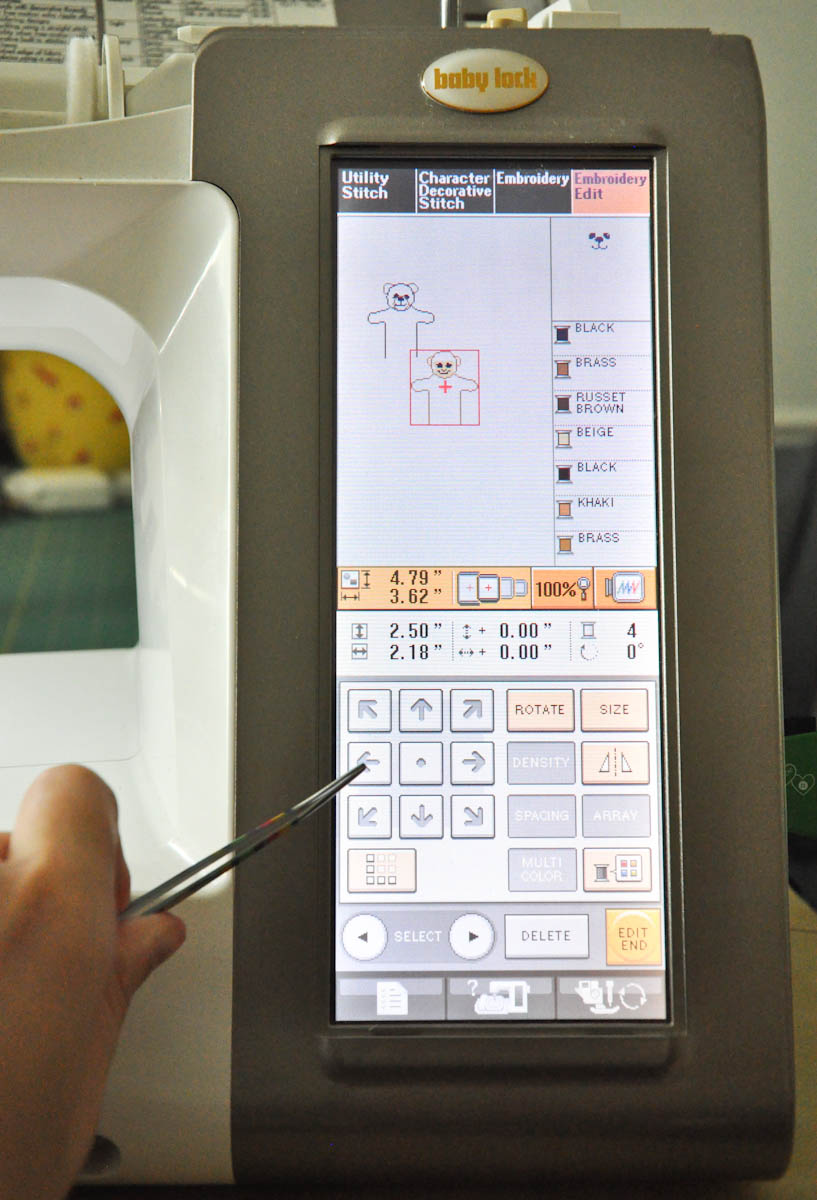
Make sure you select the EMBROIDERY EDIT tab located in the top right corner of your screen. Choose the design you plan to stitch and hit SET.
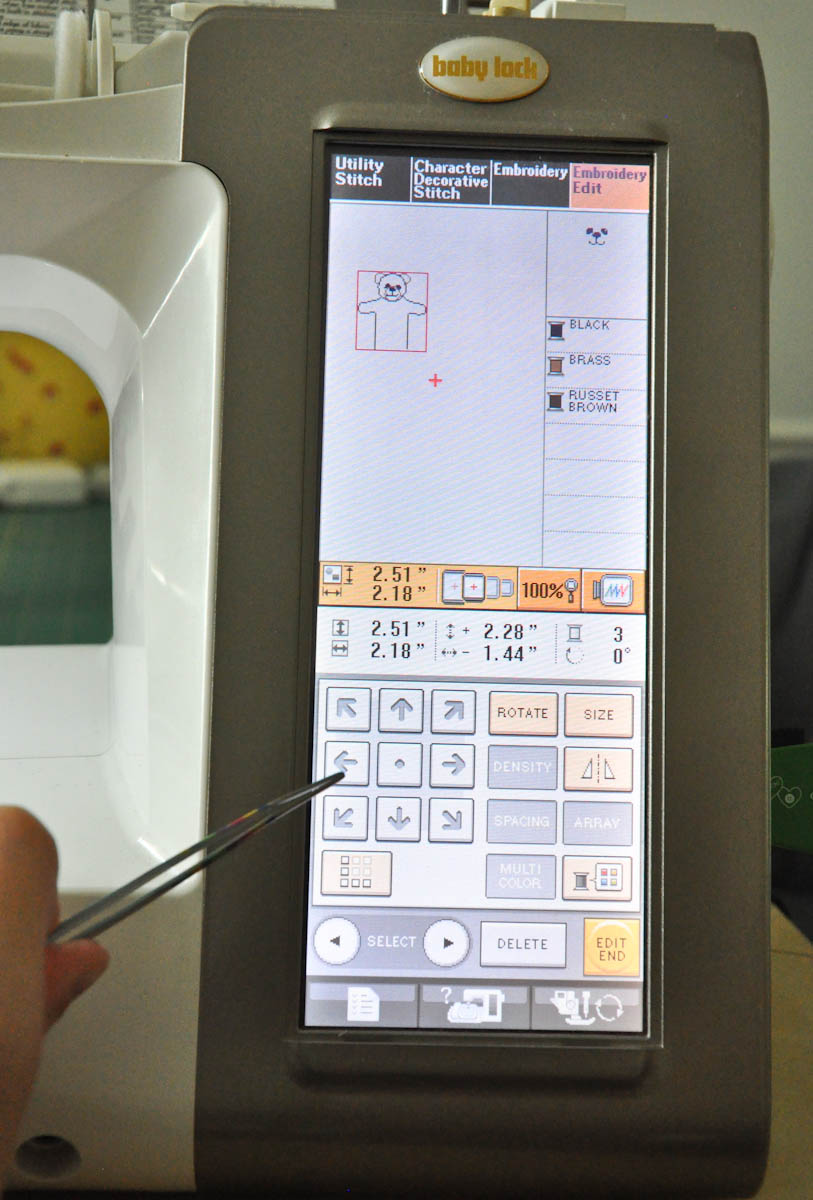
Use the arrows to position your design as far up as possible and as far to the left as possible. If you notice, your machine will let you know when you’ve gone too far. In the picture below, you can see your machine will tell you what size hoop you need. Just move your design over and up as far as you can without needing your 8 x 10 hoop.
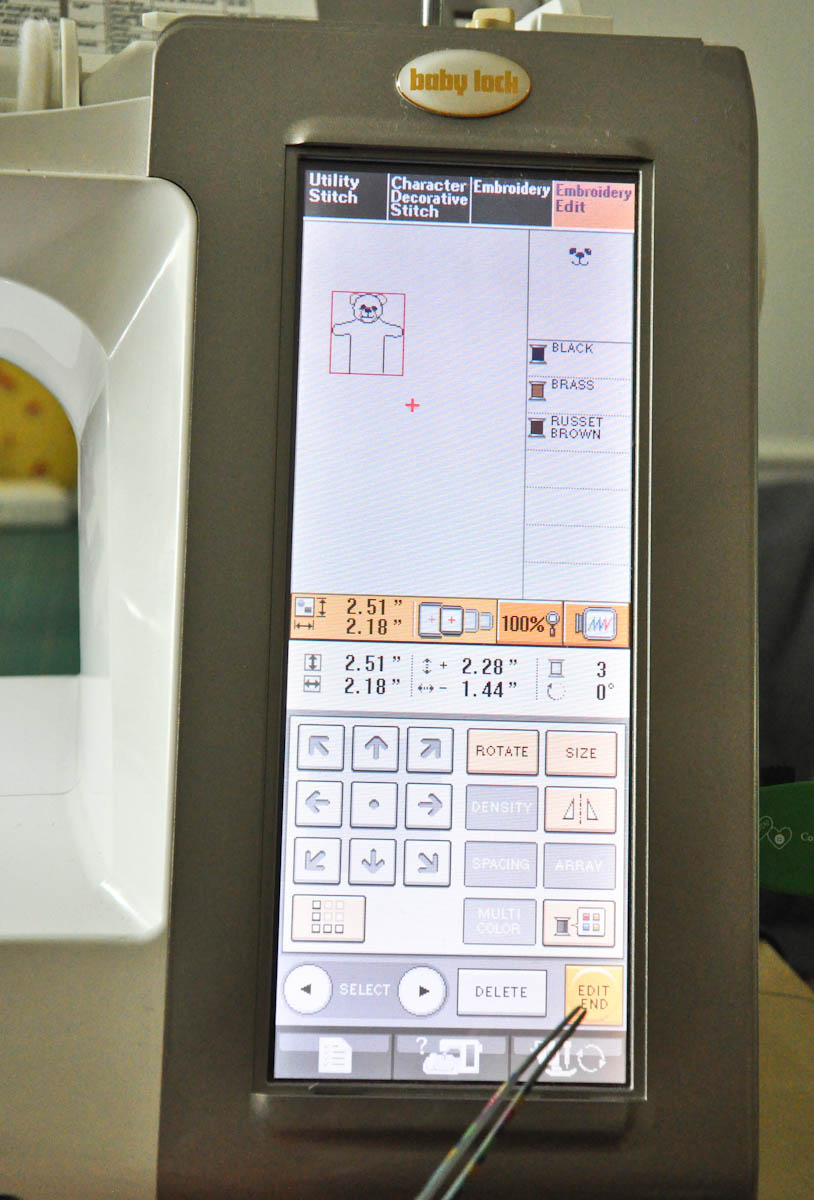
Once you have positioned your design where it needs to be, hit the EDIT END button on your screen.
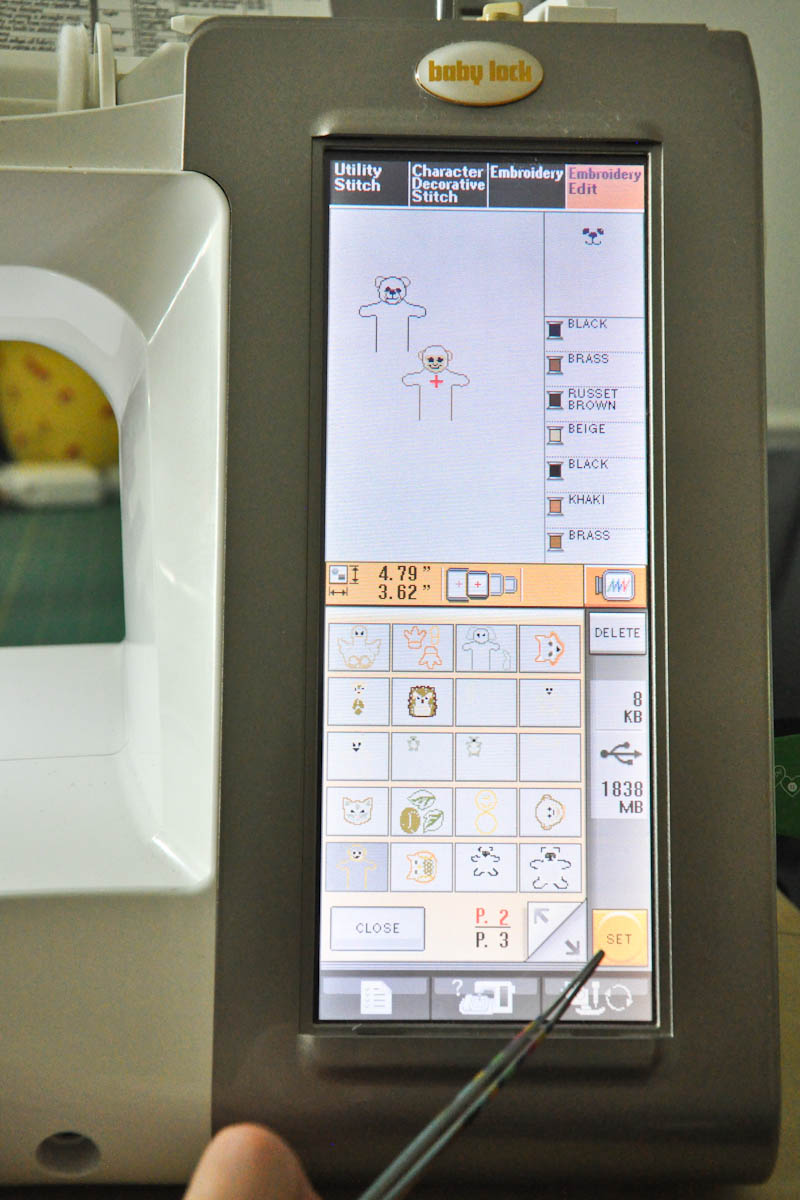
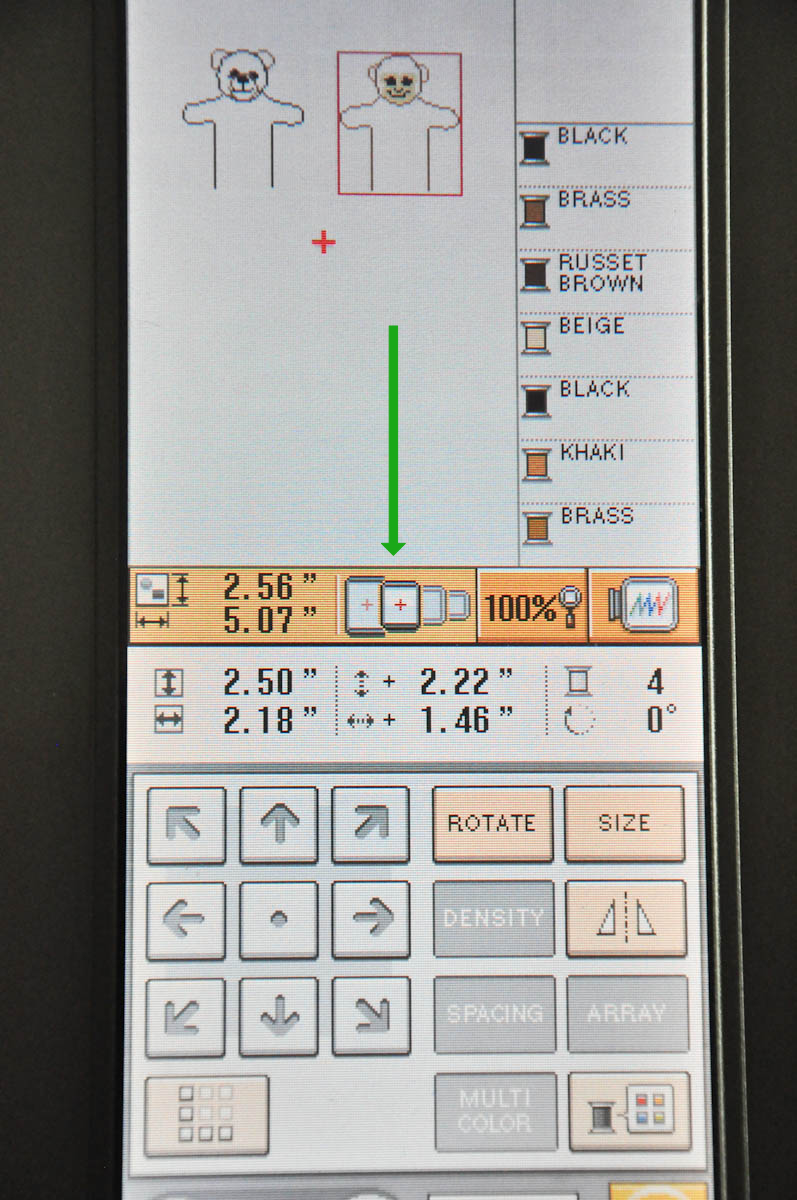
Select the next design you want to add and hit SET. (Remember, all four designs will be the same. I just used four different ones, so it would be easier to see in the tutorial.)
This time, move your design as far to the right as you can without needing the next size hoop and as far up as possible.

Once you’ve placed all four designs. Hit the SEWING button on your screen.
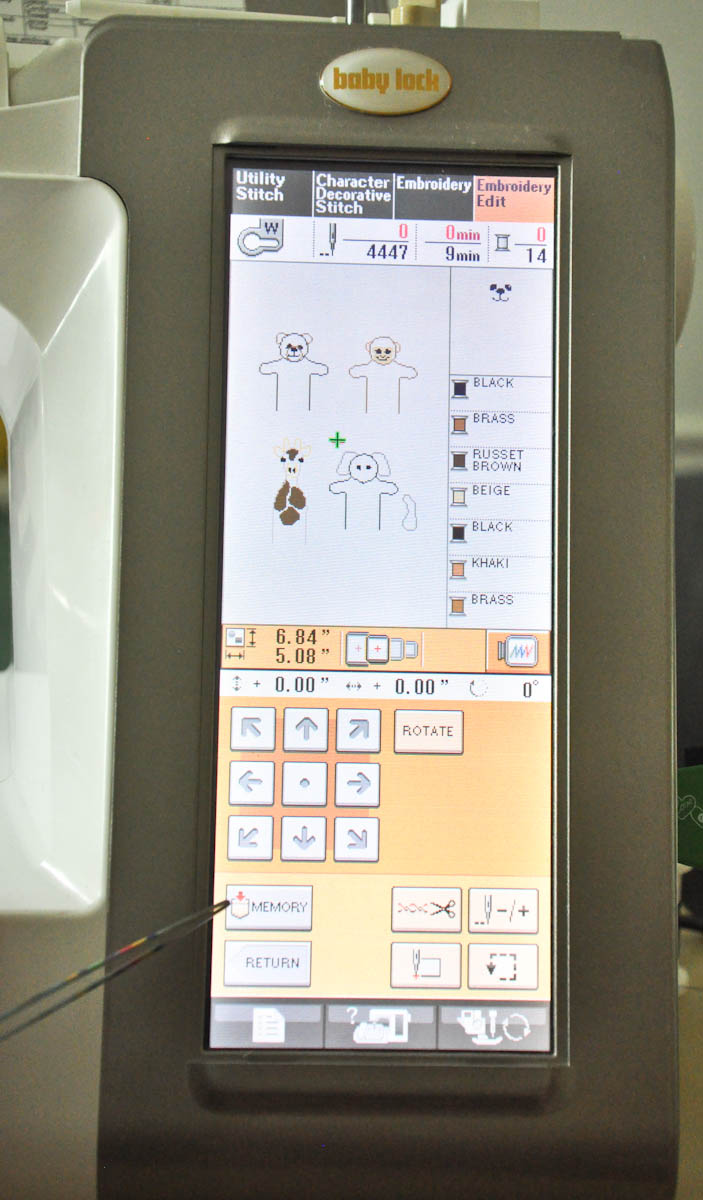
If you plan to stitch out these same four designs again and don’t want to take the time to position them all over again, you might want to save your designs to MEMORY. After you hit memory, you can choose where you wish to save it.
To sew your designs, just follow the stitch sequence on the right side of your screen, and the directions in the design file from Evy. Her directions are always so easy to follow, so make sure you read them before you begin to stitch. It will save you time and mistakes!
A few more helpful hints for stitching more than one design at a time:
Make sure you don’t skip around in the stitch sequence. Complete one design at a time before going on to the next.
When the design instructions tell you to place a piece of felt behind the design, I cut pieces of felt that were about 2.5 inches by 3.5 and placed them behind the stitching area. You might want to cut a slightly larger piece for the first one you stitch, so you can tell how much you actually need. The size piece you cut for the back will vary depending on which animal you are stitching, so proceed with caution at the beginning!
