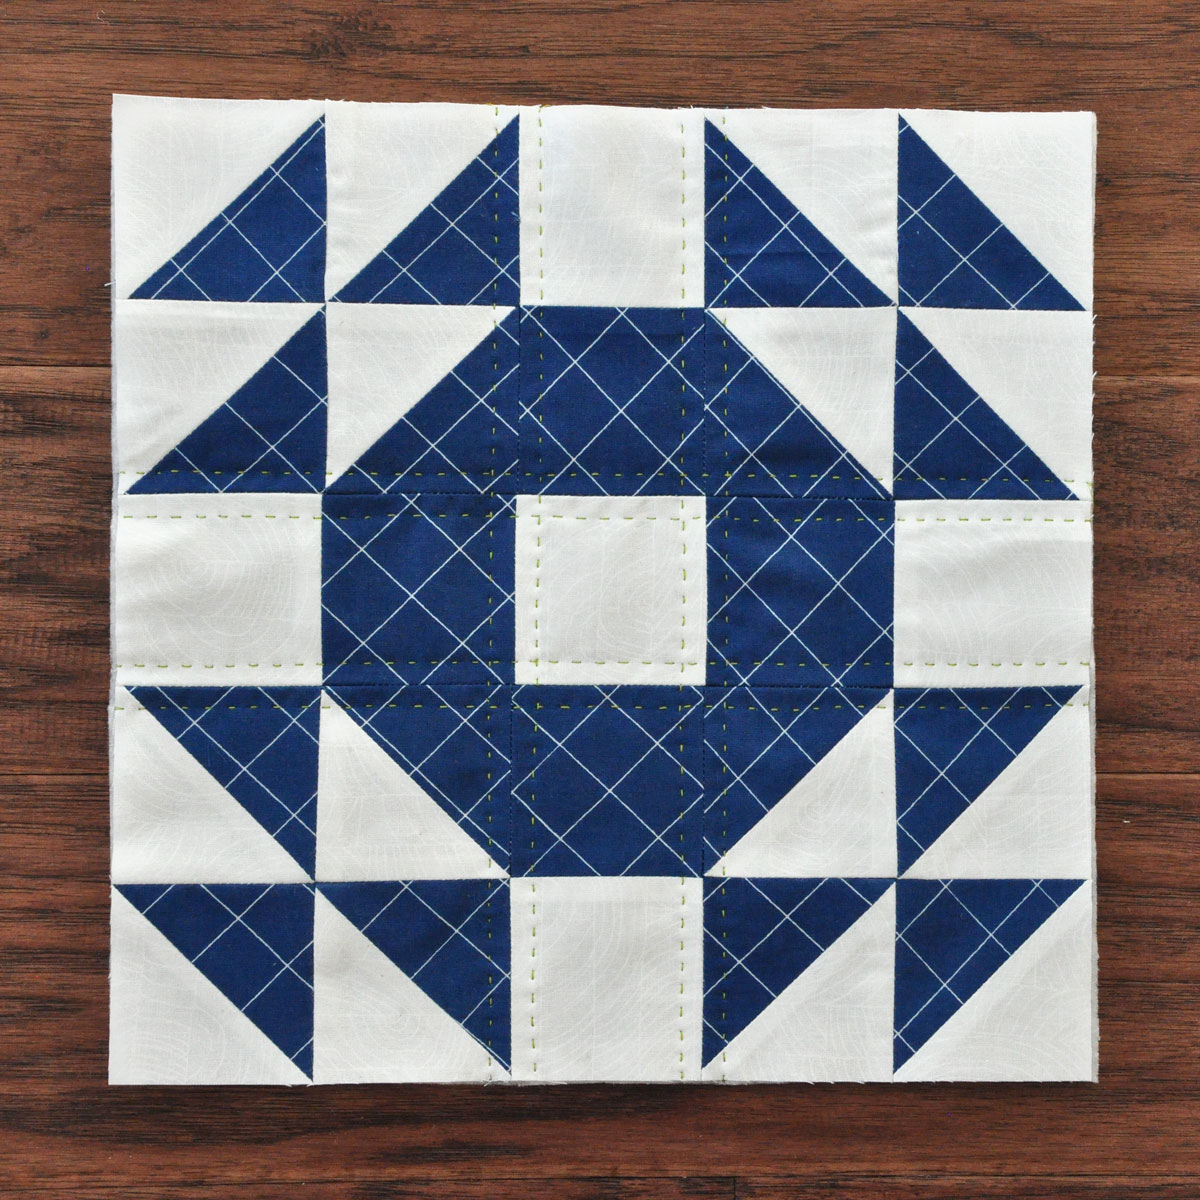
I am so excited to be a part of this Single Wedding Ring Quilt Block blog hop (say that 3 times fast) over at the Fat Quarter Shop! It was such a great coincidence that the project for this month was a vintage quilt pattern! I’ve been wanting to take modern fabrics and use them to make a quilt with a vintage feel, but other projects kept jumping in line. This was the perfect project to make me go ahead and try one of these vintage style blocks! I used the FREE Single Wedding Ring Quilt Block pattern from the Fat Quarter Shop.
This was the first time I’ve made a quilt with so many pieces in one block, and actually the first time I’ve ever used a quilt pattern. I learned so many tricks from watching the videos that Kimberly has on the Fat Quarter Shop YouTube channel. I watched the Single Wedding Ring Quilt Block video as well as the Sister’s Choice Block video to see how to cut and sew my triangles and squares together.
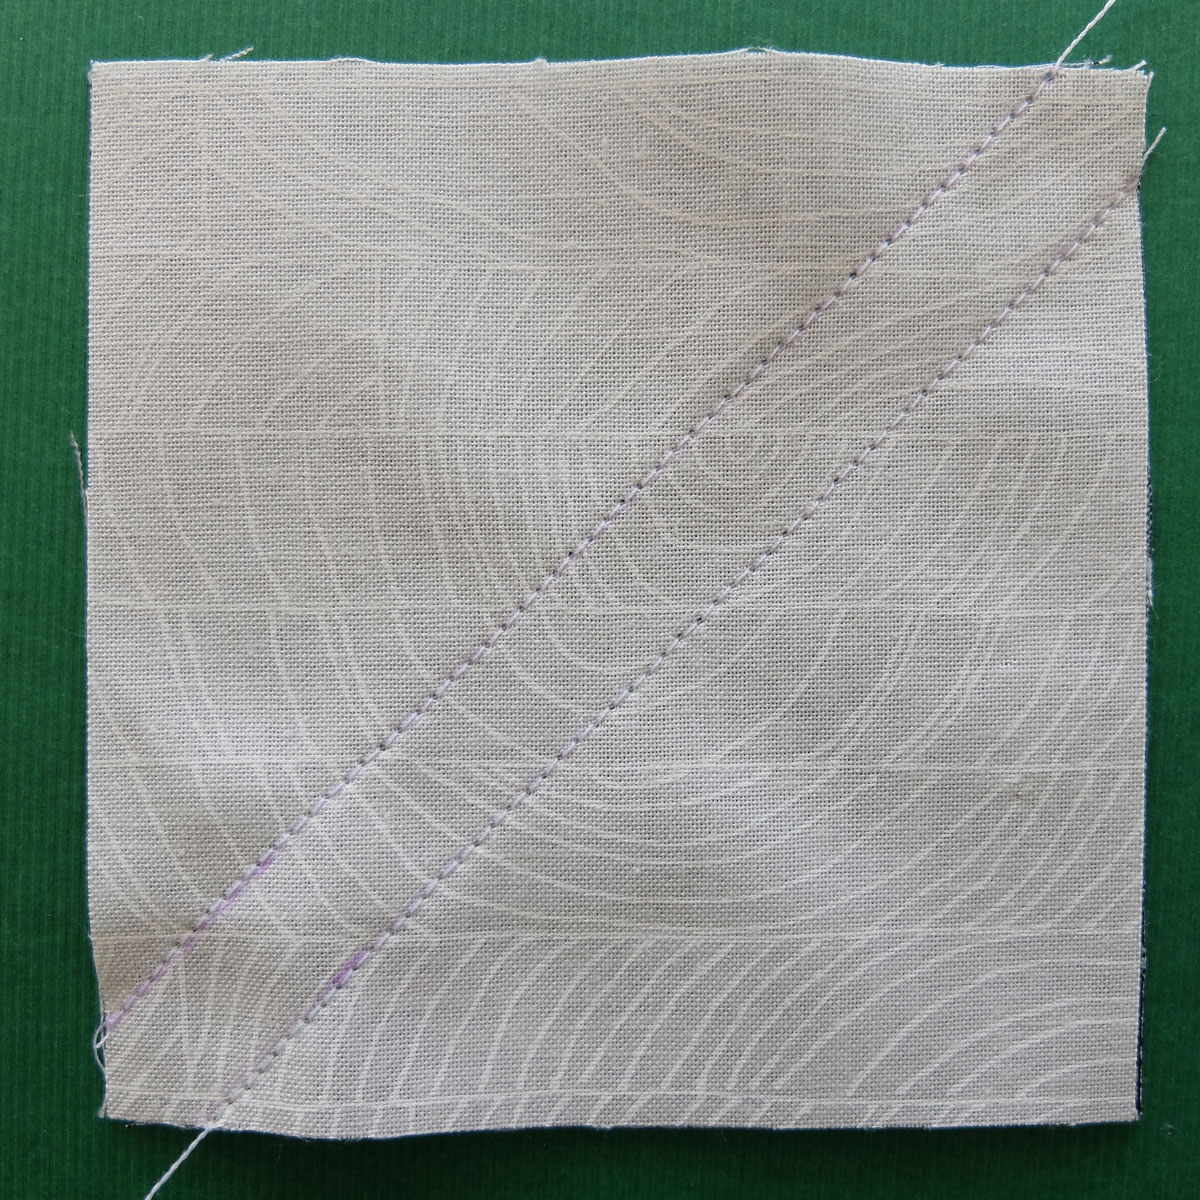
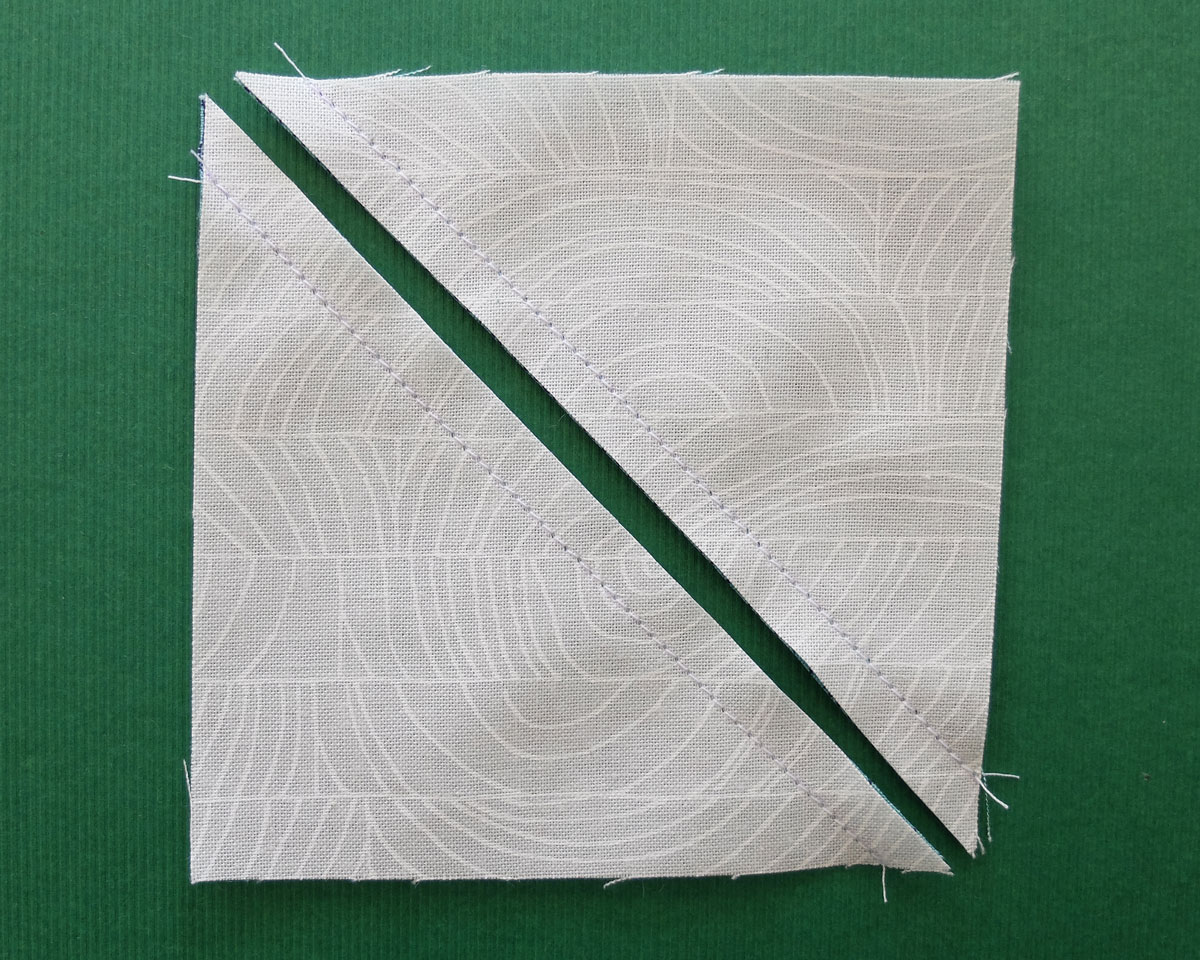
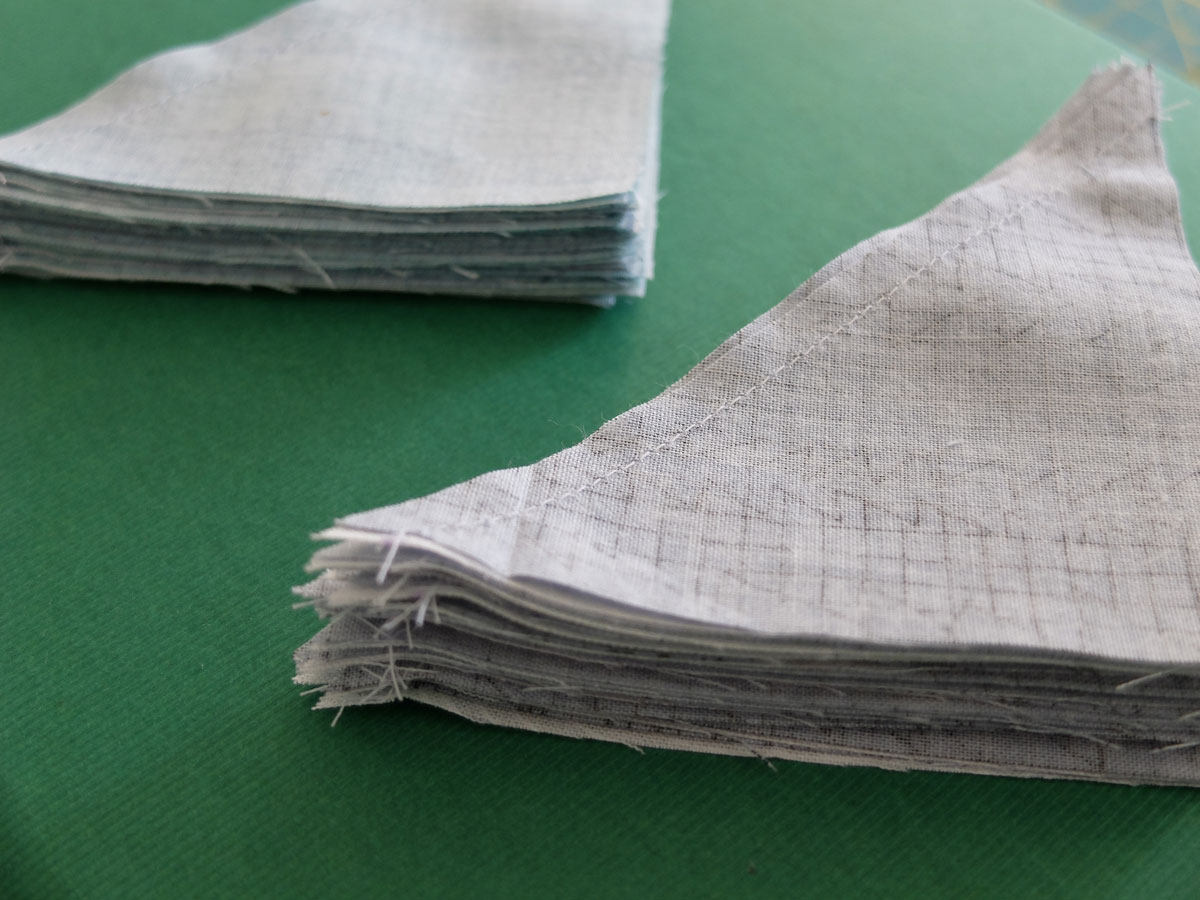
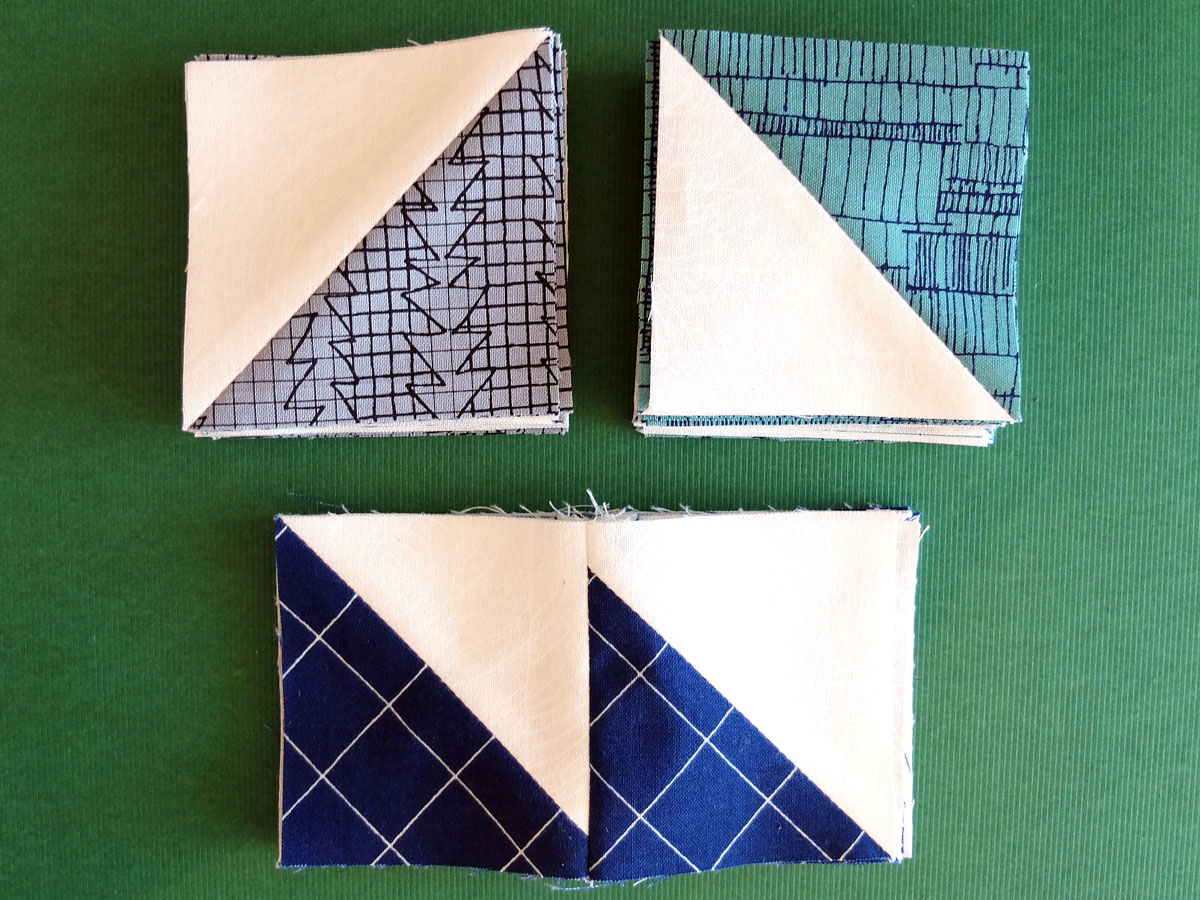
The Single Wedding Ring video shows you how to use triangle paper to cut and sew your pieces together, but since I didn’t have any, I used the techniques in the Sister’s Choice video to sew and cut. Let me tell you… This technique was super easy and made the whole process go a lot more smoothly than I expected! Thanks for the awesome hints! I can’t wait to try the triangle paper and see if I can speed up the process even more!
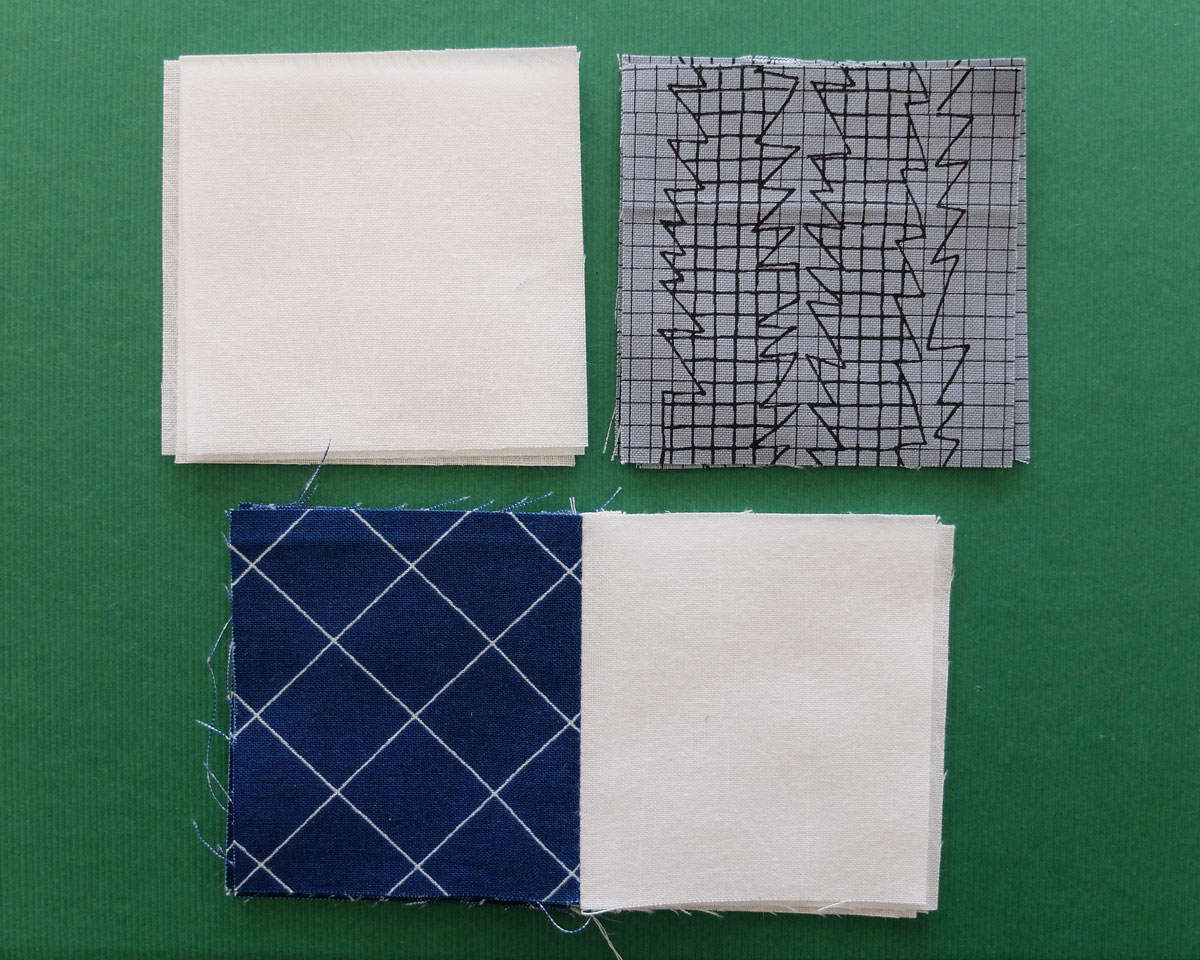
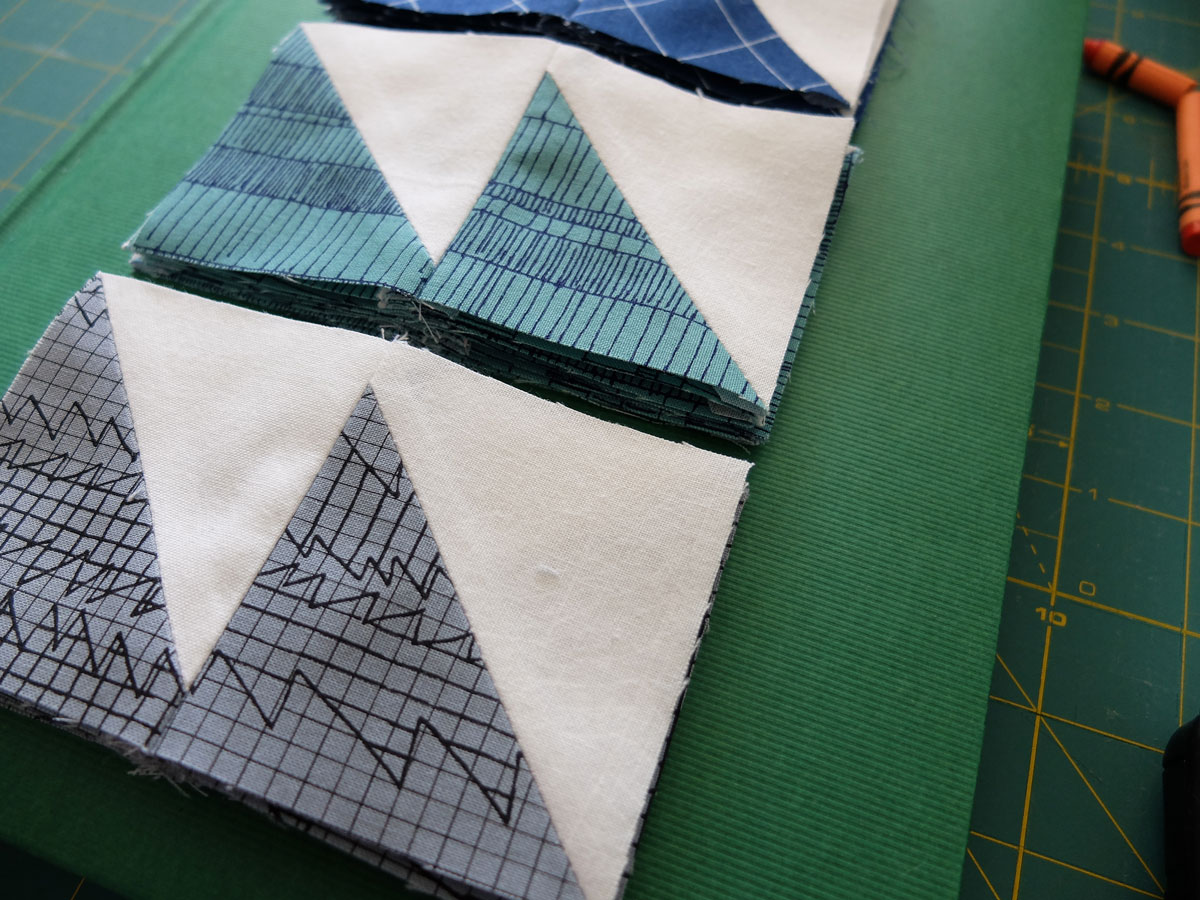
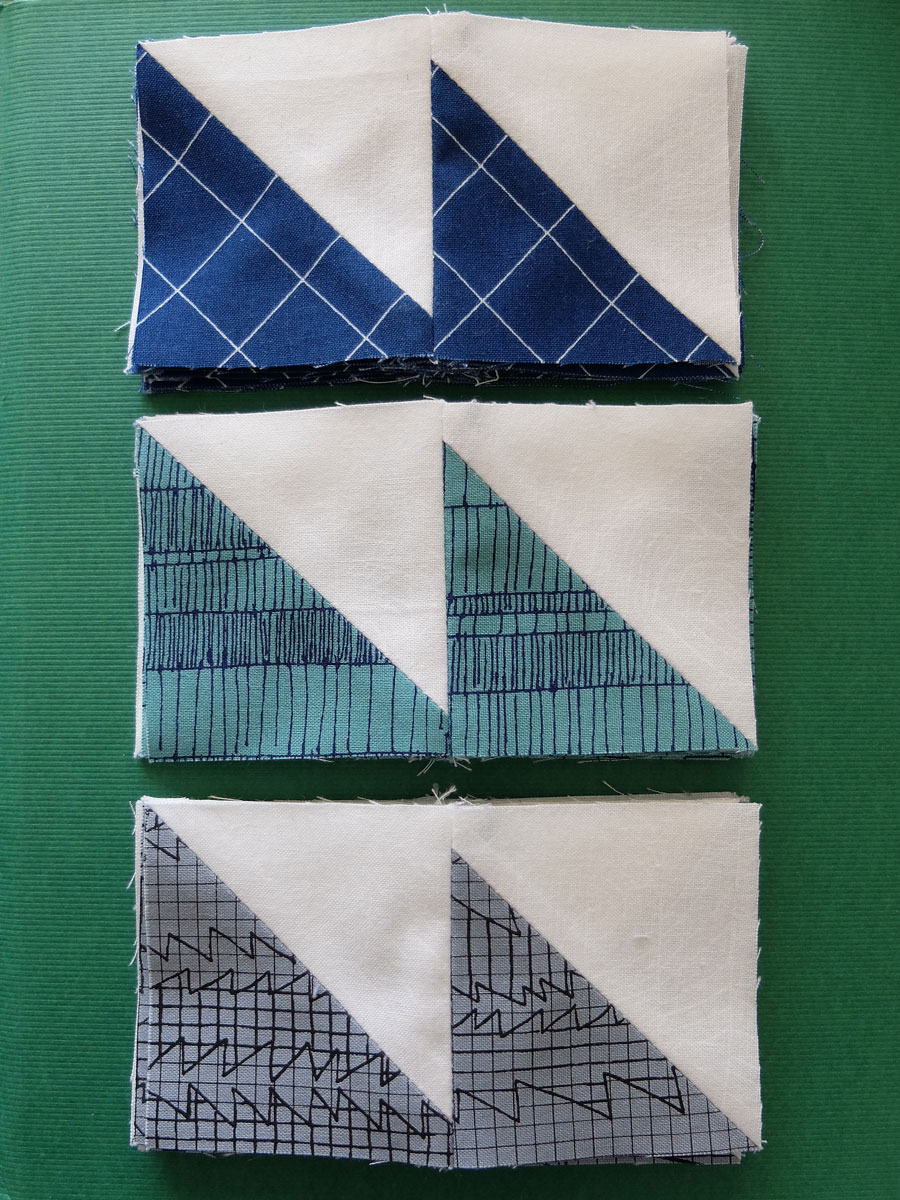
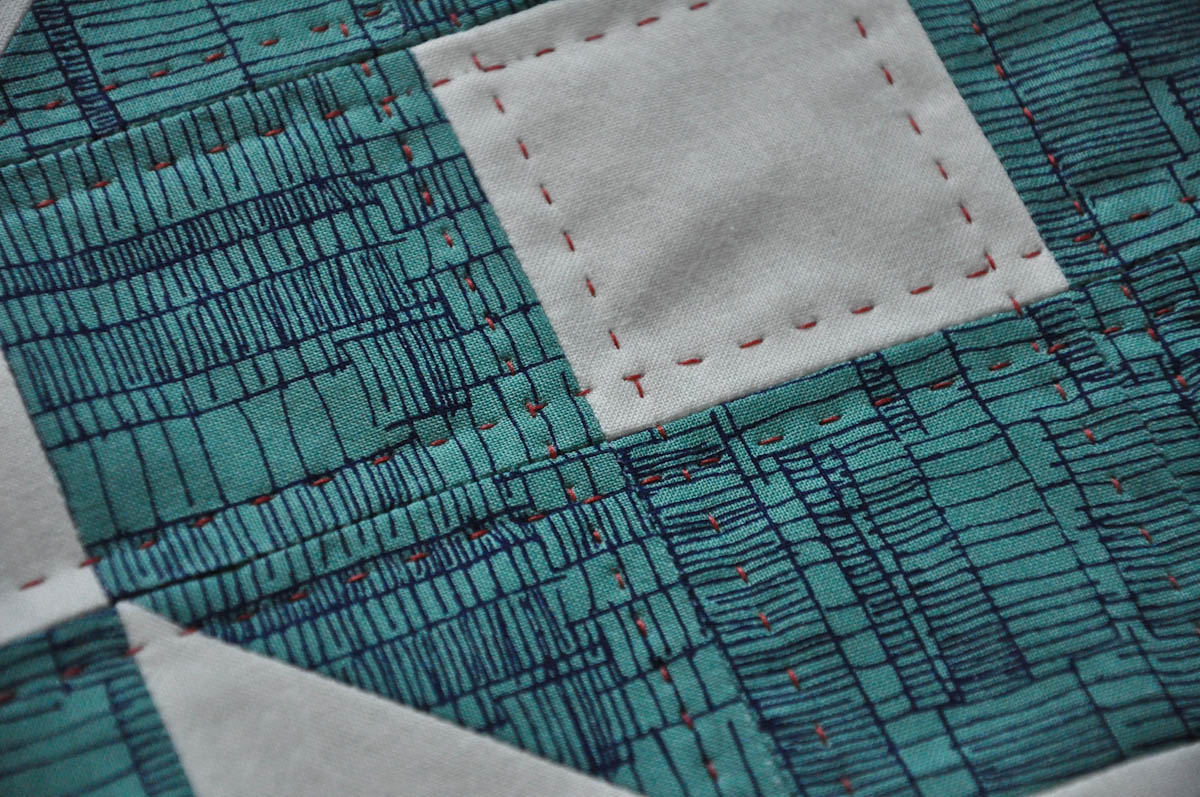
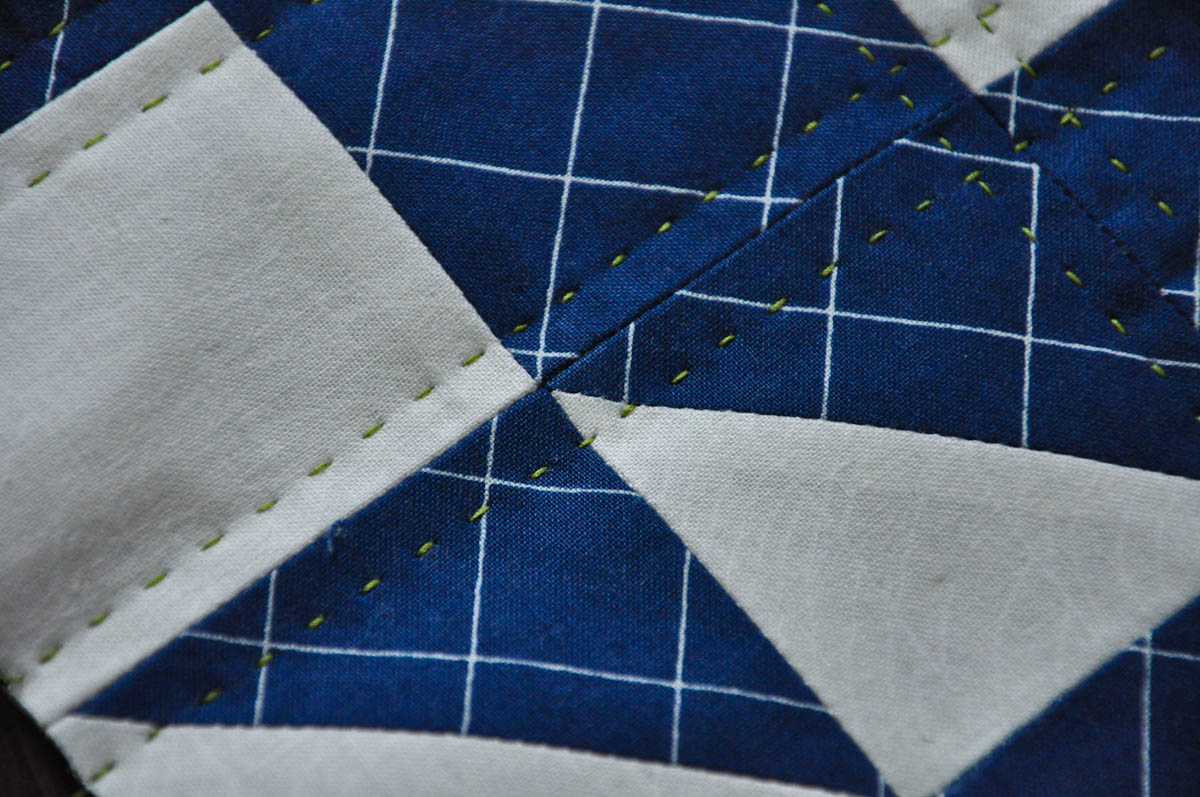
I used Carolyn Friedlander’s Doe fabrics to make these quilt blocks. Seriously Carolyn, could your fabrics be any more amazing! Those few months I had to wait for these fabrics to hit the stores felt like forever! I not so secretly glared at instagram photos of people who got the fabrics in advance. Don’t they look fantastic!
I cut my squares out to measure 4 inches because I wanted to give myself plenty of room for error, when I went to sew my squares together. After sewing, I cut my new squares down to 3 inches like the pattern asked.
For a quilt pattern newbie like me, the block pattern was easy to follow. It was helpful to see how the block was broken down into sections and then pieced together to form the Single Wedding Ring. Had I been left to my own devices, I would have probably just sewn the triangles straight across row by row, making sure that none of my points matched and ended up frustrated with a lopsided quilt block and vowing (pun intended) to never try my hand at this pattern ever again. Remember, the block pattern is FREE on their website, but if you would like the pattern in other settings, you can purchase the Single Wedding Ring Quilt pattern from their site. They even have a Single Wedding Ring Quilt kit available so you can easily make your own!
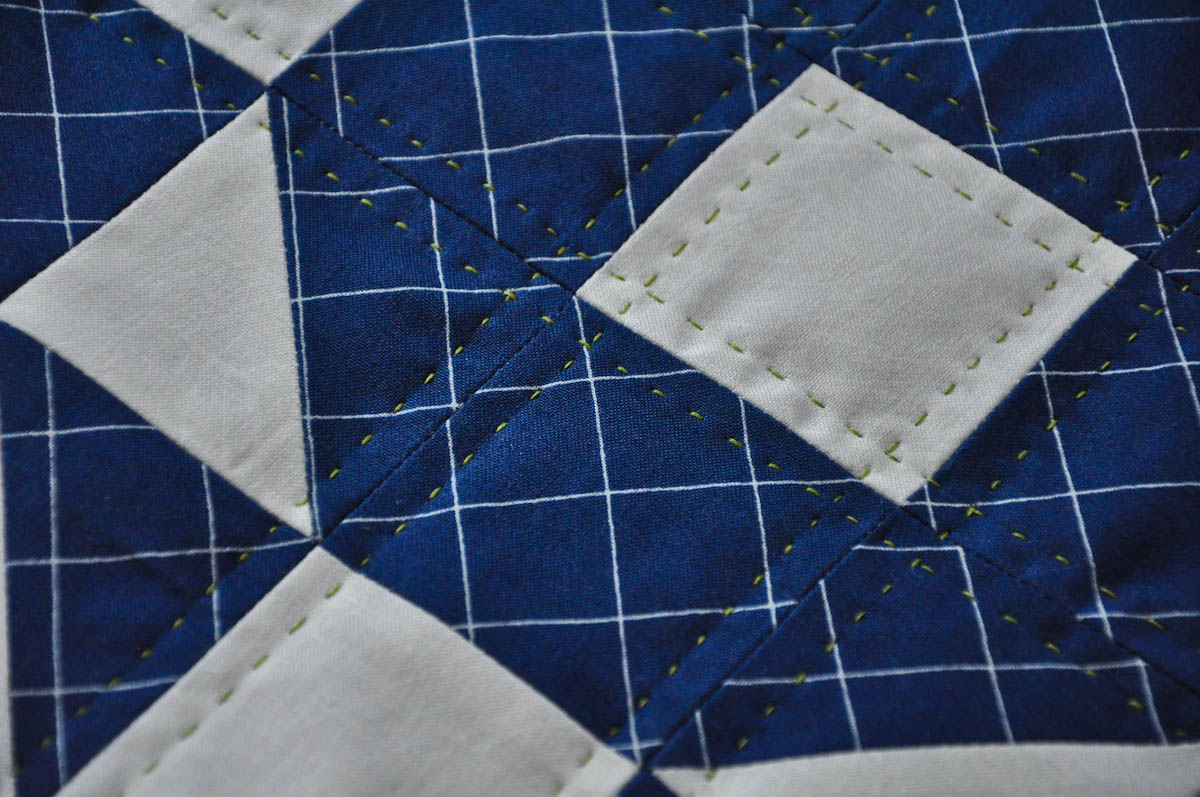
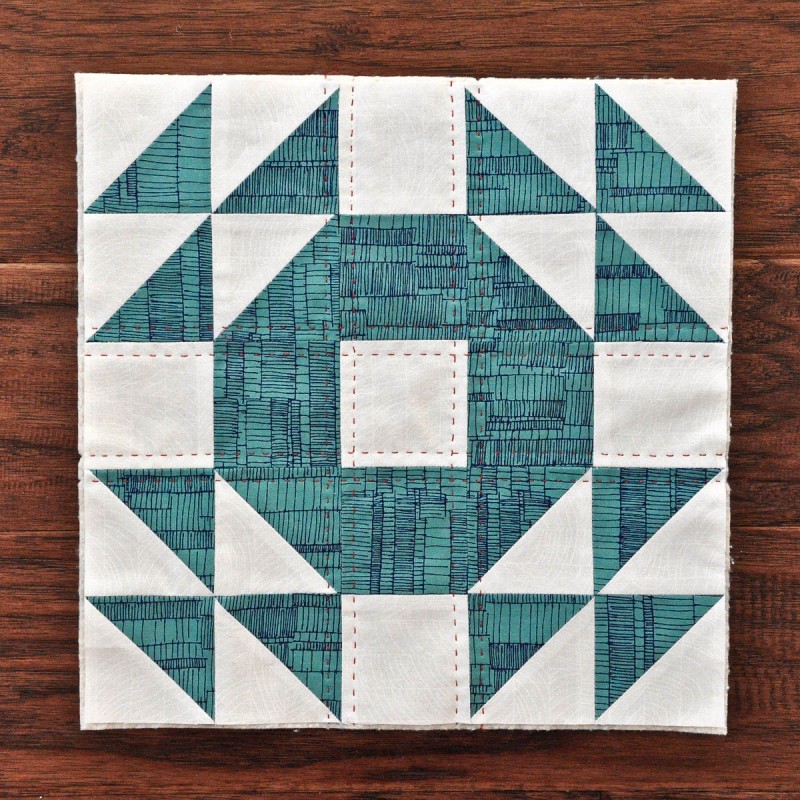
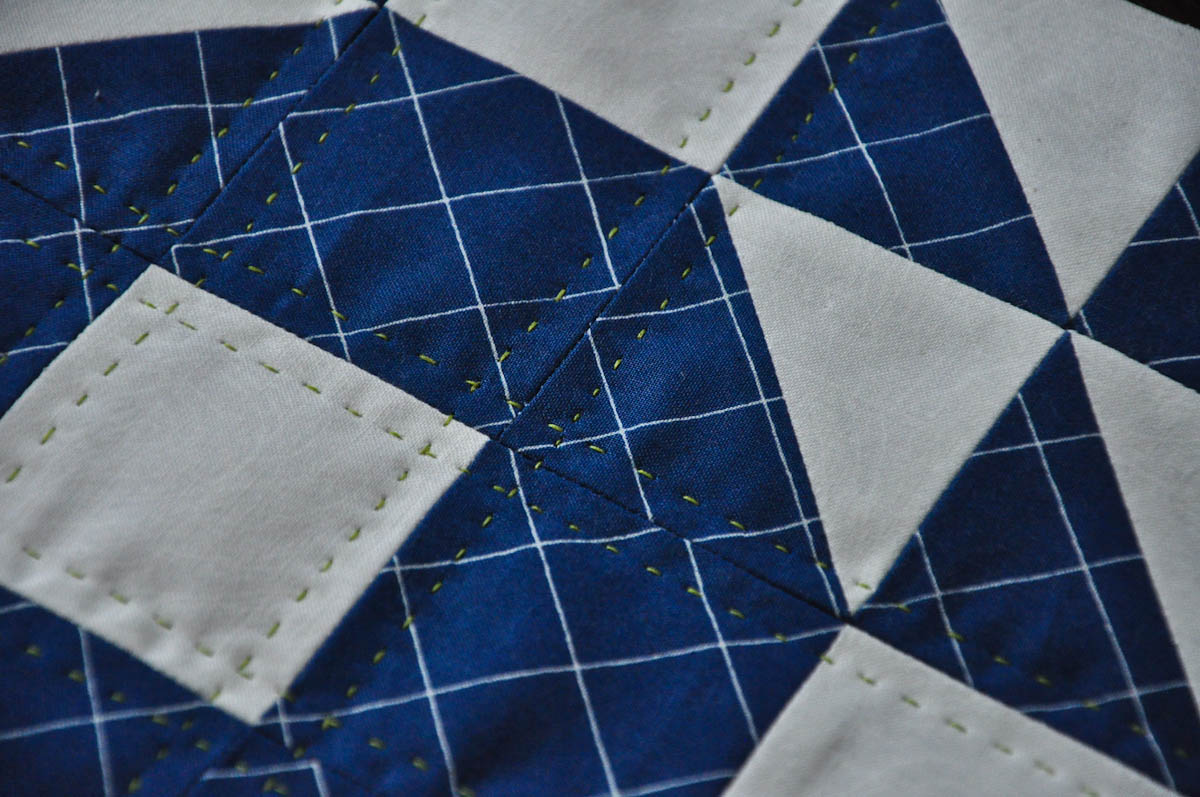
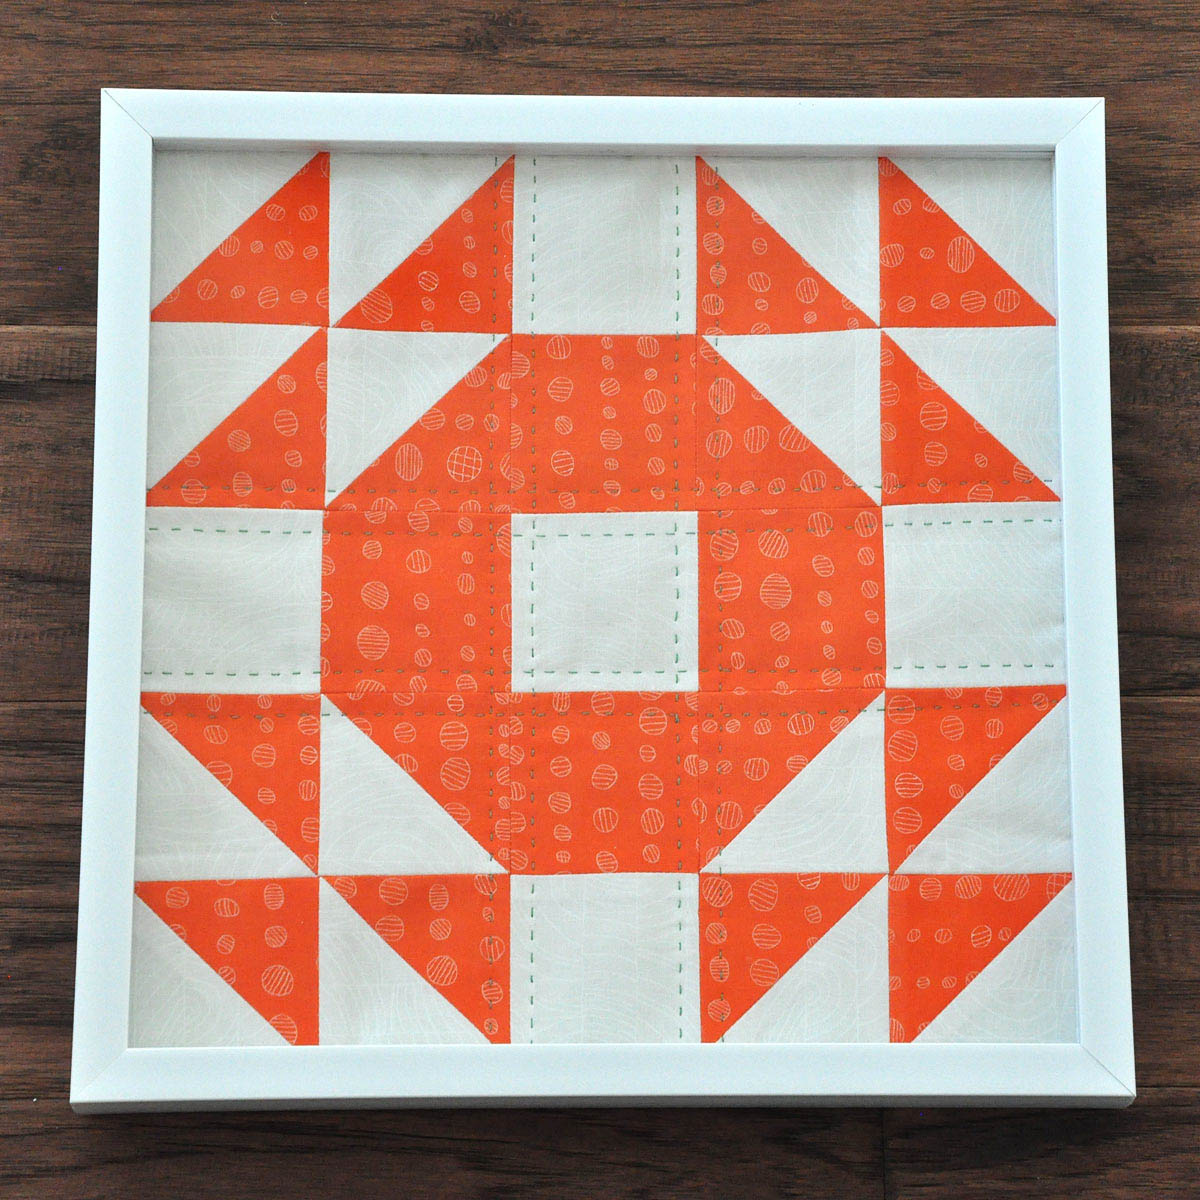
Want to hear some really great news? You can purchase these three finished blocks from my etsy shop! I’ve turned these quilted blocks into artwork that you can buy and decorate with in your home! I’m having a hard time deciding which one I want to make for myself: the teal or the navy? My kitchen wall is screaming for one of these! I quilted each block with the Babylock Sashiko (seriously, my favorite) and used coordinating thread colors. I love this extra, special detail. I love that it somehow adds both a vintage and modern feel to the block; it looks like the stitch that your great grandmother could so perfectly make, but stitched in bright colors on those beautiful modern fabrics.

Each quilted block is framed in a 12 inch by 12 inch white frame and ready to hang on any wall. Here’s the catch: there’s only one available in each color right now! Which means there’s only three available! Eeek! Don’t miss out!
Great job! I loved how easy and fast this block came together!
Woot! So pretty! You did an awesome job – LOVE THE SASHIKO STITCHING!!!!
LOVE how you quilted your block!!!!
love it you make it look easy….
How much of each fabric, in total, did you use for the block?
About a 1/2 yard total for each block, so 1/4 yard of each color.