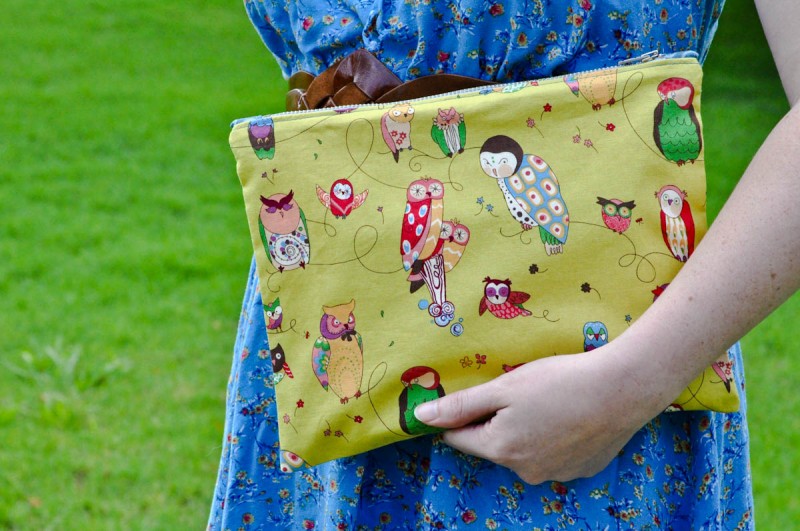
If you follow my blog, you’ve already read the baby boy zipper pouch tutorial. Well, I’m back today with another way to make a zipper pouch. Both methods are super easy, so go ahead and try them both!

The only thing that makes this zipper pouch tutorial different is the zipper tab you add at each end of the zipper. It gives the pouch a finished look by making the seams at each end of the zipper look identical and neater. Seriously, once you make one of these, you’ll want to make at least ten more! They are quick little projects that will become your go to handmade gift for all your friends.

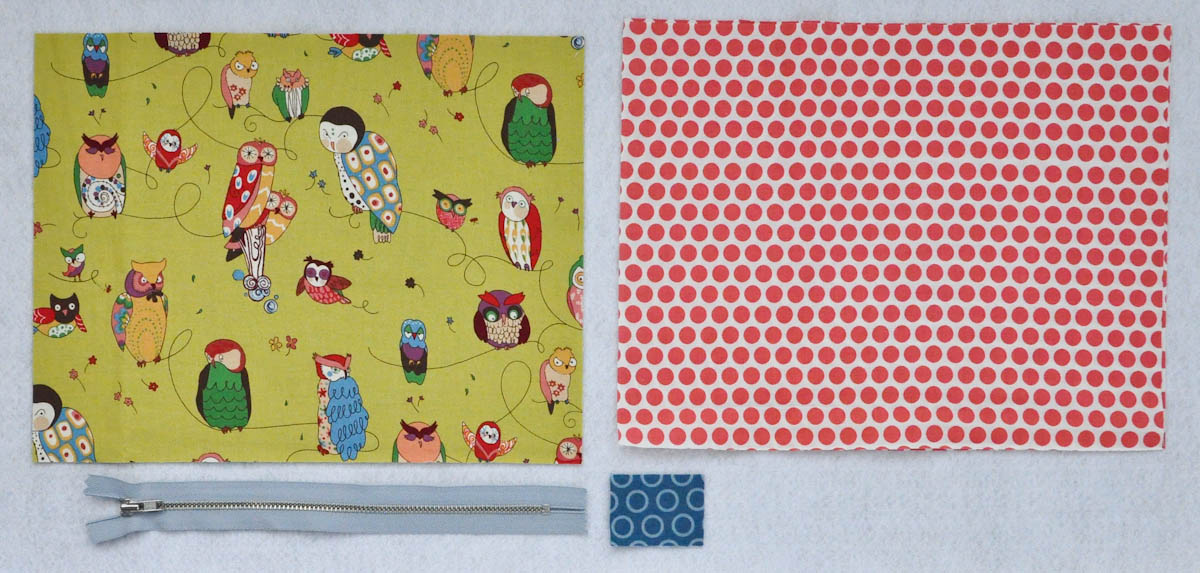
Materials:
2 pieces of main fabric cut to 9 inches by 11.5 inches
2 pieces of lining fabric cut to 9 inches by 11.5 inches
2 pieces of fabric that measure 2 inches by 1.5 inches for the zipper tabs
9 inch zipper (Remember the entire zipper will be longer, but the actual zipper needs to be 9 inches.)
Finished Size: 8 inches by 10.5 inches
Instructions:
Always read the instructions all the way through before you start! Yeah, you know who you are… I was just like you. Didn’t need to read them. I got this. Until I didn’t and had to spend most of my sewing time ripping out stitches. Just read them, trust me.
Step One: Cut your main fabric, your lining fabric and your fabric for the tabs.
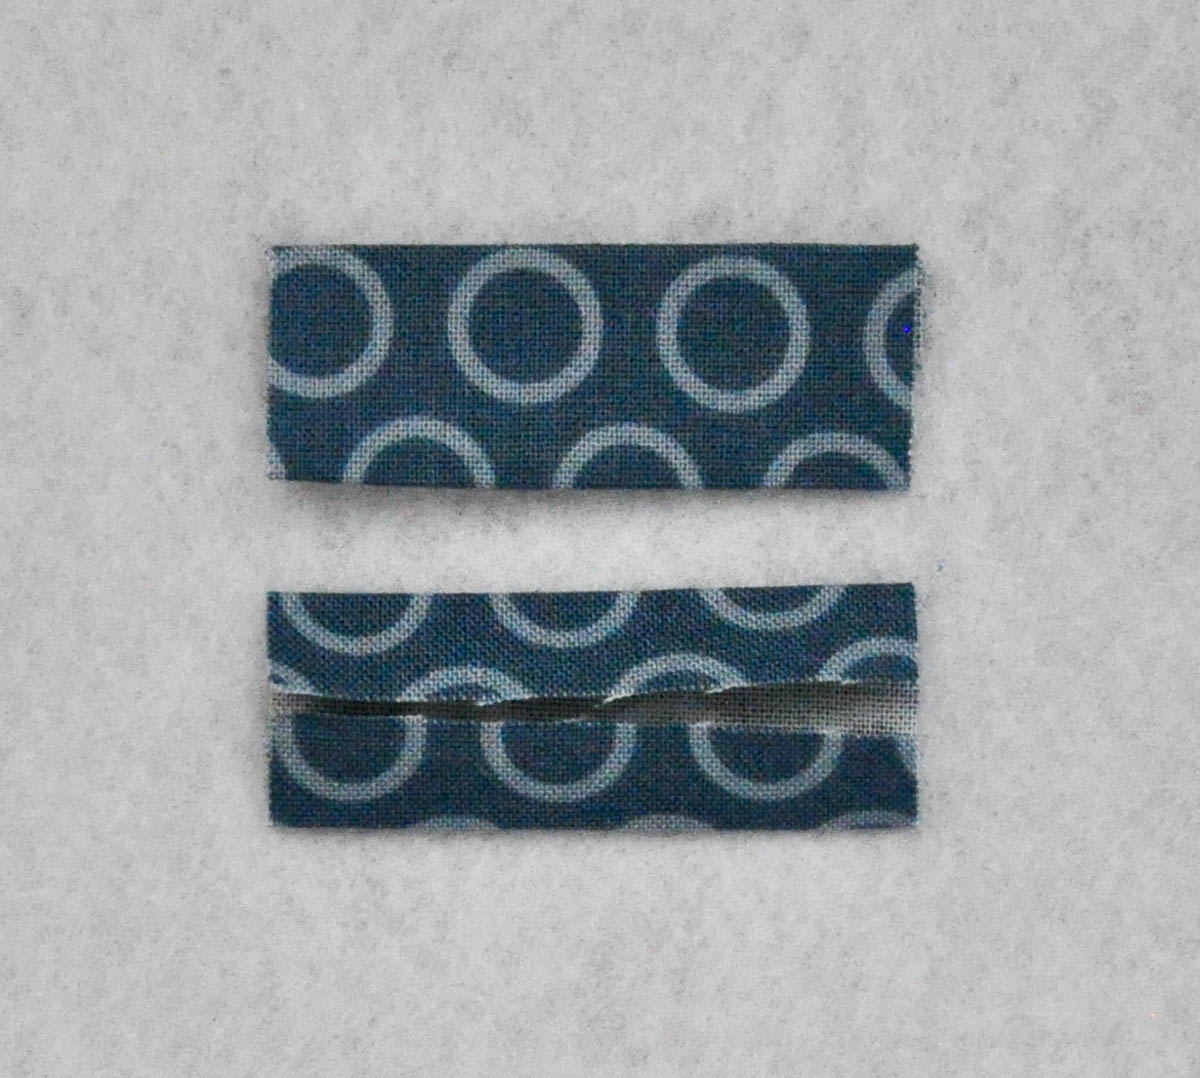
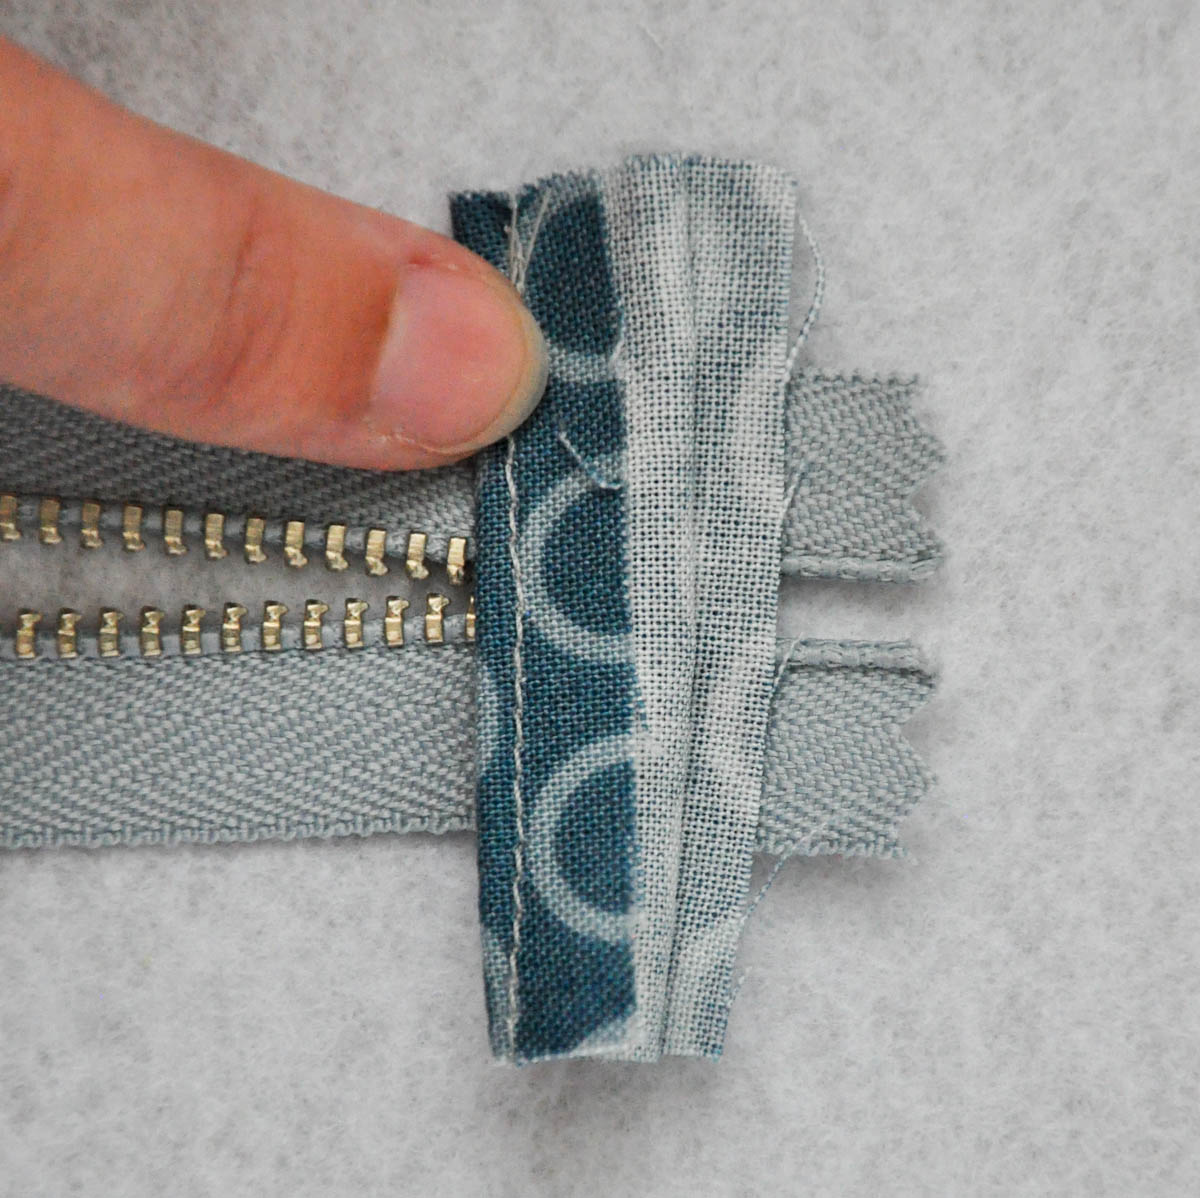
Step Two: With wrong sides together, fold and press the long sides on one of your tabs to meet in the center back. Repeat with the second tab. After they are folded, your tabs should measure about 3/4 inch wide by 2 inches long.
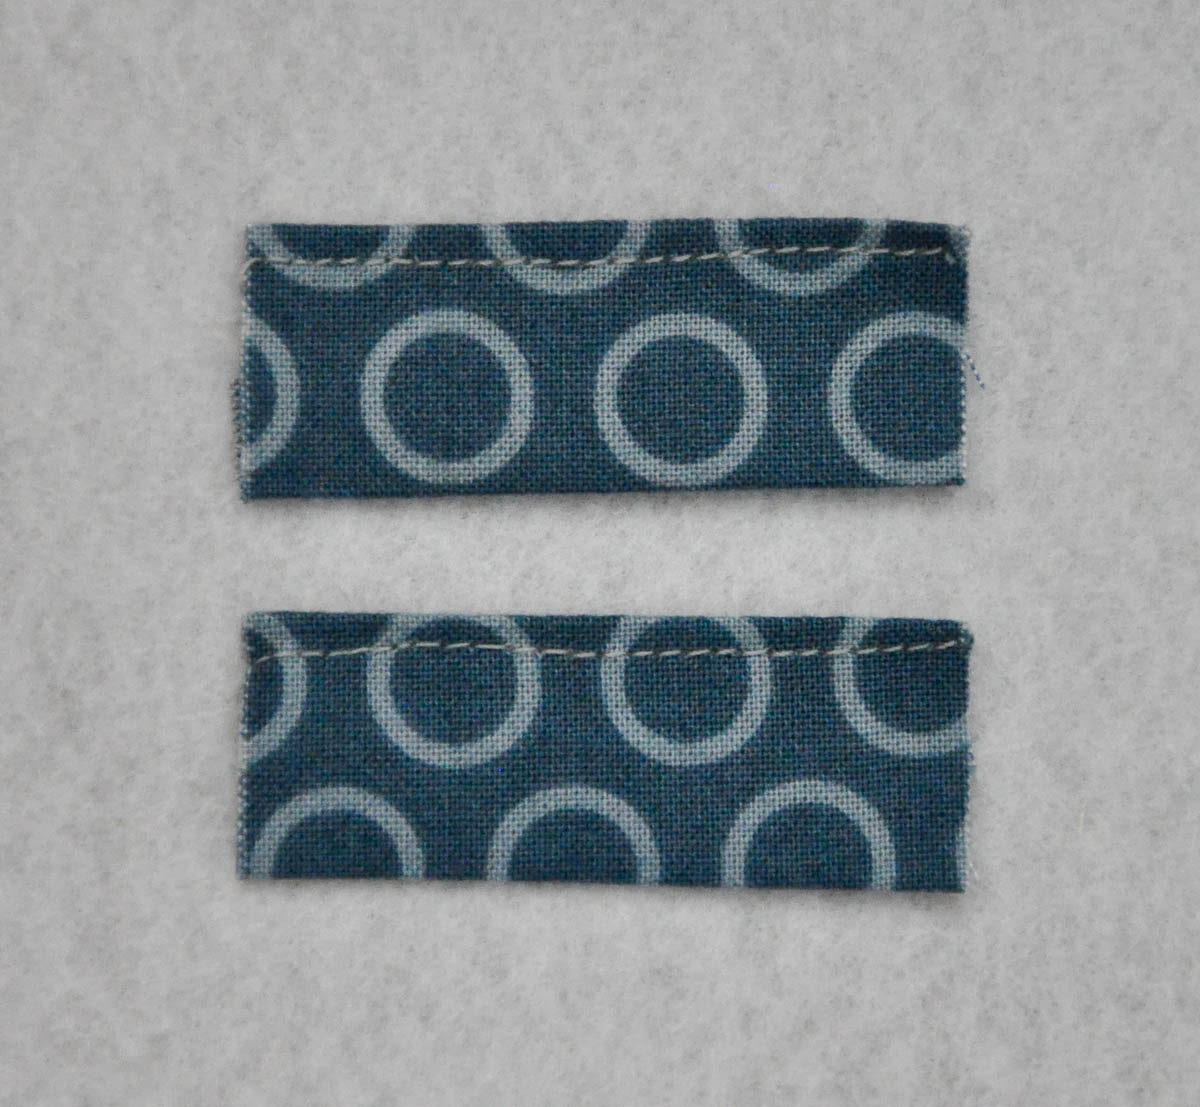
Step Three: On one tab, sew a line of stitches 1/8 inch from the long edge. Repeat with the other tab. You only need to sew down one long side of each tab.
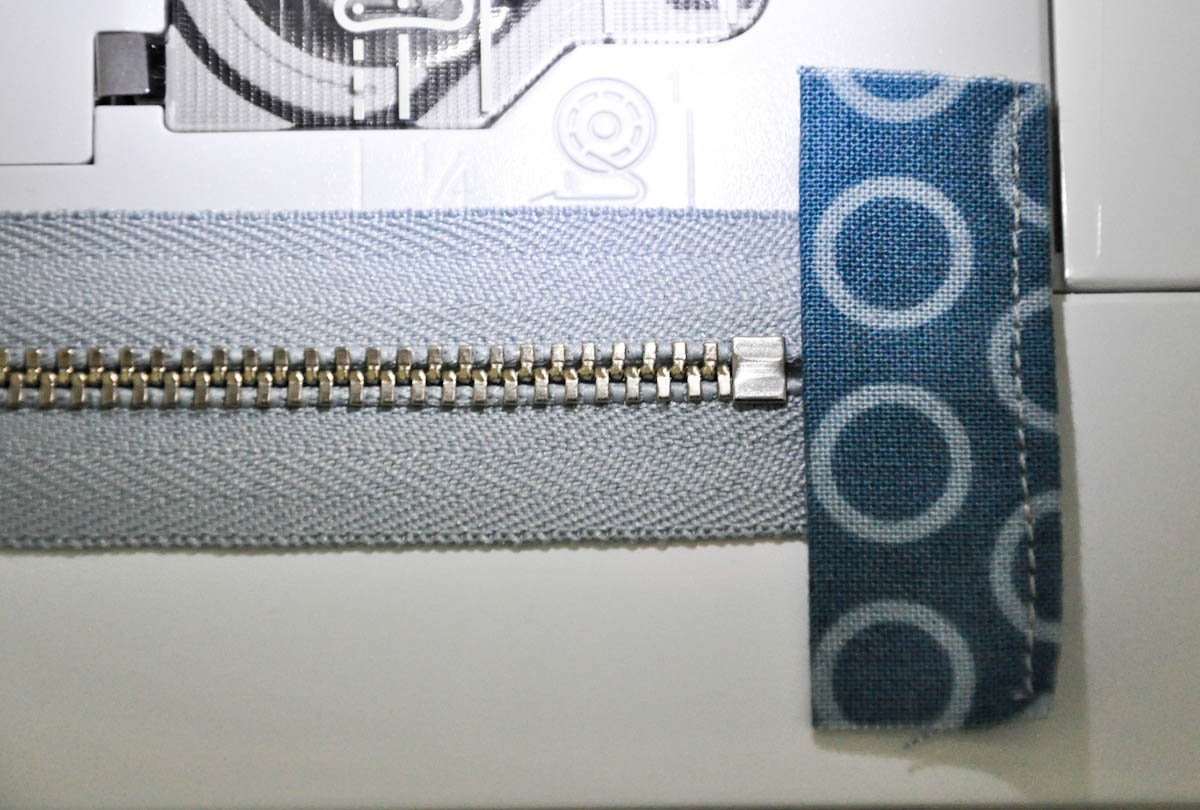
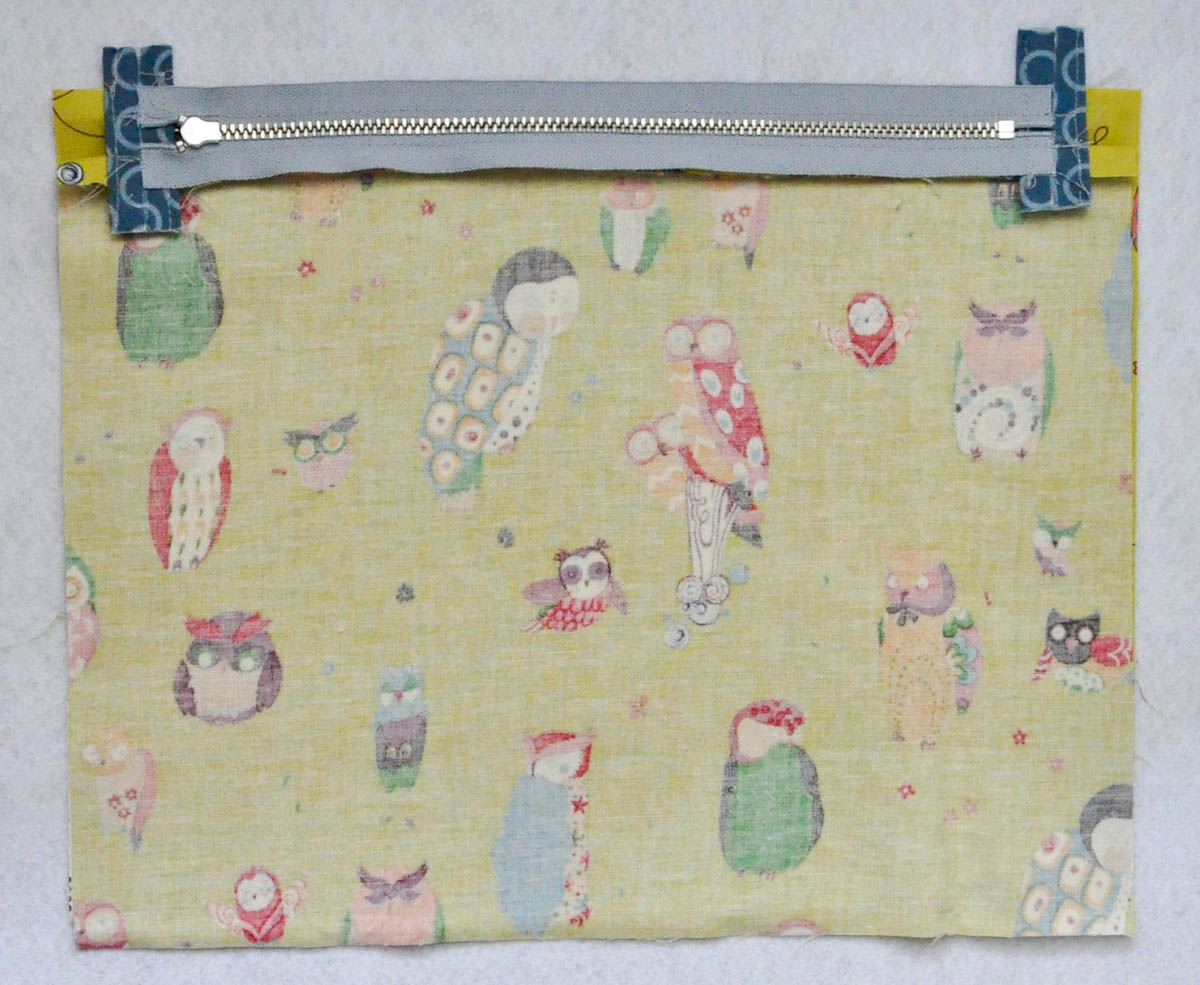
Step Four: Place the long side of one tab that you did not sew next to the zipper stop. Sew your tab to the zipper 1/8 inch from the edge of your tab. Repeat with your second tab and the other end of your zipper. You might have to open your zipper and hold the sides together to pin and sew next to the zipper stop where the zipper begins.

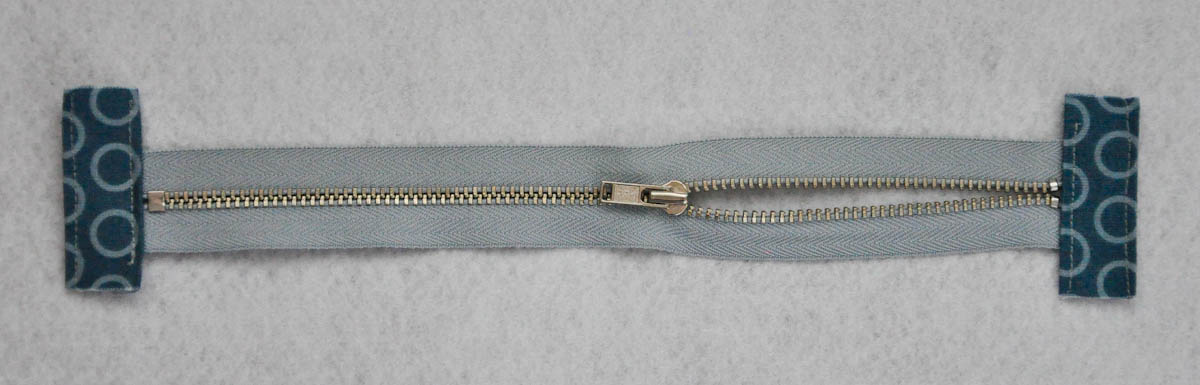
Flip up the edge of the tab that is not sewn to the zipper and cut the zipper until it is flush with the raw edge of the tab. Repeat with the other side. After you trim both ends, your zipper will only reach the center of your tabs.
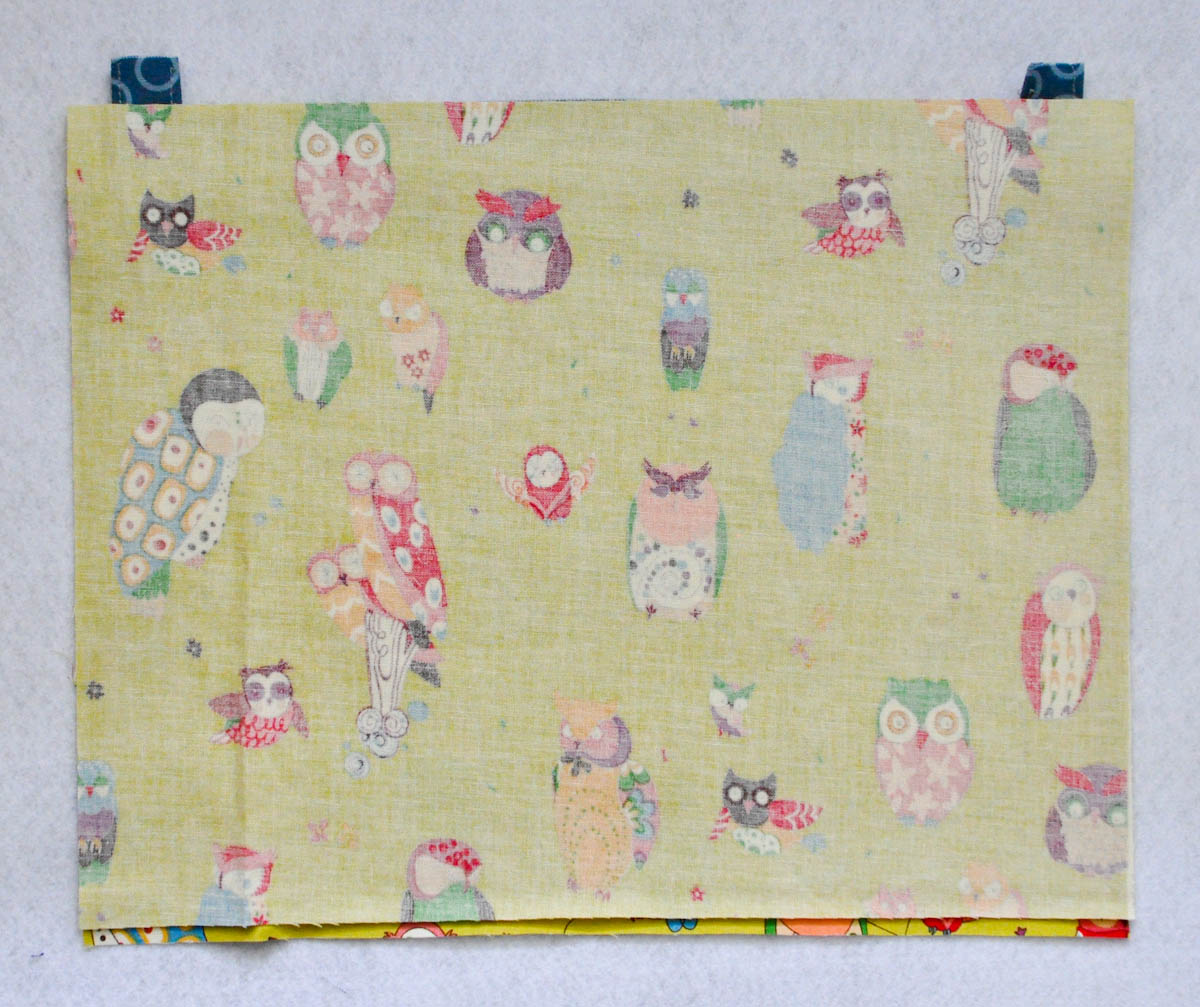
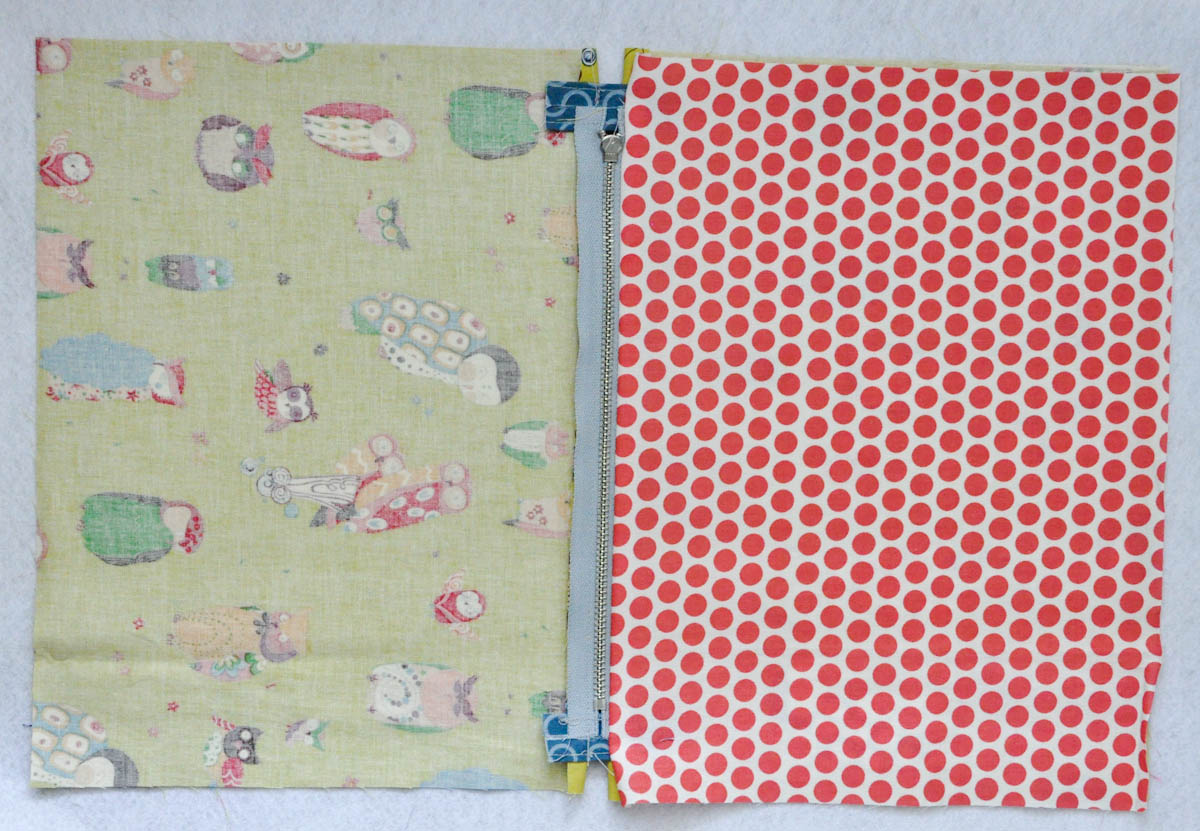
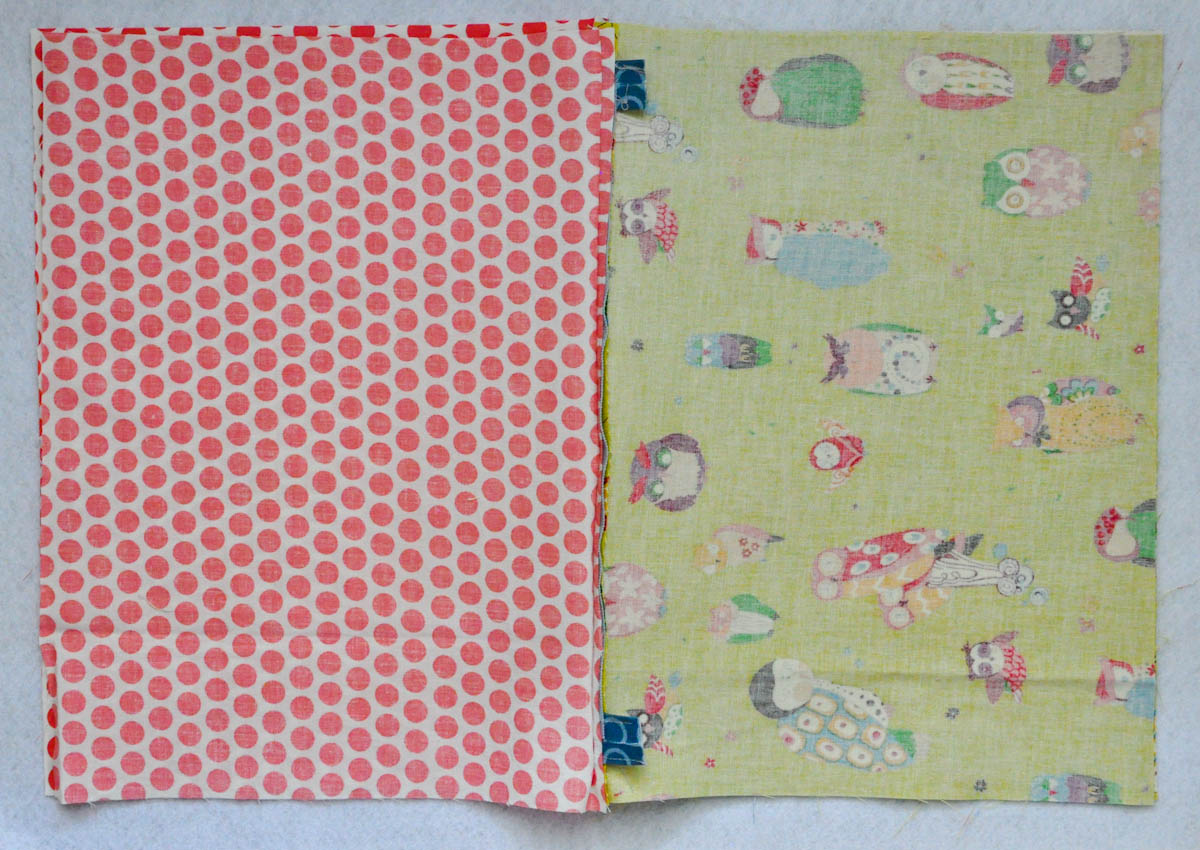
Step Five: With right sides together, place one of your main fabric pieces on top of the zipper making sure the top edge of your fabric lines up with the top edge of the zipper. You also need to center your zipper so that the fabric extends 1/2 inch past each end of the zipper tabs.
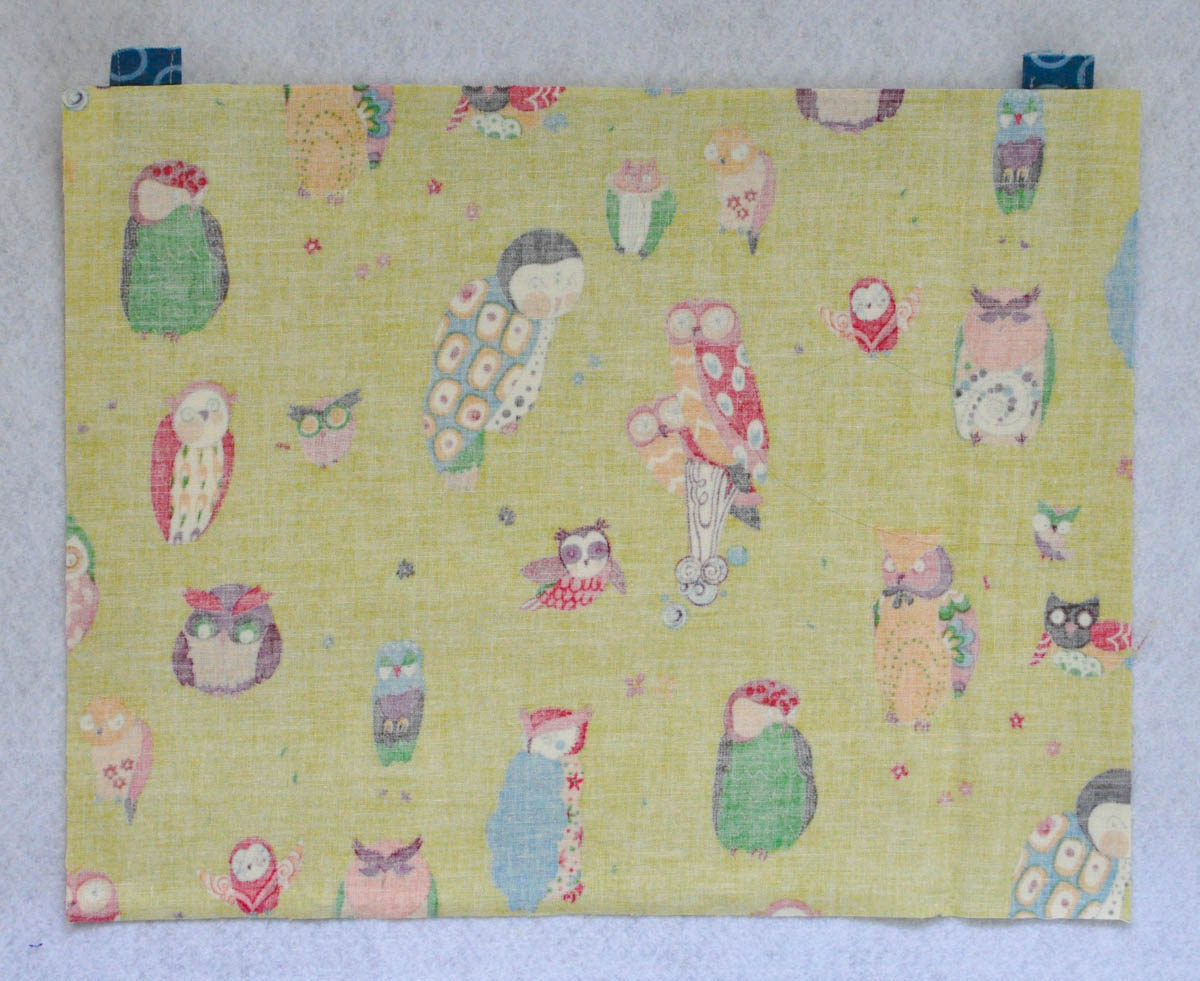

Step Six: To sew your zipper to the outside fabric, line the right edge of the zipper foot up with the top edge of your zipper/fabric. Sew a few stitches and then back stitch until you almost reach the edge of your zipper tab. (Stop about 1/8 inch from the edge of your tab.) Then sew to the opposite end of the zipper and stop 1/8 inch before the edge of your second tab. Repeat with the other side of your zipper and your other outside piece of fabric.

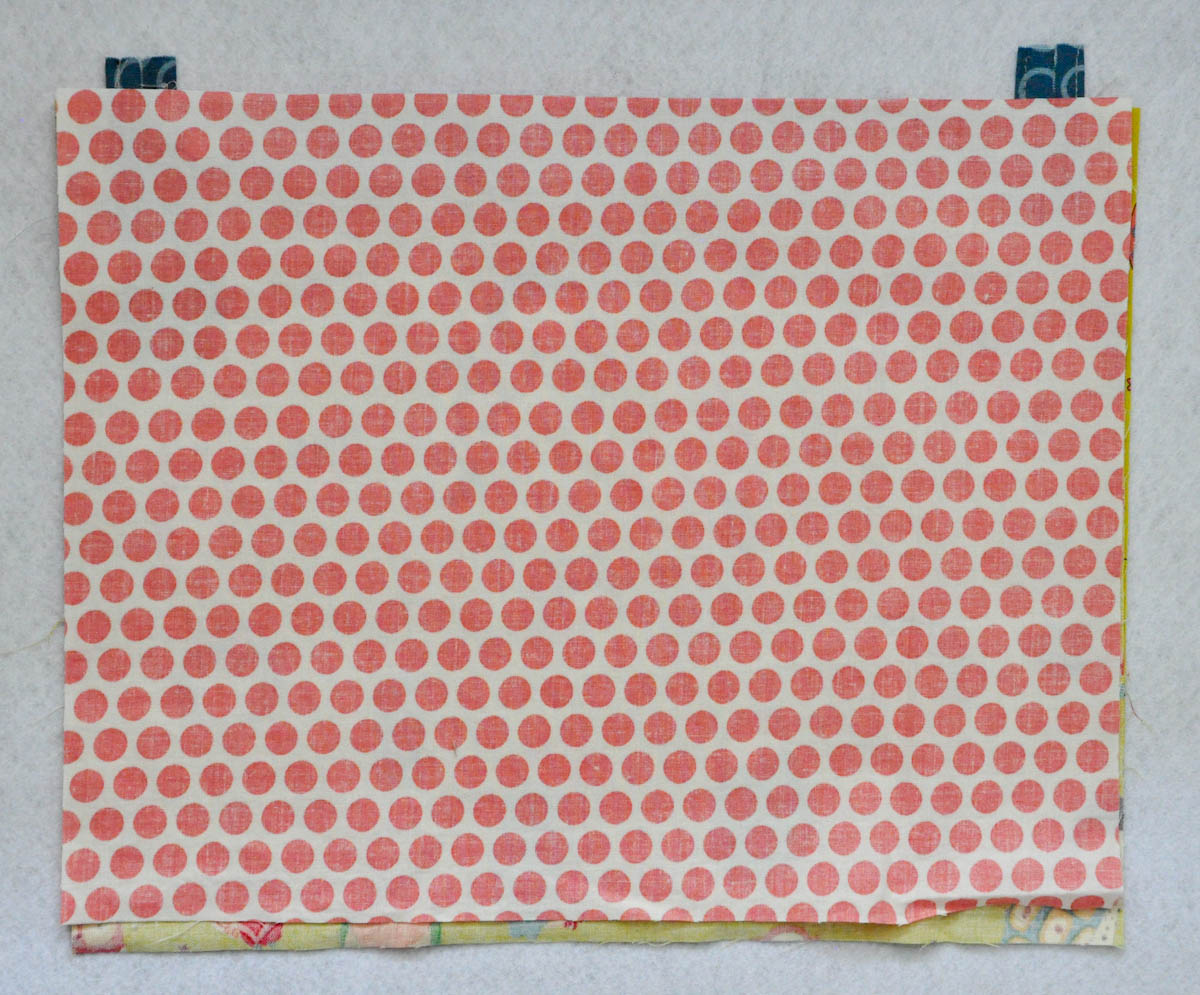
Step Seven: To sew your lining to the zipper, place one of your lining pieces right side down facing the wrong side of your zipper. Line the top edge of the fabric up with the top edge of the zipper. Once again, make sure the zipper is centered with about 1/2 inch of lining fabric extending past each end of the zipper. Line up your zipper foot with the edge of the fabric/zipper and sew from tab to tab like you did with the outside fabric. Repeat with the other side of the zipper and the other piece of lining fabric.


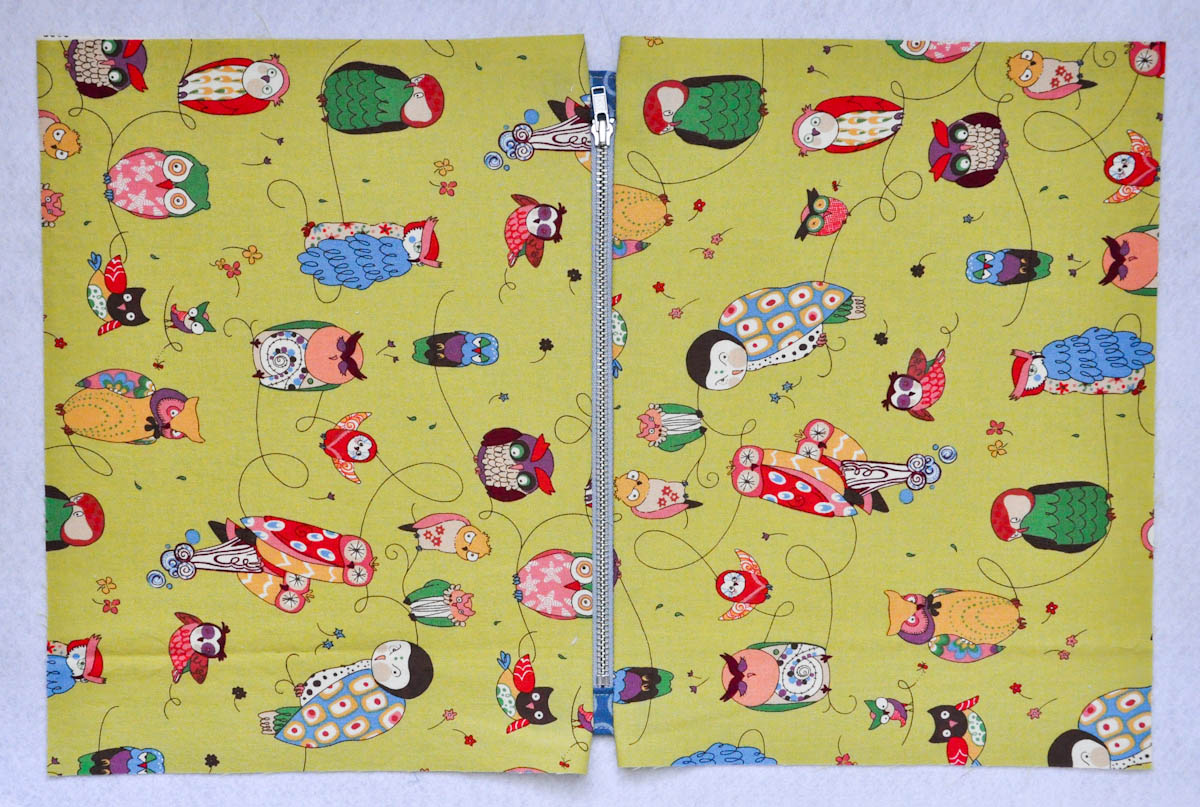
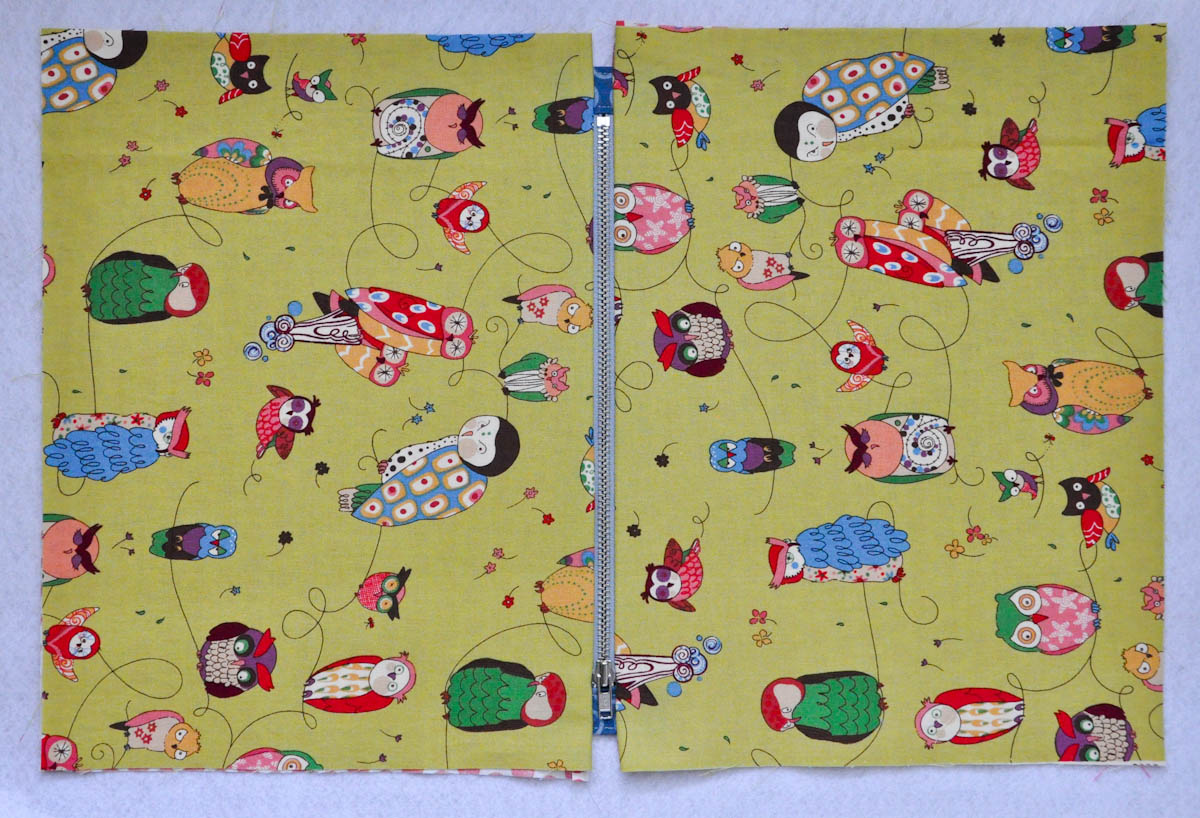
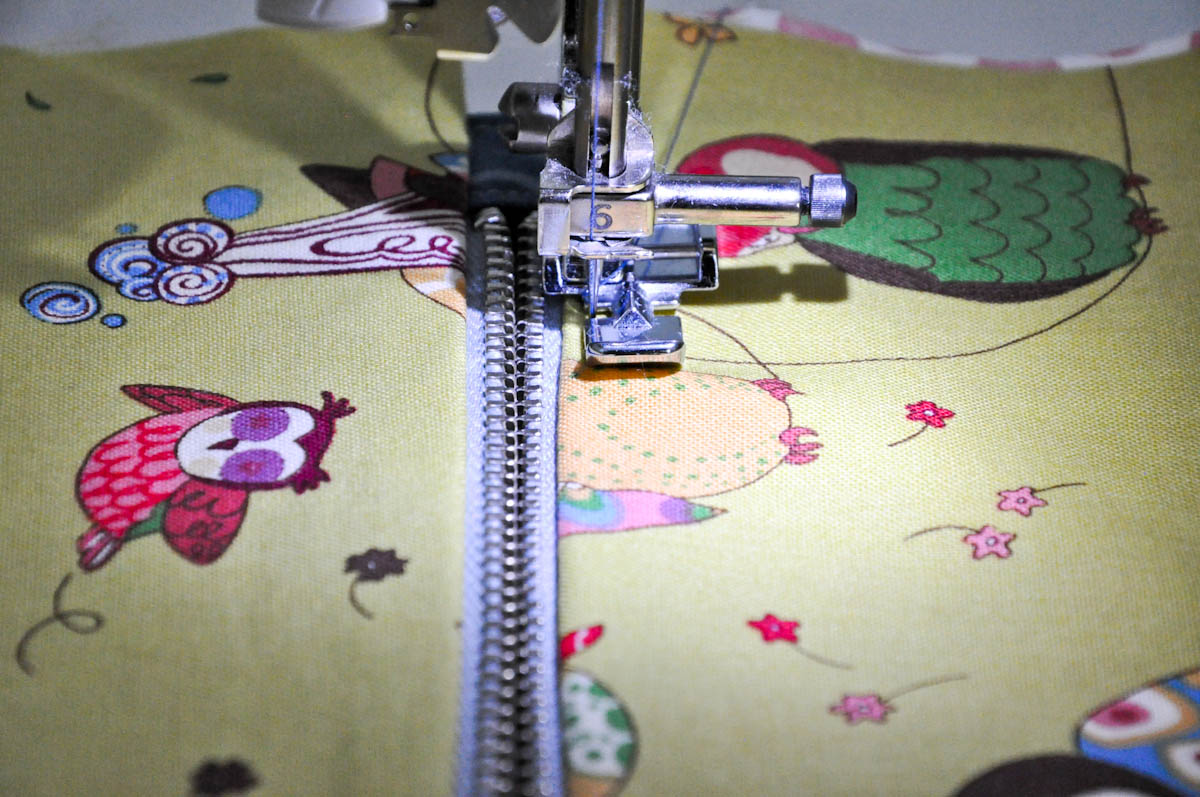
Step Eight: With your zipper in the middle, lay your project flat with a main panel and lining panel on each side. Press the seams on each side of the zipper flat. Choose a thread that matches the outside fabric to put in the top of your machine and a thread that matches the lining fabric in your bobbin. Topstitch about 1/8 inch from the edge of your fabric to secure your fabric in place and out of the way of your zipper. Repeat with the other side.
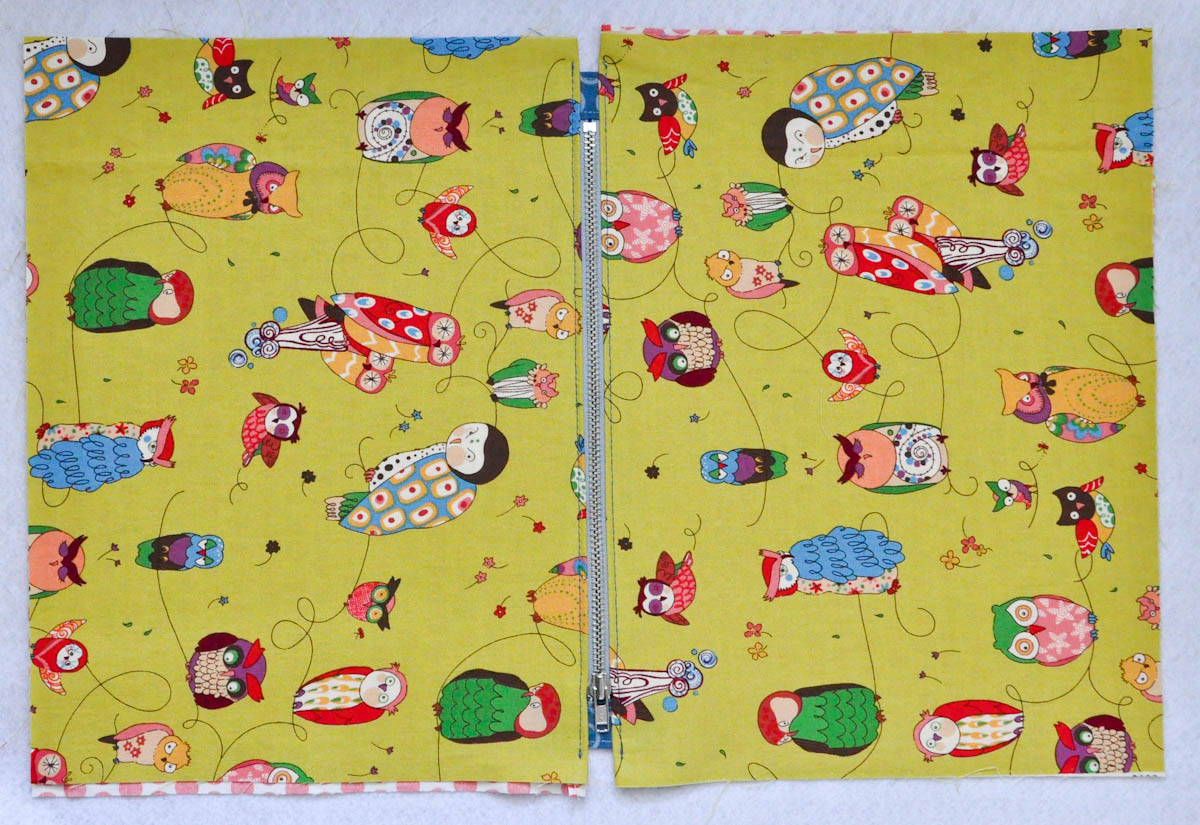
Note: You see my lining fabric shifted a little when I attached it to the zipper. Not to worry… The seam allowance will catch it just fine when I sew around the outer edges.
Step Nine: With your zipper in the middle, place your lining pieces on the same side of the zipper with right sides together and your main fabric on the other side of the zipper right sides together. Make sure the seams where the lining and main fabric meet match up on the top and bottom layers on each end of the zipper. Pin around all four sides.
Sew the two sides of the pouch and the bottom of the main fabrics together with a 1/2 inch seam allowance. It would be best to start sewing down one side of the lining, over the zipper and down the side of the main fabrics. Turn and continue to sew the bottom edge of the main fabrics and all the way around the other side until you reach the bottom of the lining.
Step Ten: Make sure your zipper is halfway open and sew the bottom of the lining together with a 5/8 inch seam allowance. The slightly bigger seam allowance will prevent the lining from being too bulky when you turn it right side out. Leave a four inch opening in the bottom to turn the pouch right side out.
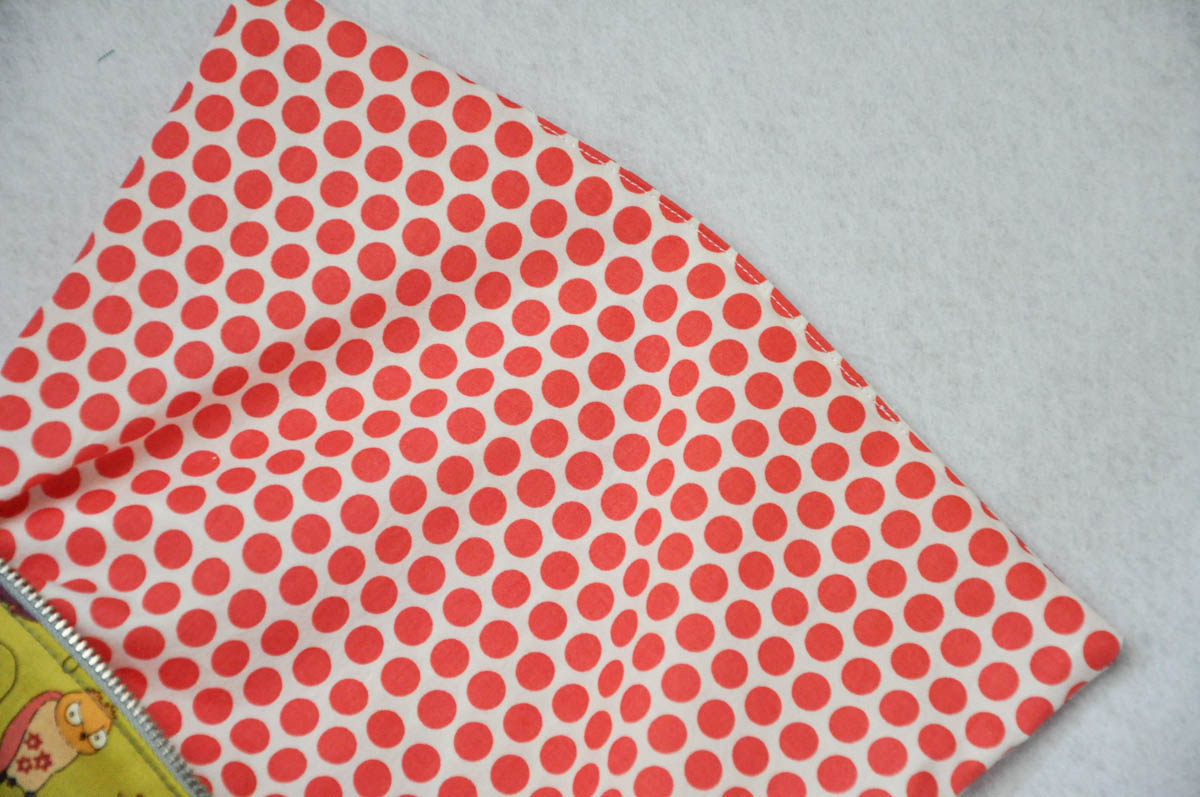
Step Eleven: Clip your corners. Turn the pouch right side out and make sure you poke the bottom corner points out as much as possible.
Step Twelve: To sew the opening in your lining closed, press the opening with the seam allowances tucked inside the bag. Sew the opening shut 1/8 inch from the bottom edge of the lining. Tuck your lining inside the bag.

That’s it! You’re finished! Is it not the most adorable pouch you’ve ever made! Surely it is! If not, try again! You can never have too many!


