
These burp cloths were so much fun to make, I thought you might enjoy making some yourself! Here’s a tutorial for you to follow to make your own. Materials and instructions are below:
Materials:
- A piece of freezer paper or pattern paper that measures at least 21 inches by 10 inches.
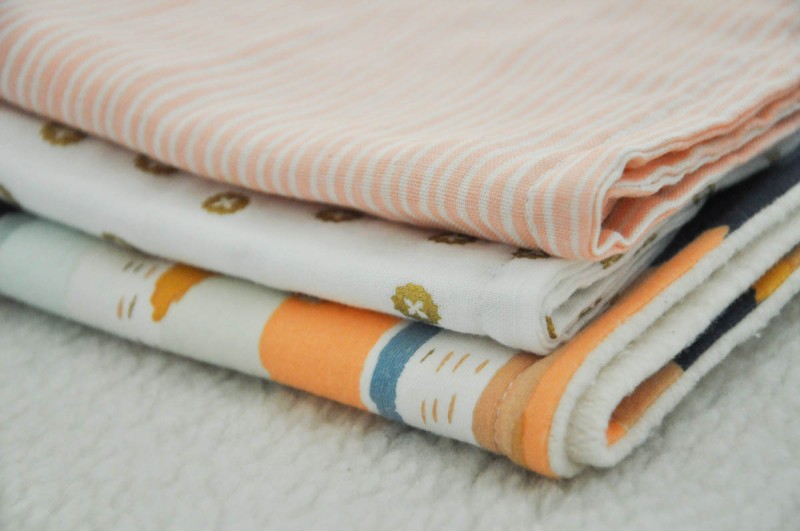
- 1/2 yard – 3/4 yard of double gauze fabric depending on the orientation of the pattern of the fabric
- coordinating thread
Instructions:
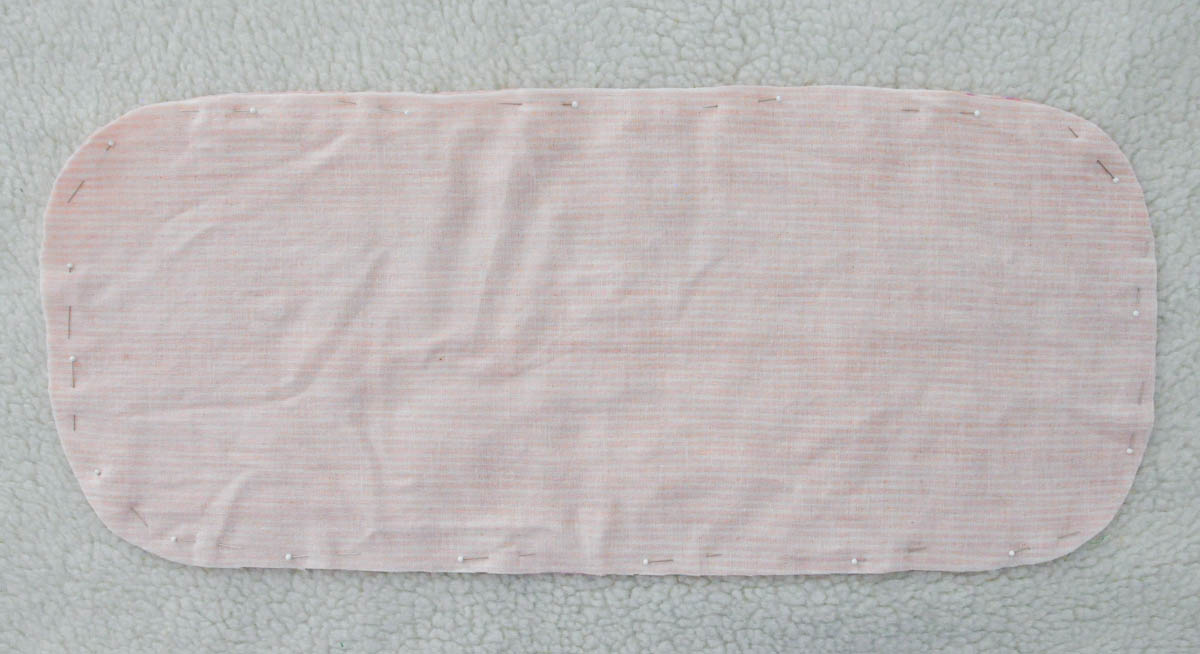
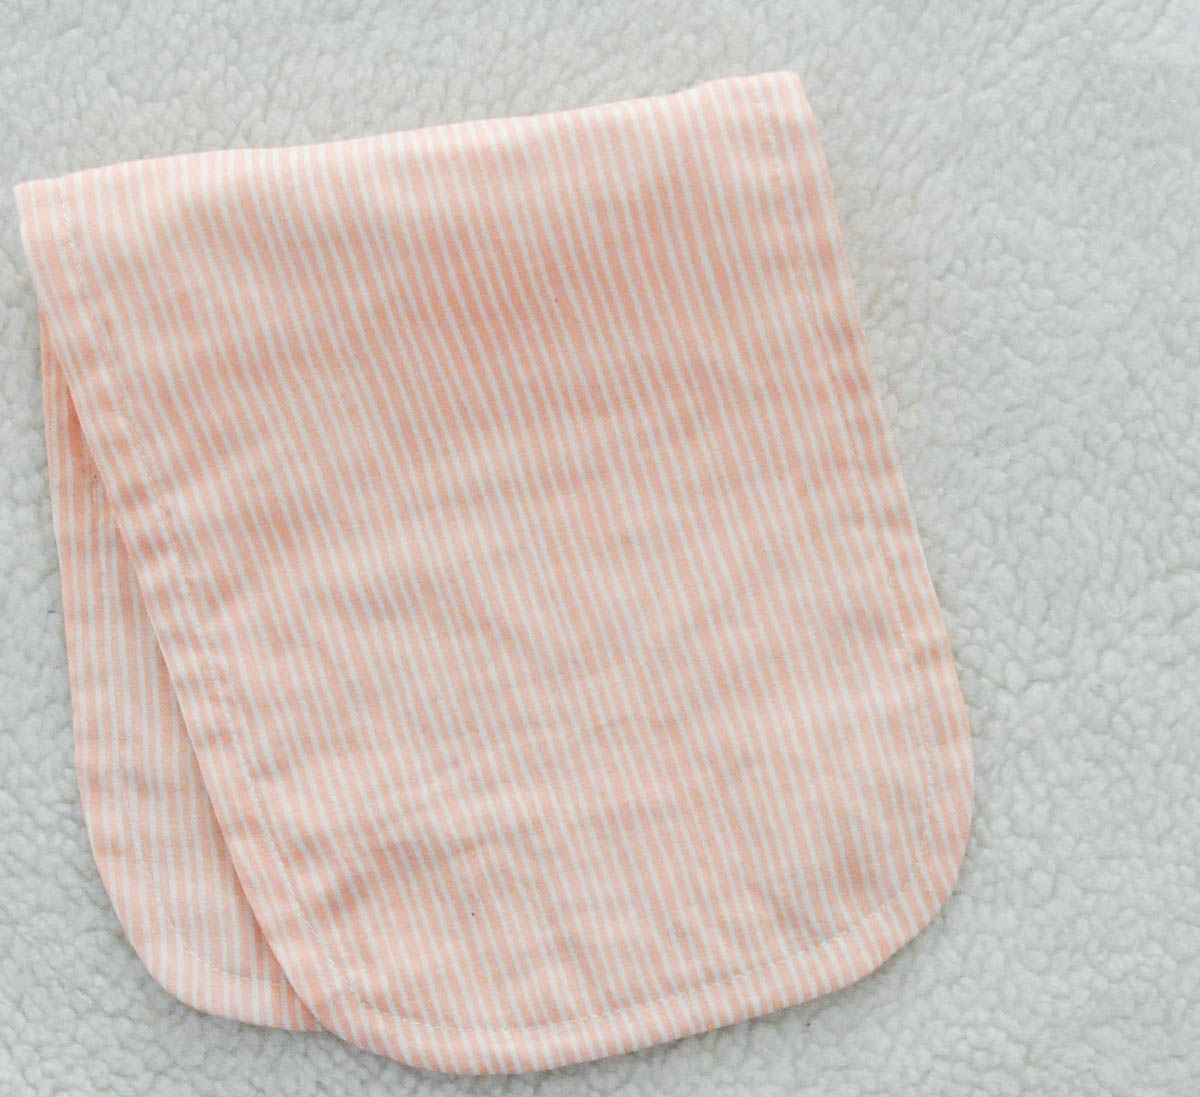
Make your pattern: Cut a rectangle out of your freezer paper that measures at least 20.5 inches by 9. 25 inches. Round out your corners to make your rectangle more of an oval. This measurement includes your seam allowance. (In the photo below, my pattern didn’t include seam allowance, so I added 1/4 inch to my fabric width and length when I cut it out.)
Step 1: Cut out your fabric using the pattern you created. Cut two pieces of the fabric you choose. The fabric shown in this tutorial is double gauze. 
Step 2: Place your fabric right sides together and pin all the way around. Double gauze has a tendency to shift while sewing, so make sure to use enough pins to keep the fabric from wiggling about.
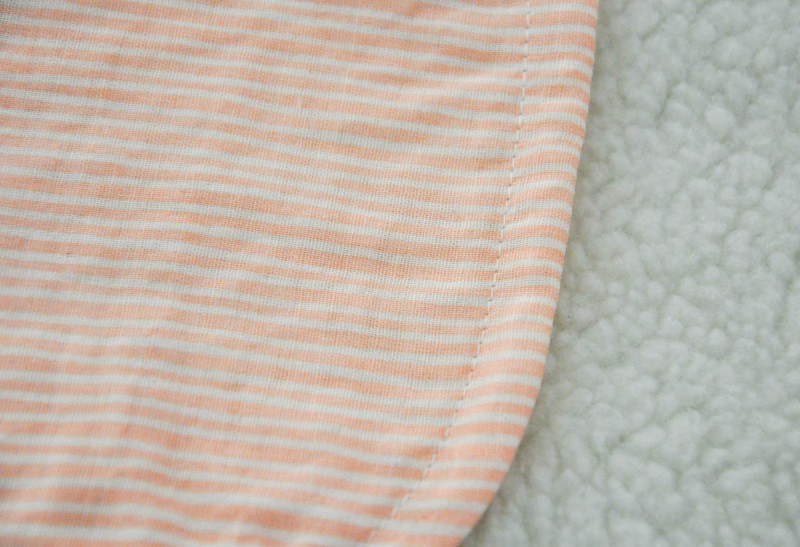
Step 3: Sew around all edges with a 3/8 inch seam allowance and leave an opening about 3 inches long to turn your project inside out. Make sure to use a new, sharp needle in your machine. When you turn the corners as you sew, you will need to periodically raise and lower your pressure foot to keep the fabric from wrinkling under your foot. Like I mentioned earlier, double gauze likes to be squirmy, so try to keep your fabric flat as you sew by simply raising your pressure foot and lowering it right back down.
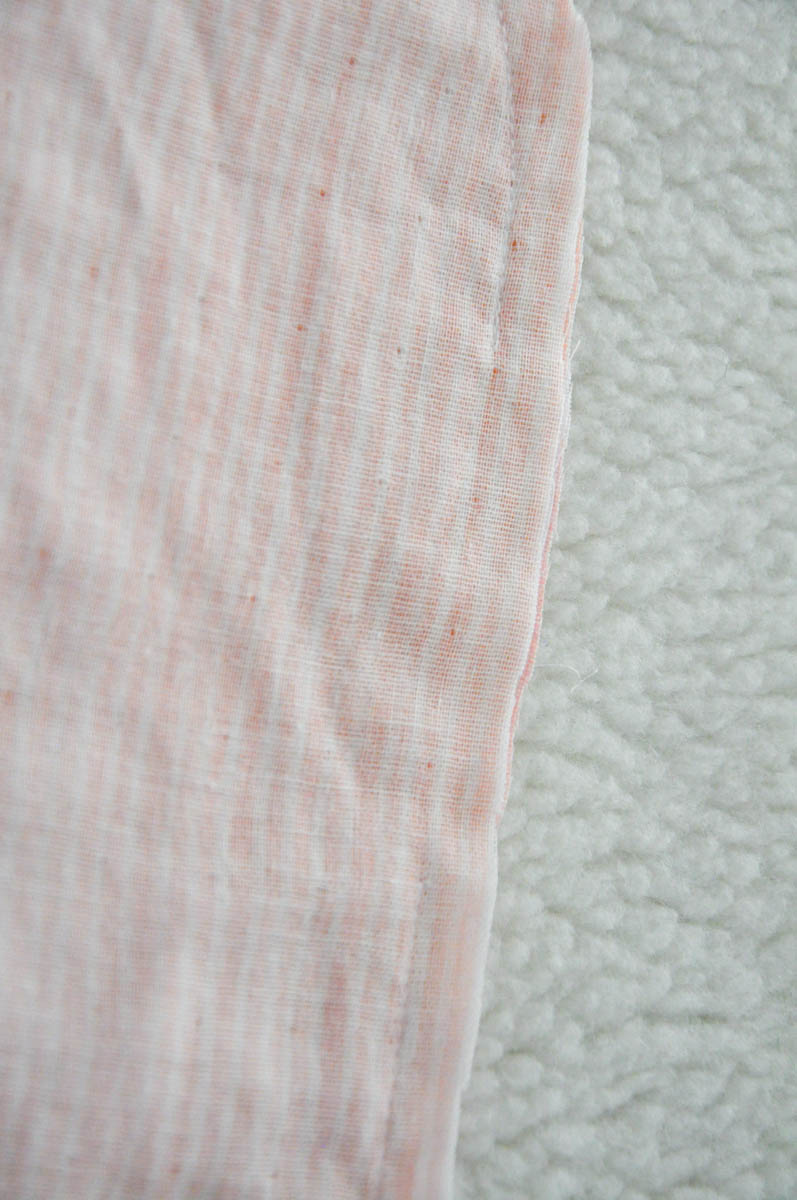
Step 4: Trim your seam allowance down to about 1/4 inch. Clip along the curved corners to make your curves look nicely rounded when you turn your fabric inside out.
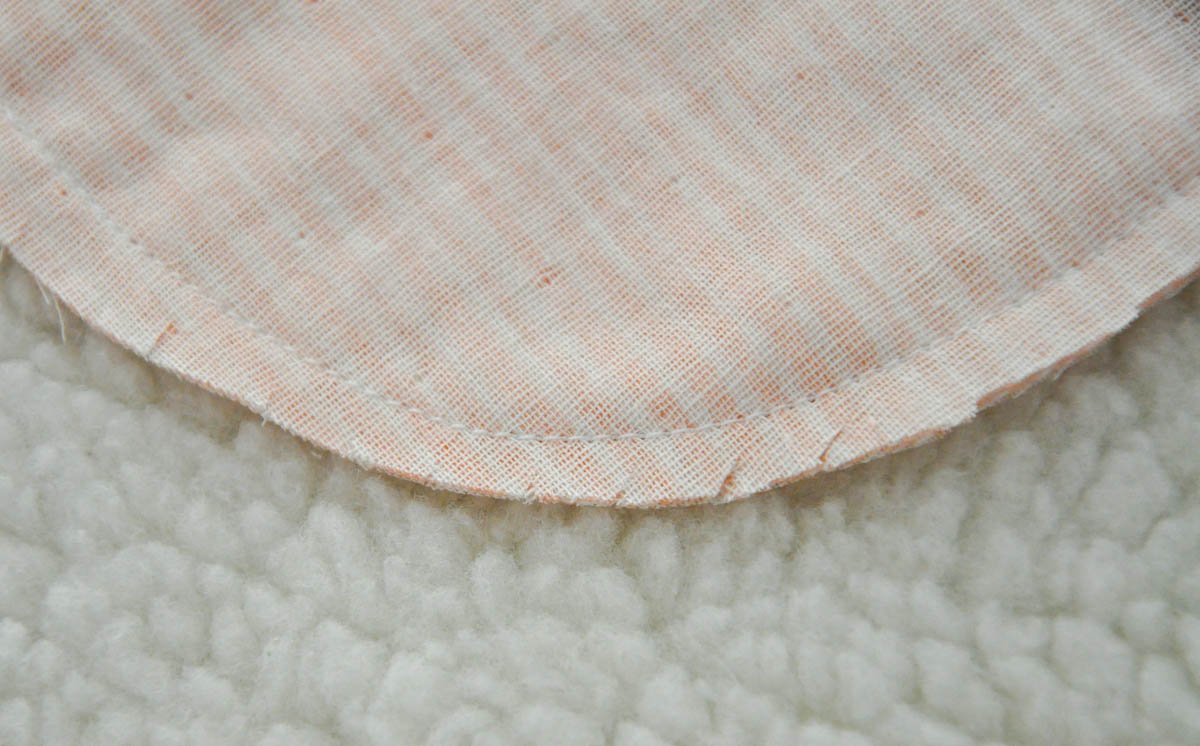
Step 5: Turn your burp cloth right side out and sew the opening closed by hand. Press your burp cloth so that all four sides are nice and flat.

Step 6: Topstitch around the entire burp cloth about 1/5 inch from the edge. You can stitch closer to the edge if you wish (about 1/4 inch), but I like the way it looks with a wider space between the stitching and the edge of the burp cloth.
Happy sewing! I’d love to see what you make!
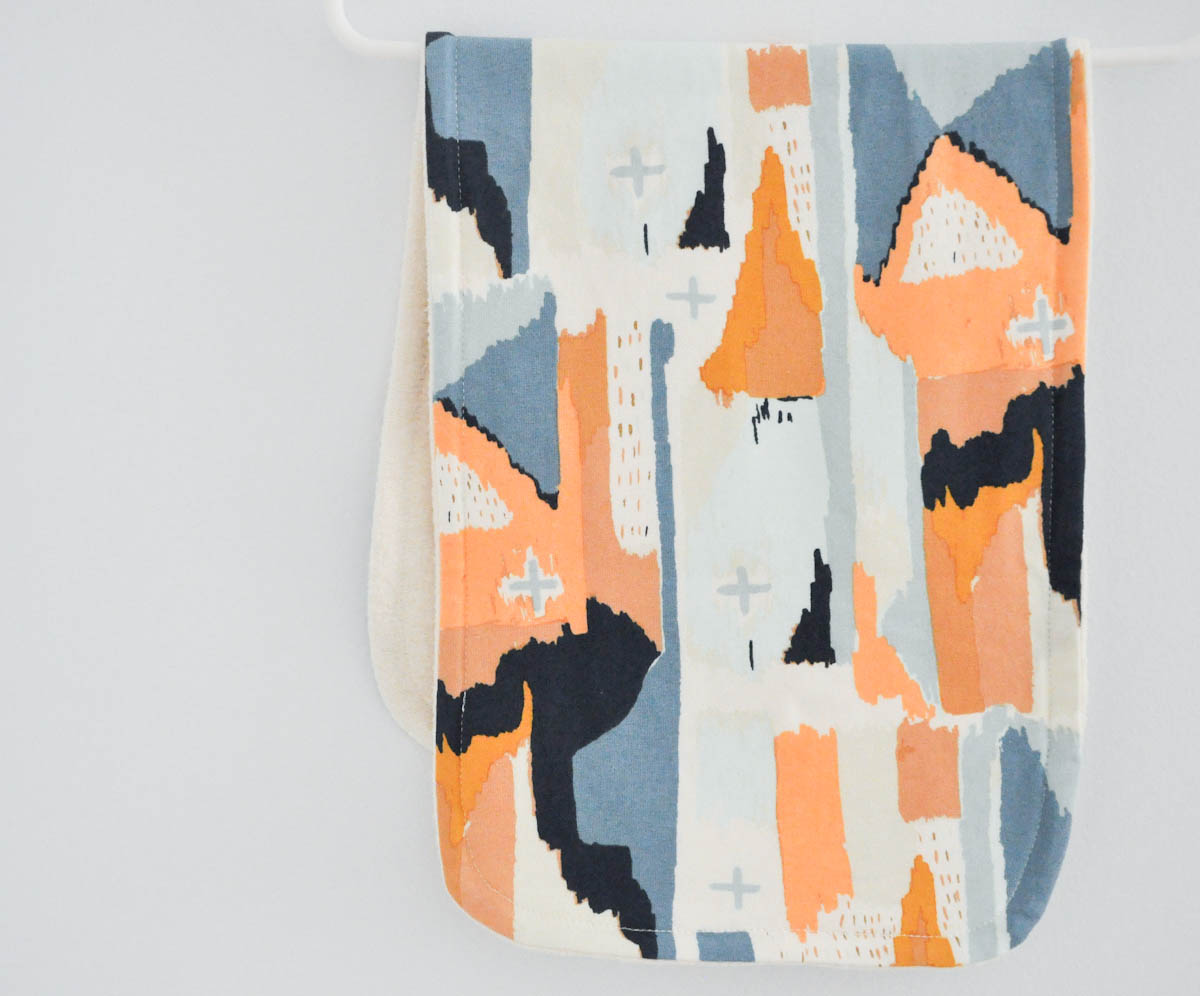
 Want to make a knit burp cloth with fleece on the back? Follow these same instructions to make one! There are so many beautiful knit prints out there too! They make your burp cloth a little thicker, but the combination of knit and fleece is still so cozy!
Thanks for the tutorial. Would it help to use an ever feed foot to sew double gauze fabric so it doesn’t shift?. Thank you.
I haven’t tried that, but it might! Let me know how it works for you!